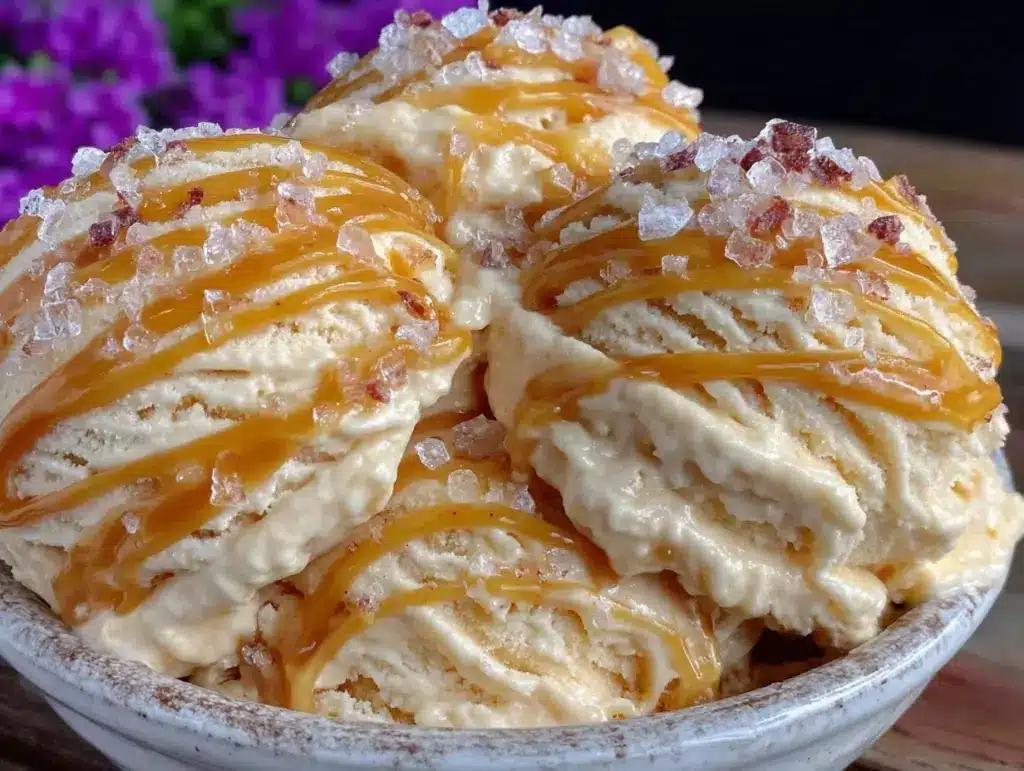
Scooping whipped cream into the mixing bowl when I realized there was no way I had enough time to fire up the ice cream maker before dinner guests arrived. Half an hour until they showed up, and no fancy equipment on hand. Honestly, the idea of spending the evening fussing with complicated gadgets wasn’t exactly thrilling. That’s when this creamy no-churn salted caramel swirl ice cream came to life — born out of pure necessity and a craving for something rich, sweet, and just a little bit indulgent.
There’s something about the sticky, buttery pull of salted caramel ribbons weaving through smooth ice cream that feels like a hug on a spoon. I remember sitting on the couch later, watching the kids dig in and the adults sneaking second (okay, maybe third) servings, all without a single scoop melting too fast or turning icy. This recipe stuck because it’s uncomplicated, yet it brings that classic homemade charm without the stress.
What really sold me was how the salted caramel swirl stays luxuriously gooey even after freezing, which is no small feat! Plus, it’s forgiving — if you don’t have fancy sea salt, a pinch of regular salt works just fine. No-churn means no waiting around, and the payoff? A creamy, dreamy dessert that feels like a special treat but comes together in a snap. It’s become my go-to when I want to impress without the hassle, and I trust it’ll find a spot on your dessert rotation too.
Why You’ll Love This Recipe
This creamy no-churn salted caramel swirl ice cream isn’t just any frozen treat — it’s the one that makes you forget store-bought ever existed. From my many trials in the kitchen, here’s why it’s a winner every time:
- Quick & Easy: Ready in under 20 minutes of prep, perfect for last-minute dessert cravings or impromptu gatherings.
- Simple Ingredients: No weird additives or hard-to-find products — just pantry staples and good-quality caramel.
- Perfect for Any Occasion: Whether you’re wrapping up a backyard barbecue or looking for a cool finish to a dinner party, this ice cream fits the bill.
- Crowd-Pleaser: Kids adore the sweet-salty combo, and adults appreciate the sophisticated caramel twist.
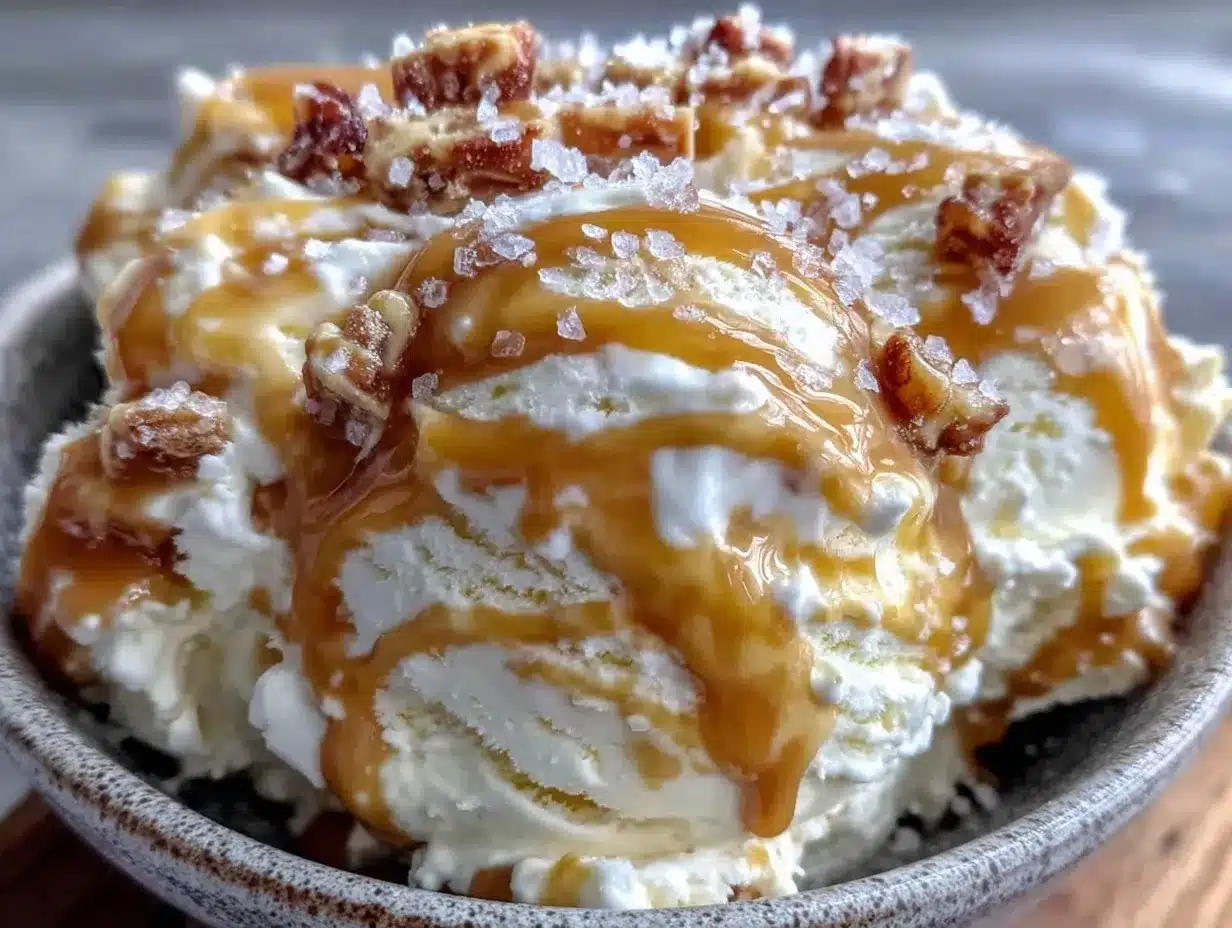
- Unbelievably Delicious: The texture is rich and creamy without being heavy, and the salted caramel swirl adds that addictive, gooey surprise.
What sets this recipe apart is the swirl technique — gently folding the salted caramel in to create those beautiful ribbons without blending it all away. Plus, the no-churn base uses whipped cream and sweetened condensed milk, which gives you that perfect scoopable texture without an ice cream machine. It’s like magic, honestly.
This recipe isn’t just a dessert; it’s a little moment of joy, a way to treat yourself even when life’s hectic. It’s the kind of ice cream that makes you close your eyes with the first bite, savoring the balance of sweet and salty. And trust me, once you’ve tried it, it’s hard to go back to plain vanilla.
What Ingredients You Will Need
This recipe uses simple, wholesome ingredients to deliver bold flavor and satisfying texture without the fuss. Most of these are pantry staples, and you can find salted caramel sauce at most grocery stores or whip up a quick homemade batch if you’re feeling adventurous.
- Heavy whipping cream (2 cups / 480 ml) — the backbone of the creamy texture; make sure it’s cold for best whipping results.
- Sweetened condensed milk (1 can, 14 oz / 396 g) — adds sweetness and a smooth richness without extra sugar granules.
- Pure vanilla extract (1 tsp) — enhances the overall flavor with a warm vanilla note.
- Salted caramel sauce (¾ cup / 180 ml) — either store-bought or homemade; look for one with a good balance of salt and sweetness. I usually pick Trader Joe’s or Bonne Maman for a reliable jar.
- Flaky sea salt (½ tsp) — optional but highly recommended to sprinkle on top or in the swirl to boost that salted caramel vibe.
Substitution tips: You can swap heavy cream with coconut cream for a dairy-free twist, and use dairy-free sweetened condensed milk alternatives. For a little extra flair, try mixing in chopped toasted pecans or chocolate chips.
Equipment Needed
- Mixing bowl: A large bowl for whipping cream — glass or metal works best to hold the cold temperature.
- Electric hand mixer or stand mixer: Essential for whipping the cream to stiff peaks; whipping by hand is possible but takes some serious elbow grease.
- Spatula: For folding in the sweetened condensed milk and caramel gently.
- Loaf pan or freezer-safe container: To freeze the ice cream mixture; I like using a metal loaf pan because it helps the ice cream set faster, but any freezer-safe container will do.
- Knife or skewer: For swirling the caramel through the ice cream base.
If you don’t have a stand mixer, a handheld mixer is just fine. I once made this late at night with a whisk and barely survived, so trust me on the electric mixer recommendation! Also, chilling your bowl and beaters in the freezer for 15 minutes before whipping makes a noticeable difference.
Preparation Method
- Chill your mixing bowl and beaters: Pop them in the freezer for about 15 minutes to make whipping easier and faster.
- Whip the heavy cream: Pour the cold heavy whipping cream into the chilled bowl. Using your electric mixer on medium-high speed, whip until stiff peaks form — this usually takes about 3-5 minutes. You’ll know it’s ready when the cream holds sharp peaks and doesn’t slide off the beaters.
- Fold in the sweetened condensed milk and vanilla: Add the entire can of sweetened condensed milk and the vanilla extract to the whipped cream. Gently fold them together with a spatula, making sure not to deflate the air you just whipped in. This step is crucial for that creamy, airy texture.
- Swirl in the salted caramel sauce: Pour half of your salted caramel sauce into the mixture and fold gently just a couple of times. Then transfer the mixture to your loaf pan or container. Drizzle the remaining salted caramel over the top, and use a knife or skewer to create swirls by dragging it through the caramel and ice cream base. Avoid over-mixing; those ribbons are the star!
- Sprinkle flaky sea salt: Lightly scatter the sea salt on top to deepen the salted caramel flavor and add a little crunch.
- Freeze: Cover the container tightly with plastic wrap or a lid and freeze for at least 6 hours, preferably overnight. The ice cream will firm up and the flavors will meld beautifully.
- Serve: Before scooping, let the ice cream sit at room temperature for about 5 minutes to soften slightly for easier scooping and optimal creaminess.
Note: If your caramel sauce is very thick, warming it slightly before swirling helps it blend nicely without clumping. Also, be patient during whipping — under-whipped cream leads to icy texture, and over-whipped cream can turn buttery. Aim for that perfect fluffy peak.
Cooking Tips & Techniques
Getting this creamy no-churn salted caramel swirl ice cream just right is all about technique and timing. Here are a few lessons I’ve picked up the hard way:
- Cold cream is your friend: Always start with chilled heavy cream and cold equipment. Warm cream won’t whip well and can ruin the texture.
- Don’t rush the whipping: Stiff peaks are key. If you stop too soon, your ice cream will be runny; if you overdo it, it can separate or turn grainy.
- Folding is gentle business: When mixing in the condensed milk and caramel, fold carefully to keep as much air as possible. That’s what makes the ice cream creamy and scoopable.
- Swirl, don’t mix: Use a gentle swirling motion with a knife or skewer for those lovely caramel ribbons. Over-mixing will blend it all in, losing the beautiful contrast.
- Freezing time matters: Let it freeze long enough to firm up properly. Rushing this step leads to a soft, soupy mess instead of that perfect creamy scoop.
- Salt balance: If you’re unsure about the saltiness, start with less salt in the caramel swirl, then sprinkle flaky sea salt on top. You can always add more after tasting.
I once tried making this with low-fat cream and ended up with ice crystals galore. Lesson learned: full-fat heavy cream is non-negotiable here. Also, multitasking helps — whip the cream while preheating a quick caramel sauce, or prep your other dishes like my honey balsamic chicken pasta salad while the ice cream freezes.
Variations & Adaptations
This no-churn ice cream is a wonderful base for customization. Here are a few twists I’ve tried or recommend:
- Nutty Caramel Crunch: Fold in chopped toasted pecans or walnuts before freezing for a delightful crunch and nutty flavor.
- Chocolate Salted Caramel: Add ½ cup (90 g) mini chocolate chips or swirl in a bit of fudge sauce along with the caramel for a chocolate-caramel combo.
- Dairy-Free Version: Use canned full-fat coconut milk whipped until fluffy and substitute sweetened condensed coconut milk. The salted caramel can be made with coconut sugar for a tropical touch.
- Spiced Caramel: Stir a pinch of cinnamon or cayenne pepper into the caramel sauce for a subtle spicy kick that pairs beautifully with the sweetness.
For a seasonal twist, try swapping the salted caramel with a homemade peach or roasted peach swirl, similar to my roasted peach ice cream. It’s a whole new vibe but the same no-fuss method.
Serving & Storage Suggestions
This creamy no-churn salted caramel swirl ice cream is best served slightly softened. Let it sit on the counter for 5 to 10 minutes before scooping. Serve it solo in pretty bowls or alongside warm desserts like brownies or apple crisp for a perfect contrast of hot and cold.
It pairs beautifully with a cup of strong coffee or a glass of dessert wine for grown-up indulgence. For casual summer afternoons, topping with a sprinkle of flaky salt or a few fresh berries adds a refreshing touch.
Store leftovers in an airtight container in the freezer. To avoid ice crystals forming, press a sheet of parchment paper or plastic wrap directly on the surface before sealing. The ice cream will keep well for up to 2 weeks.
When reheating or softening frozen leftovers, avoid microwaving which can melt it unevenly. Instead, transfer the container to the fridge for 20-30 minutes before serving. Flavors actually deepen after a day or two, so sometimes waiting is worth it.
Nutritional Information & Benefits
Per serving (about ½ cup / 120 ml): approximately 250 calories, 16g fat, 24g carbohydrates, 3g protein.
This ice cream is indulgent but made from simple ingredients without preservatives or artificial flavors. The heavy cream and condensed milk provide calcium and fat-soluble vitamins, while the salted caramel adds a touch of satisfying saltiness that can actually enhance flavor perception, meaning you might use less sugar overall.
For those watching carbs, swapping traditional caramel for a sugar-free or low-sugar version and using coconut cream can make this recipe more keto-friendly. Just be mindful the texture might vary slightly.
As always, enjoy in moderation as a treat, and savor the homemade goodness over processed alternatives.
Conclusion
This creamy no-churn salted caramel swirl ice cream delivers that perfect balance of creamy texture and rich, salty-sweet flavor without any fuss. It’s proof that you don’t need fancy equipment or hours in the kitchen to enjoy homemade ice cream that tastes like a dream.
Whether you’re feeding a crowd or indulging solo, there’s room to make this recipe your own. Add nuts, chocolate, or spices to suit your cravings, or keep it classic and simple — either way, you’re in for a treat.
Personally, this recipe has saved more than one hectic afternoon and made dessert feel like a celebration without the stress. I hope it finds a place in your freezer and your heart, too.
If you try it out or have your own twists, I’d love to hear all about it in the comments below!
FAQs About Creamy No-Churn Salted Caramel Swirl Ice Cream
Can I make this ice cream without sweetened condensed milk?
Sweetened condensed milk is key for sweetness and texture in no-churn recipes. You can try substituting with a homemade mixture of milk and sugar reduced down, but results may vary and the texture might be less creamy.
How do I store leftover salted caramel swirl ice cream?
Keep it in an airtight container in the freezer, ideally with plastic wrap pressed on the surface to prevent ice crystals. It’s best enjoyed within two weeks.
Can I use this recipe with other caramel flavors?
Absolutely! You can swap salted caramel for chocolate caramel, bourbon caramel, or even fruit-based swirls like peach or raspberry for a fun twist.
What’s the best way to soften the ice cream before serving?
Let it sit at room temperature for 5-10 minutes. Avoid microwaving, which melts unevenly and can ruin the texture.
Is there a vegan version of this no-churn ice cream?
Yes! Use full-fat coconut cream whipped until fluffy and substitute sweetened condensed coconut milk. Use a vegan caramel sauce made from coconut sugar or maple syrup to keep it plant-based.
Pin This Recipe!
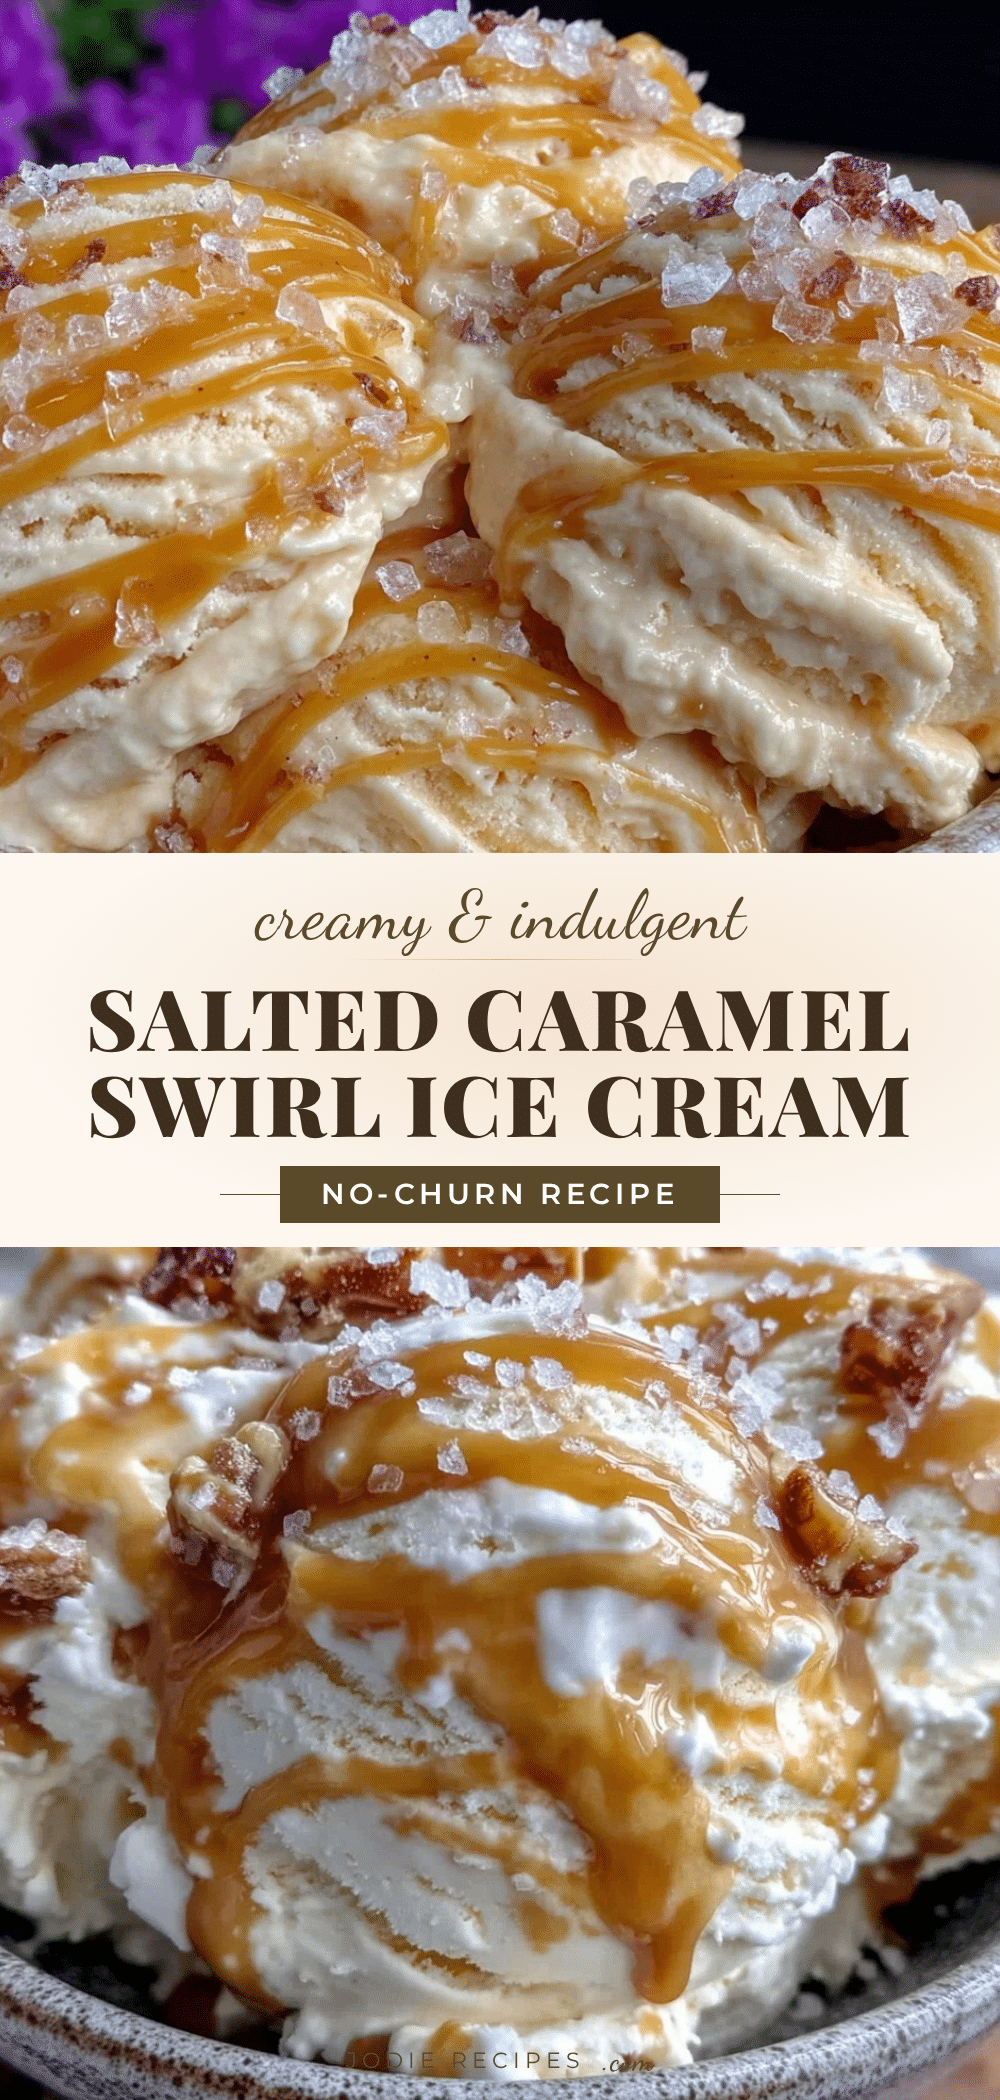
Creamy No-Churn Salted Caramel Swirl Ice Cream

A quick and easy no-churn ice cream recipe featuring a rich, creamy texture with indulgent salted caramel swirls that stay gooey even after freezing. Perfect for last-minute desserts and crowd-pleasing occasions.
- Prep Time: 15 minutes
- Cook Time: 0 minutes
- Total Time: 6 hours 15 minutes
- Yield: 8 servings 1x
- Category: Dessert
- Cuisine: American
Ingredients
- 2 cups (480 ml) heavy whipping cream, cold
- 1 can (14 oz / 396 g) sweetened condensed milk
- 1 tsp pure vanilla extract
- ¾ cup (180 ml) salted caramel sauce (store-bought or homemade)
- ½ tsp flaky sea salt (optional)
Instructions
- Chill your mixing bowl and beaters in the freezer for about 15 minutes.
- Pour the cold heavy whipping cream into the chilled bowl and whip with an electric mixer on medium-high speed until stiff peaks form, about 3-5 minutes.
- Gently fold in the sweetened condensed milk and vanilla extract with a spatula, being careful not to deflate the whipped cream.
- Pour half of the salted caramel sauce into the mixture and fold gently a couple of times.
- Transfer the mixture to a loaf pan or freezer-safe container.
- Drizzle the remaining salted caramel sauce over the top and use a knife or skewer to create swirls by dragging it through the ice cream base without over-mixing.
- Sprinkle flaky sea salt on top to enhance the salted caramel flavor.
- Cover tightly with plastic wrap or a lid and freeze for at least 6 hours or preferably overnight.
- Before serving, let the ice cream sit at room temperature for about 5 minutes to soften for easier scooping.
Notes
Chill bowl and beaters before whipping for best results. Use full-fat heavy cream to avoid icy texture. Warm caramel sauce slightly if too thick before swirling. Let ice cream soften 5-10 minutes before scooping. Store leftovers in airtight container with plastic wrap pressed on surface to prevent ice crystals.
Nutrition
- Serving Size: ½ cup (120 ml)
- Calories: 250
- Fat: 16
- Carbohydrates: 24
- Protein: 3
Keywords: no-churn ice cream, salted caramel, easy dessert, homemade ice cream, no ice cream maker, creamy ice cream, caramel swirl