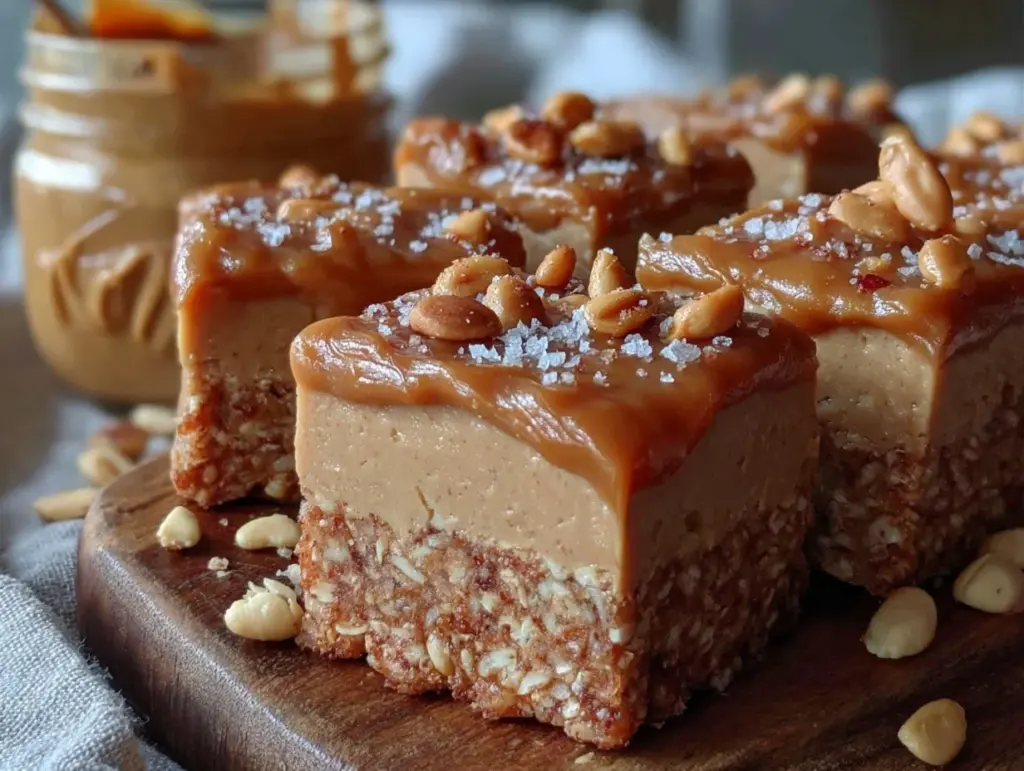
It’s late afternoon, the kind of quiet hour when the light softens and the kitchen feels like an island of calm. I’m standing by the counter, the hum of the fridge the only background noise, and all I want is a simple, nut-free peanut butter granola bar to tide me over until dinner. The pantry is modest—no fancy ingredients, no time to bake anything complicated. Just something honest and straightforward, with a touch of that familiar peanut butter warmth. This recipe, honestly, grew out of many such moments where I needed a quick snack without fuss or allergies slowing me down.
The smell of peanut butter, the slight chew of oats, and the subtle sweetness of honey—it’s a quiet comfort that feels just right for this time of day. I’ve made these bars more times than I can count for myself and for a few friends who, like me, need snacks that don’t complicate life but still satisfy. They don’t demand an oven or much time, and yet they carry that homey feeling you get from a treat made with care, even when you’re flying solo in the kitchen.
What sticks with me is how this recipe isn’t a showpiece; it’s more like a trusted ritual that keeps me going. It’s the kind of snack you can pack without worry, share without hesitation, and always count on when hunger sneaks up. No nuts, no baking, just simple ingredients coming together quietly but effectively. If you want something you can pull together while the afternoon slips by, this is it.
These easy no-bake nut-free peanut butter granola bars quietly promise to be your next go-to—easy to make, easy to love, and just the kind of snack that feels like a small kindness to yourself.
Why You’ll Love This Recipe
Honestly, these easy no-bake nut-free peanut butter granola bars have been a kitchen lifesaver for me and many others — here’s why they’re worth making again and again:
- Quick & Easy: You can whip these up in less than 15 minutes, no oven required—perfect for busy days or last-minute snack emergencies.
- Simple Ingredients: Everything’s probably already in your pantry, which means no extra trips or complicated shopping lists.
- Nut-Free & Allergy-Friendly: A thoughtful choice for households where nut allergies are a concern, without sacrificing that classic peanut butter flavor.
- Perfect for On-the-Go: These bars hold up well in a lunchbox, backpack, or even a desk drawer, making them handy anytime hunger strikes.
- Deliciously Chewy Texture: The combination of oats and peanut butter delivers a satisfying chew, while the honey adds just the right touch of sweetness.
This isn’t just another granola bar recipe. By blending smooth peanut butter with rolled oats and a hint of vanilla, it hits a balance that’s both nostalgic and fresh. I’ve found that using creamy peanut butter—not the chunky kind—makes the bars hold together better, and a touch of vanilla extract gives it a subtle depth that feels homemade, not store-bought. Plus, skipping the baking means you’re ready to snack sooner, with less heat in the kitchen (a blessing for summer afternoons).
Whether you’re packing snacks for little ones, grabbing a quick bite before a workout, or just craving something wholesome and nut-free, these bars quietly deliver. They’ve stuck around in my recipe box because they’re dependable, straightforward, and honestly, a small moment of calm in a busy day.
What Ingredients You Will Need
This recipe uses simple, wholesome ingredients to deliver bold flavor and satisfying texture without the fuss. Each plays a quiet but important role in making the bars chewy, sweet, and nut-free.
- Rolled Oats (1 ½ cups / 135 g): The base of the bars, providing chewiness and heartiness. I prefer old-fashioned rolled oats for texture—avoid instant oats as they’re too fine.
- Creamy Peanut Butter (½ cup / 128 g): Look for a smooth, natural peanut butter without added sugars or oils for the best flavor and consistency. Brands like Smucker’s Natural or Justin’s work well.
- Honey (⅓ cup / 113 g): Acts as the natural sweetener and binder. Raw or local honey adds a subtle floral hint, but any good-quality honey will do.
- Vanilla Extract (1 teaspoon): Just a touch to deepen the flavor and round out the sweetness.
- Ground Cinnamon (½ teaspoon, optional): Adds warmth and a cozy note—perfect if you’re making these in the cooler months.
- Salt (a pinch): Enhances the peanut butter’s richness and balances the sweetness.
- Mini Chocolate Chips or Dried Fruit (⅓ cup / 50 g, optional): For a little extra fun—chocolate chips add melty spots of joy while dried cranberries or raisins bring chewy bursts of flavor. (Skip if allergy-sensitive.)
All these ingredients come together in a way that feels familiar but fresh. If you want to switch things up, you can swap honey for maple syrup or use sunflower seed butter as a peanut-free alternative. For a bit of crunch, add some toasted pumpkin seeds on top before setting the bars. These little tweaks keep the base recipe versatile and approachable.
Equipment Needed
- Mixing Bowl: A medium to large bowl to combine your ingredients comfortably.
- Measuring Cups and Spoons: Accuracy means better texture here, so these are essential.
- Spatula or Wooden Spoon: To mix the sticky peanut butter and honey mixture with the oats thoroughly.
- 8×8-inch (20×20 cm) Baking Pan: Ideal for pressing the mixture evenly. If you don’t have one, a loaf pan or any small, shallow dish works fine.
- Parchment Paper: For lining the pan—makes removing the bars simple and keeps cleanup easy.
- Refrigerator: Needed to chill the bars so they firm up properly (about 1 hour).
I’ve tried making these bars in glass, metal, and silicone pans; glass seems to hold the chill best, but silicone makes removal a breeze too. If you don’t have parchment, lightly greasing the pan works but can be messier. For a budget-friendly tip, you can use an old cake pan or even a shallow Tupperware container lined with plastic wrap.
Preparation Method
- Prepare your pan: Line your 8×8-inch (20×20 cm) baking pan with parchment paper, ensuring some overhang on the sides for easy removal later.
- Mix the wet ingredients: In a medium bowl, combine ½ cup (128 g) creamy peanut butter, ⅓ cup (113 g) honey, 1 teaspoon vanilla extract, and a pinch of salt. Stir slowly until the mixture is smooth and slightly runny—this usually takes about 2 minutes. If the peanut butter feels too stiff, warming it gently in the microwave for 15 seconds helps.
- Add spices: Sprinkle in ½ teaspoon ground cinnamon if using, and stir to blend. The aroma should be warm but not overpowering.
- Combine oats and mix-ins: Add 1 ½ cups (135 g) rolled oats into the peanut butter mixture. Stir with a spatula or wooden spoon until the oats are fully coated and evenly distributed. If you’re adding mini chocolate chips or dried fruit (⅓ cup / 50 g), fold them in gently now. The mixture should feel sticky but manageable.
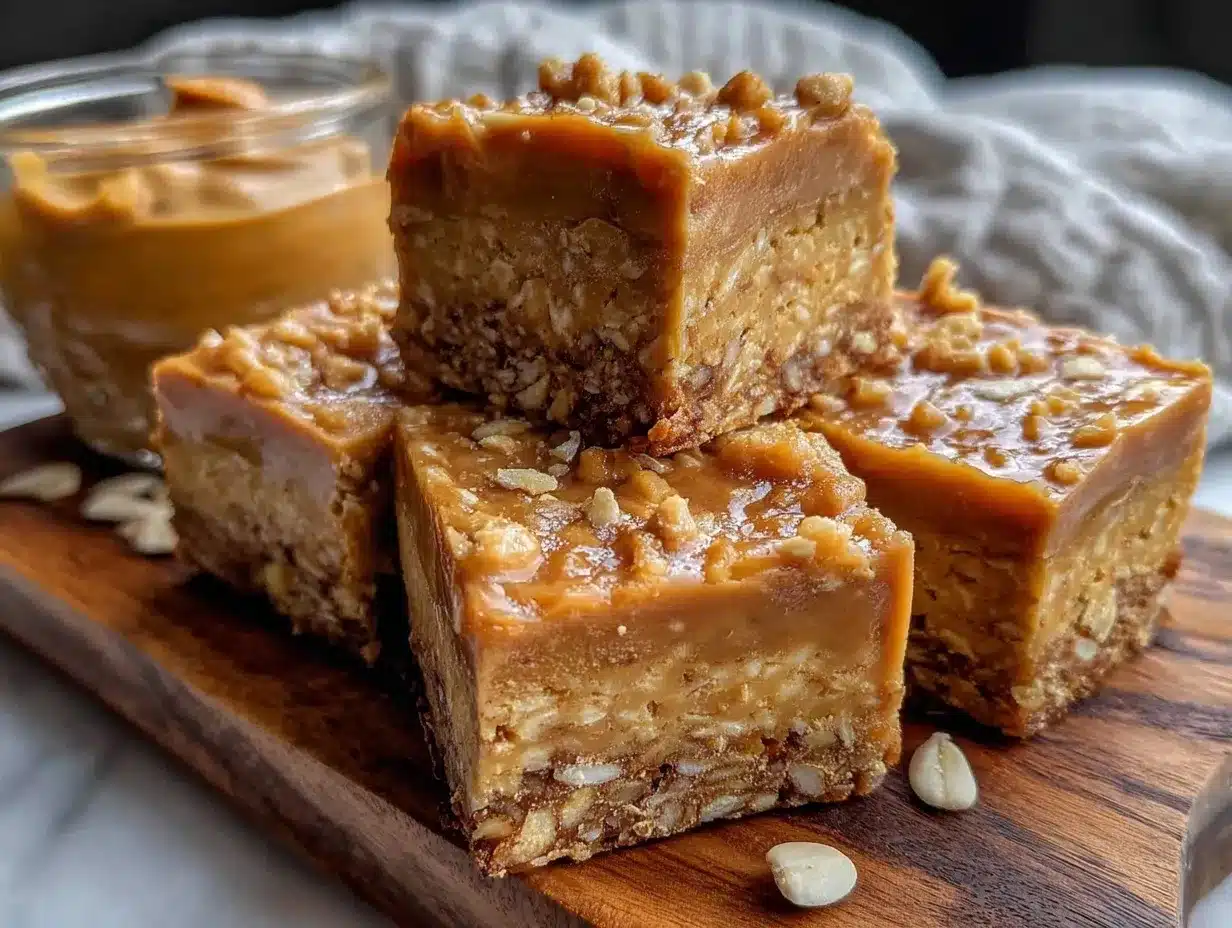
- Press into pan: Transfer the mixture into your prepared pan. Use the back of a spoon or your hands (lightly dampened to prevent sticking) to press the mixture firmly and evenly into the pan. The firmer you press, the better the bars will hold together once chilled.
- Chill: Place the pan in the refrigerator for at least 1 hour. This step is crucial; it lets the bars set up so they don’t crumble when cut.
- Slice and serve: Once firm, lift the mixture out using the parchment overhang. Place on a cutting board and slice into 8 or 10 bars, depending on your preferred size. Store leftover bars in an airtight container in the fridge.
Quick tip: If the bars stick to the knife while cutting, dip the blade in hot water and wipe it dry between slices. That little trick keeps edges clean and neat.
Cooking Tips & Techniques
Making no-bake granola bars sounds simple, but I’ve learned a few tricks the hard way. First, don’t skimp on pressing the mixture firmly into the pan. I once tried a lighter touch, and my bars fell apart the moment I took a bite—lesson learned. When you press firmly, you’re compacting the oats and peanut butter, which binds everything beautifully.
Another thing: the peanut butter texture matters. I’ve seen many folks try chunky peanut butter here, but honestly, it makes the bars crumbly. Creamy peanut butter melts slightly with the honey, creating that perfect sticky glue. Also, warming your peanut butter just a bit before mixing helps if it feels stiff—trust me, it makes the process smoother.
Timing your chill is something I don’t rush. The bars need that solid hour (or longer) in the fridge to firm up. If you’re in a hurry, a quick stint in the freezer (about 20 minutes) can help, but keep an eye so they don’t get too hard to cut.
Lastly, when mixing the oats and add-ins, be gentle but thorough. Overmixing can crush the oats, losing that lovely chew, but under-mixing means uneven bites. I usually fold slowly, coaxing the oats to soak in the peanut butter mixture without breaking down.
Variations & Adaptations
These bars are a great base for all sorts of tweaks and adaptations:
- Sunflower Seed Butter Version: Swap peanut butter for sunflower seed butter to make these free of all nuts and safe for most allergy concerns. The flavor is milder but still delicious.
- Chocolate Drizzle: Once the bars have chilled, melt some dark chocolate and drizzle over the top for a richer treat. Chill again to set the chocolate.
- Seasonal Fruit Add-ins: Swap dried cranberries for chopped dried apricots or cherries depending on the season and what you have on hand.
- Protein Boost: Add a scoop of vanilla protein powder (about ¼ cup) for an extra energy kick. You might need to add a splash of oat milk to keep the mixture sticky.
- Gluten-Free Option: Be sure to use certified gluten-free oats if gluten sensitivity is a concern.
One variation I tried recently was adding a tablespoon of chia seeds for a bit of crunch and nutrition. It changed the texture slightly but made the bars feel even more substantial. It’s a personal favorite twist when I want a little extra oomph in my afternoon snack.
Serving & Storage Suggestions
These easy no-bake nut-free peanut butter granola bars are best served chilled or at room temperature. I like to pull one out of the fridge as a quick pick-me-up with a glass of cold milk or a cup of herbal tea. They’re sturdy enough to eat on the go but not so hard that they feel like a chore to chew.
For storage, keep them in an airtight container in the refrigerator; they’ll last up to a week that way. If you want to keep them longer, pop the bars in the freezer, wrapped individually or layered between parchment paper, and they’ll hold well for up to a month. Thaw a bar at room temperature for 10-15 minutes before eating for the best texture.
One thing I’ve noticed is that the flavors mellow and deepen a bit after a day or two in the fridge. The oats soak up more of the peanut butter and honey, making the bars even more satisfying. So if you can wait, letting them rest overnight is a small treat in itself.
Pair these bars with a fresh fruit salad or something like my fresh rainbow fruit kabobs with honey yogurt dip for a snack that feels both wholesome and a little festive.
Nutritional Information & Benefits
Each bar (assuming 8 bars total) provides approximately:
| Nutrient | Amount per bar |
|---|---|
| Calories | 180-200 kcal |
| Protein | 5-6 grams |
| Fat | 9-10 grams (mostly healthy fats from peanut butter) |
| Carbohydrates | 20-22 grams (includes natural sugars from honey) |
| Fiber | 3 grams |
These bars offer a decent protein boost thanks to peanut butter and oats, making them more than just empty calories. The healthy fats support steady energy, while the fiber helps keep hunger at bay. Because this recipe uses natural sweeteners and whole ingredients, it’s a better alternative to many store-bought bars loaded with preservatives and artificial flavors.
Do note: despite being nut-free for those with tree nut allergies, these bars do contain peanuts, which are legumes. Always check ingredient labels if cross-contamination is a concern. For a truly peanut-free option, try the sunflower seed butter variation mentioned earlier.
From a personal wellness perspective, this snack fits well when I want a balance of comfort and nutrition without overthinking. It’s quick fuel that feels honest and satisfying.
Conclusion
These easy no-bake nut-free peanut butter granola bars have quietly become one of my most trusted snack recipes. They’re straightforward, dependable, and kind to both time and ingredients. Whether you need a quick bite between meetings, a lunchbox addition, or a simple homemade treat, these bars fit the bill without fuss or flare.
Feel free to make them your own by swapping add-ins or trying different nut butters if allergies allow. I love how adaptable they are, and honestly, that’s why I keep coming back to this recipe. It’s a quiet little ritual that makes snack time a bit easier and more thoughtful.
Give these bars a try and let me know how you customize them. I always enjoy hearing different takes and little tweaks from fellow home cooks. Here’s to simple snacks that feel like a small kindness in the day.
FAQs About Easy No-Bake Nut-Free Peanut Butter Granola Bars
Can I use crunchy peanut butter instead of creamy?
Crunchy peanut butter can make the bars crumbly and harder to hold together. For best results, stick to creamy peanut butter for that smooth binding texture.
How long will these granola bars keep?
Stored in an airtight container in the fridge, they last about one week. You can freeze them up to a month if wrapped well.
What can I substitute for honey?
Maple syrup is a good alternative if you want a vegan option or don’t have honey on hand. Use the same amount for similar sweetness and binding.
Are these bars gluten-free?
They can be if you use certified gluten-free rolled oats. Regular oats can sometimes be contaminated with gluten, so check your packaging if this is a concern.
Can I add other seeds or nuts?
You can add seeds like chia, flax, or pumpkin seeds for extra texture and nutrition. If nut allergies aren’t an issue, chopped nuts can be added, but this recipe is designed to be nut-free except for peanuts.
Pin This Recipe!
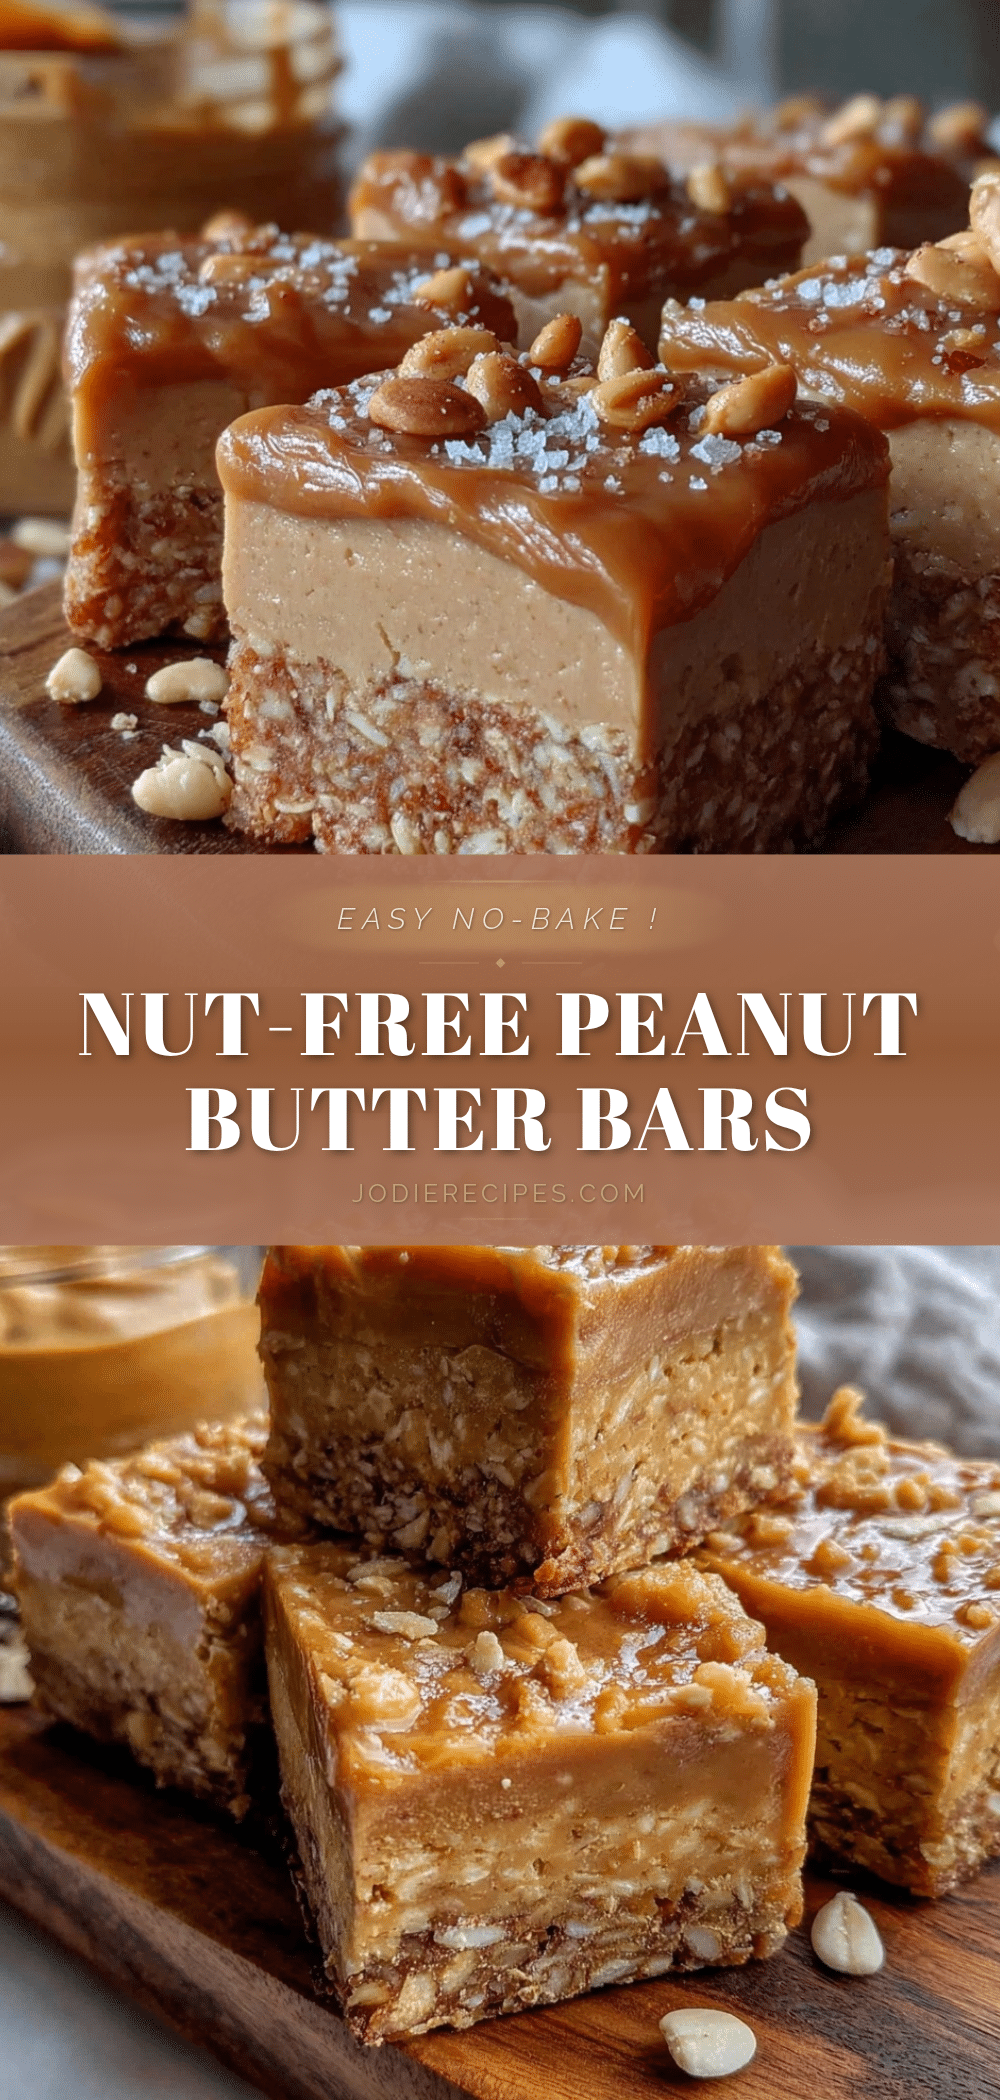
Easy No-Bake Nut-Free Peanut Butter Granola Bars
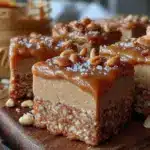
A quick and easy no-bake recipe for nut-free peanut butter granola bars that are chewy, sweet, and perfect for on-the-go snacks. Made with simple pantry ingredients and no oven required.
- Prep Time: 10 minutes
- Cook Time: 0 minutes
- Total Time: 1 hour 10 minutes
- Yield: 8 bars 1x
- Category: Snack
- Cuisine: American
Ingredients
- 1 ½ cups (135 g) rolled oats (old-fashioned, not instant)
- ½ cup (128 g) creamy peanut butter (natural, smooth)
- ⅓ cup (113 g) honey (raw or local preferred)
- 1 teaspoon vanilla extract
- ½ teaspoon ground cinnamon (optional)
- Pinch of salt
- ⅓ cup (50 g) mini chocolate chips or dried fruit (optional)
Instructions
- Line an 8×8-inch (20×20 cm) baking pan with parchment paper, leaving some overhang for easy removal.
- In a medium bowl, combine ½ cup creamy peanut butter, ⅓ cup honey, 1 teaspoon vanilla extract, and a pinch of salt. Stir slowly until smooth and slightly runny, about 2 minutes. Warm peanut butter for 15 seconds in microwave if too stiff.
- Add ½ teaspoon ground cinnamon if using, and stir to blend.
- Add 1 ½ cups rolled oats to the peanut butter mixture. Stir until oats are fully coated and evenly distributed.
- Fold in mini chocolate chips or dried fruit if using.
- Transfer mixture to prepared pan and press firmly and evenly using the back of a spoon or lightly dampened hands.
- Chill in the refrigerator for at least 1 hour to set.
- Lift the mixture out using parchment overhang and slice into 8 to 10 bars.
- Store leftover bars in an airtight container in the refrigerator.
Notes
Press the mixture firmly into the pan to ensure bars hold together well. Use creamy peanut butter for best texture. Warm peanut butter slightly if too stiff. Chill bars for at least 1 hour or freeze for 20 minutes if in a hurry. Dip knife in hot water and dry between slices for clean cuts.
Nutrition
- Serving Size: 1 bar
- Calories: 190
- Sugar: 10
- Sodium: 70
- Fat: 9.5
- Saturated Fat: 1.5
- Carbohydrates: 21
- Fiber: 3
- Protein: 5.5
Keywords: no-bake, nut-free, peanut butter, granola bars, quick snacks, allergy-friendly, easy recipe