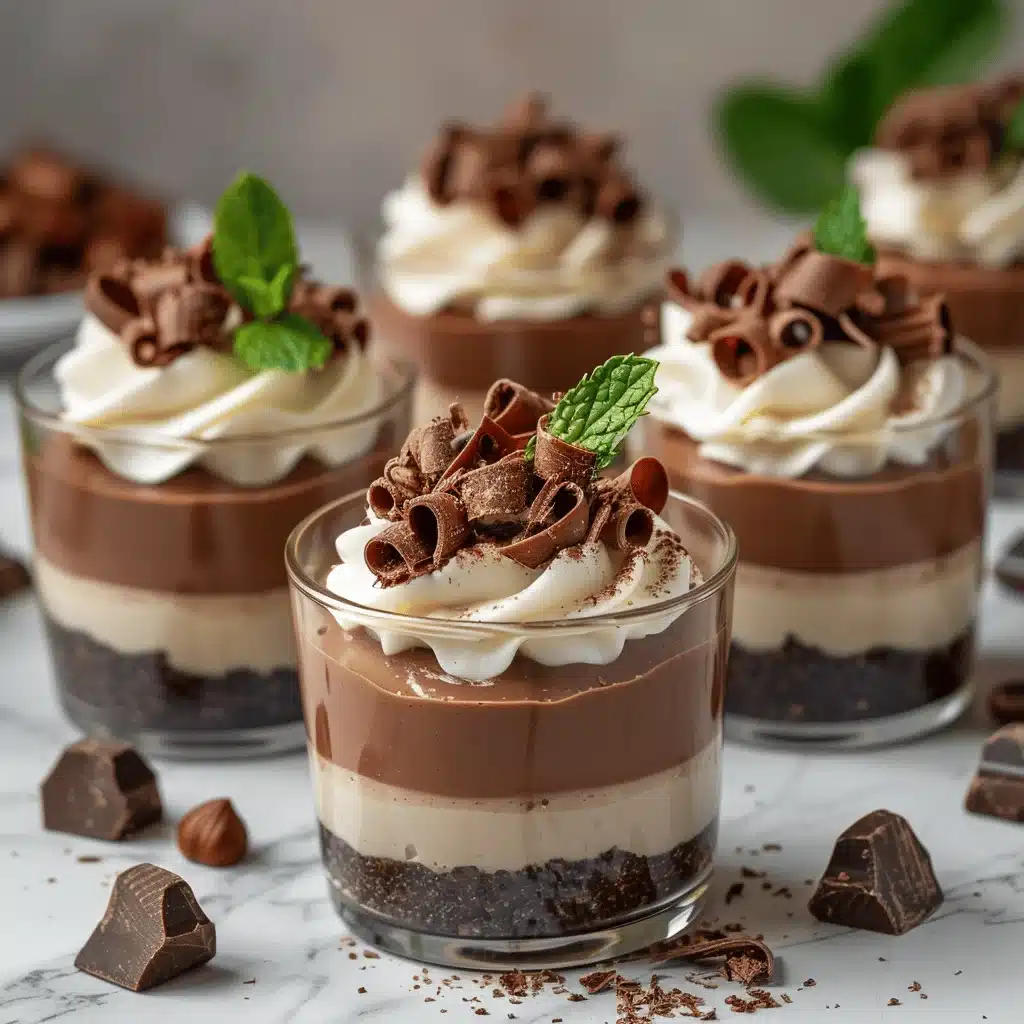
The first time I tasted these layered chocolate mousse cheesecake cups, it felt like pure bliss in every spoonful. Imagine velvety chocolate mousse paired with creamy cheesecake, all nestled in an individual cup for the perfect bite. These are not just desserts—they’re little moments of joy you can savor. Whether you’re hosting a dinner party, looking for an indulgent treat, or craving something special, this recipe is guaranteed to wow. And the best part? You don’t need to be a pastry chef to make them!
Over the years, I’ve refined this recipe to balance richness and sweetness, create a stunning visual appeal, and keep the process approachable. Trust me, your guests will think you spent hours in the kitchen, but only we’ll know how quick and easy they truly are. Let’s dive right into the details of how to make these decadent chocolate mousse cheesecake cups!
Why You’ll Love This Recipe
- Indulgent Layers: You get the best of both worlds—creamy cheesecake and airy chocolate mousse—in every bite.
- Perfect for Any Occasion: These individual cups are great for parties, date nights, or even a solo indulgence.
- No Baking Required: Skip the oven! This dessert is assembled with no-bake layers, making it stress-free and summer-friendly.
- Customizable: You can tailor the flavors, toppings, or presentation to suit your mood or dietary preferences.
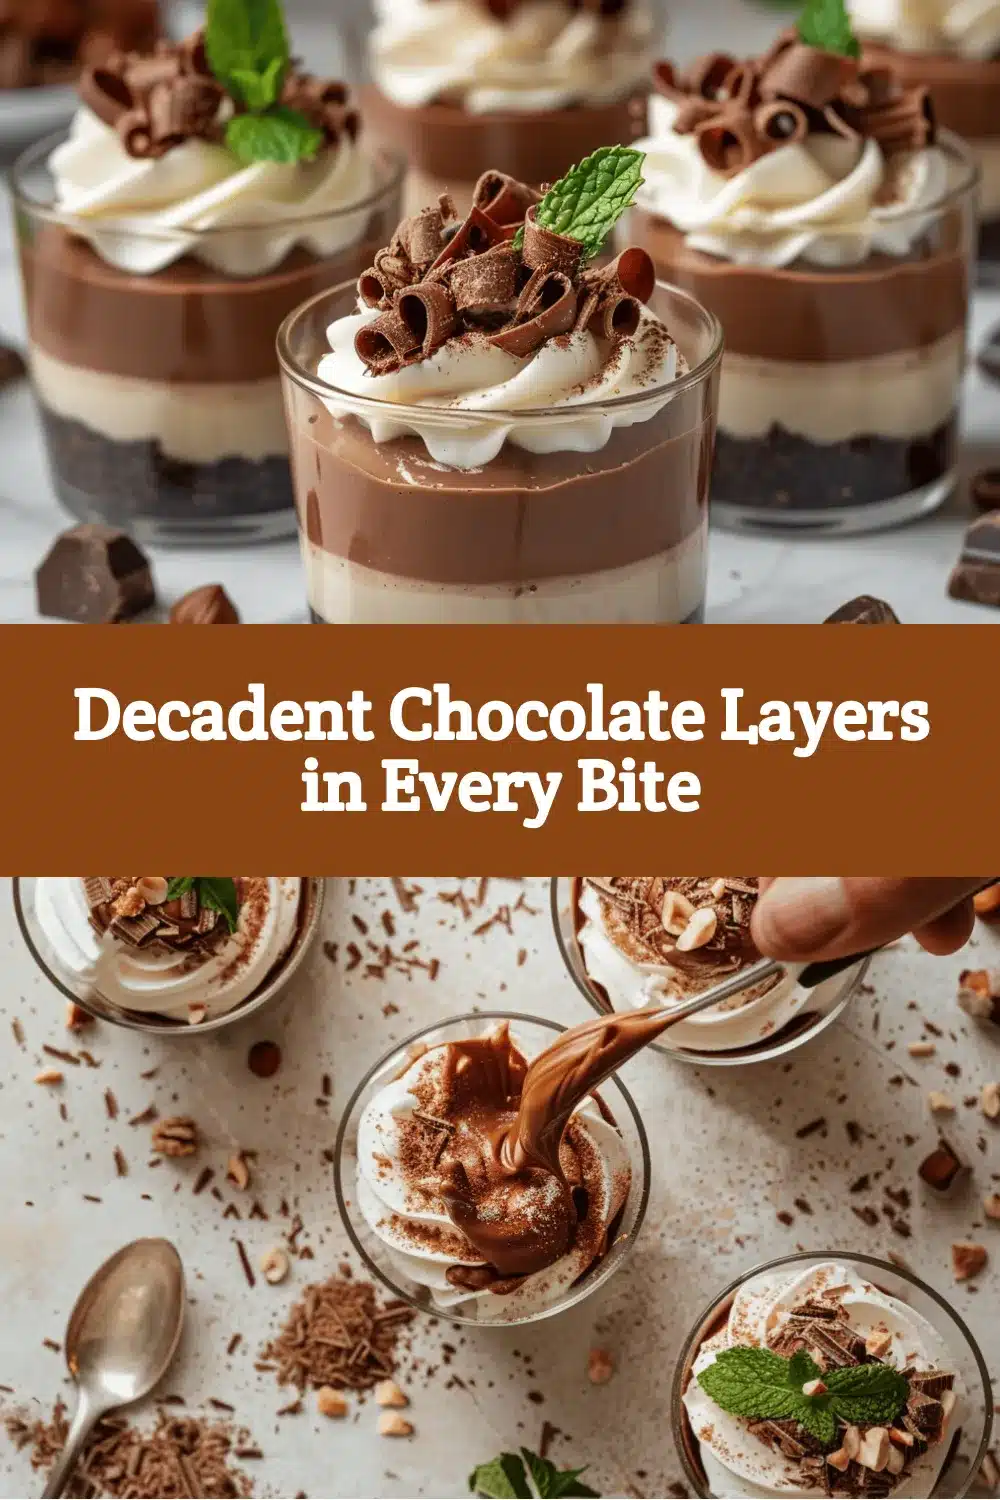
- Visually Stunning: These layered cups look straight out of a bakery. They’re practically made for Pinterest-worthy photos!
What sets this recipe apart is its versatility and ease. Whether you’re a beginner or a seasoned cook, you’ll find the process straightforward with impressive results. Plus, the combination of textures—light mousse, creamy cheesecake, and crunchy graham cracker base—is simply unbeatable.
Ingredients You Will Need
This recipe uses basic ingredients you can easily find at your local grocery store. Here’s what you’ll need:
- For the Cheesecake Layer:
- 8 oz (225 g) cream cheese, softened
- 1/4 cup (50 g) granulated sugar
- 1 tsp vanilla extract
- 1/2 cup (120 ml) heavy cream, whipped
- For the Chocolate Mousse Layer:
- 4 oz (115 g) semi-sweet chocolate, melted and cooled
- 2 tbsp cocoa powder
- 1/4 cup (50 g) powdered sugar
- 1 cup (240 ml) heavy cream
- For the Base:
- 1 cup (100 g) graham cracker crumbs
- 2 tbsp (30 g) unsalted butter, melted
- Optional Toppings:
- Whipped cream
- Chocolate shavings
- Fresh berries
- Crushed nuts (like hazelnuts or almonds)
If you’re gluten-free, swap the graham crackers for a gluten-free alternative. You can even experiment with different crumb bases, like Oreos or digestive biscuits, for a fun twist!
Equipment Needed
- Mixing bowls
- Hand mixer or stand mixer
- Rubber spatula
- Microwave-safe bowl (for melting chocolate)
- Small serving cups or jars
- Piping bags (optional, for clean layers)
If you don’t have piping bags, don’t worry! You can use a spoon to layer your mousse and cheesecake—it might not look as perfect, but it’ll taste just as delicious.
Preparation Method
- Prepare the Graham Cracker Base: Combine graham cracker crumbs and melted butter in a bowl. Mix until the crumbs are evenly coated. Divide this mixture evenly among your serving cups, pressing down gently to form a base.
- Make the Cheesecake Layer: In a mixing bowl, beat cream cheese, sugar, and vanilla extract until smooth. Fold in the whipped cream until fully incorporated. Spoon or pipe this layer over the graham cracker base.
- Prepare the Chocolate Mousse: Melt the chocolate in a microwave-safe bowl in 15-second intervals, stirring frequently. Let it cool slightly. In another bowl, beat heavy cream, cocoa powder, and powdered sugar until soft peaks form. Gently fold in the melted chocolate until the mixture is smooth and fluffy.
- Assemble the Layers: Spoon or pipe the chocolate mousse over the cheesecake layer in each cup. Smooth the tops with a spatula if needed.
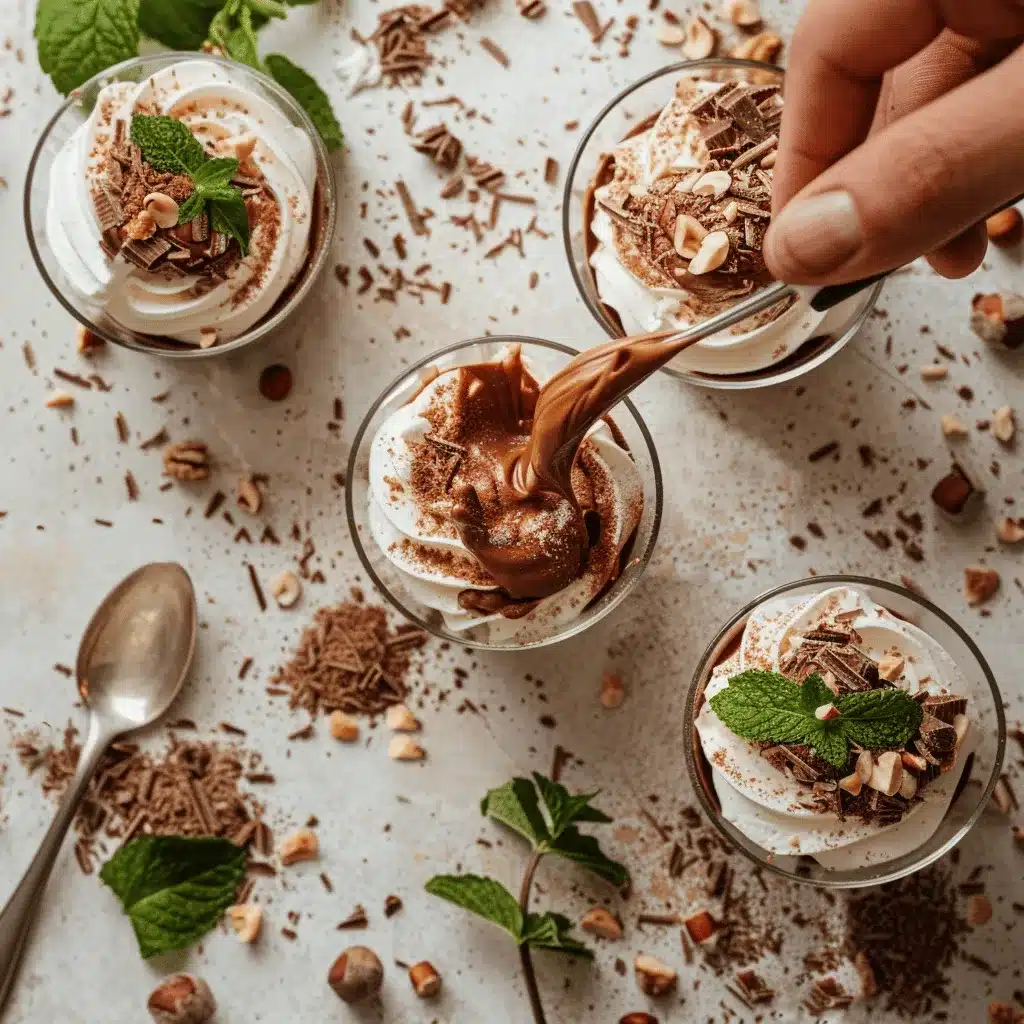
- Add Optional Toppings: Finish off each cup with whipped cream, chocolate shavings, berries, or nuts for added flair.
- Chill and Serve: Refrigerate the cups for at least 2 hours to set. Serve chilled and enjoy!
If your mousse feels too thick to pipe, add a splash of cream to loosen it up. And don’t rush the chilling step—it’s crucial for achieving that perfect texture!
Cooking Tips & Techniques
- Use Room-Temperature Cream Cheese: This ensures a smooth cheesecake layer without lumps.
- Cool the Chocolate Properly: Melted chocolate that’s too hot can seize when mixed with whipped cream. Let it cool but not harden.
- Layer Carefully: For clean layers, use a piping bag or gently spoon the mixtures into the cups.
- Don’t Skip the Chill: Refrigerating the cups allows the layers to set and the flavors to meld beautifully.
- Customize Toppings: Experiment with textures—add crushed cookies, drizzle caramel, or sprinkle flaky sea salt for a gourmet touch.
Little details, like smoothing the layers or adding a decorative topping, make these cups look professional with minimal effort!
Variations & Adaptations
- Gluten-Free Option: Use gluten-free graham crackers or a nut-based crust.
- Flavor Twist: Add a splash of coffee or espresso powder to the mousse for a mocha flavor.
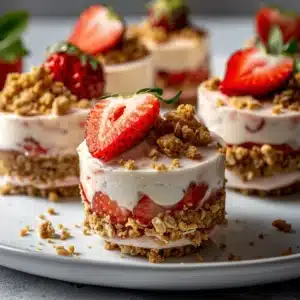
- Seasonal Flair: Swap the toppings with seasonal fruits like strawberries in summer or candied pecans in winter.
- Vegan-Friendly: Replace cream cheese with plant-based cream cheese, heavy cream with coconut cream, and use dairy-free chocolate.
- Mini Versions: Serve in shot glasses for bite-sized indulgence—you’ll have more servings for larger gatherings!
I once added a layer of caramel between the cheesecake and mousse—it was heavenly! Feel free to get creative and make this recipe your own.
Serving & Storage Suggestions
Serve these cups chilled for the best texture and flavor. Pair them with coffee or a dessert wine for an elegant touch.
- Storage: Cover the cups with plastic wrap or lids and store them in the refrigerator for up to 3 days.
- Freezing: You can freeze the assembled cups (without toppings) for up to a month. Let them thaw in the fridge before serving.
- Reheating: Not required—these are meant to be enjoyed cold!
The flavors deepen over time, so they’re even better the next day. Perfect for making ahead!
Nutritional Information & Benefits
Here’s an approximate breakdown per serving (based on 6 servings):
- Calories: 450
- Fat: 30 g
- Carbohydrates: 40 g
- Protein: 5 g
- Sugar: 30 g
These cups are indulgent, but they’re also portion-controlled, making them a great way to enjoy dessert responsibly. Plus, the high-quality chocolate provides antioxidants, and the whipped cream adds a luxurious texture without being cloying.
Conclusion
These decadent chocolate mousse cheesecake cups are a showstopper that’s as fun to make as they are to eat. Whether you’re a chocolate lover or a cheesecake enthusiast, this recipe combines the best of both worlds into an irresistible dessert. The layers, the textures, the flavors—it’s hard to go wrong with this one.
Give this recipe a try and let your creativity shine. Add your favorite toppings, experiment with flavors, or even make a double batch because trust me, they’ll disappear fast! I’d love to hear how yours turn out—share your tips or variations in the comments below. Happy layering!
Now go grab your ingredients and whip up some magic in your kitchen. You deserve this indulgence!
FAQs
Can I make these cups ahead of time?
Absolutely! These are perfect for prepping the day before. Just add the toppings right before serving.
What type of chocolate should I use?
Semi-sweet chocolate works best for a balanced flavor. You can also use dark chocolate if you prefer a richer taste.
Can I substitute the cream cheese?
Yes, you can use mascarpone for a lighter flavor or plant-based cream cheese for a vegan option.
How do I avoid lumps in the cheesecake layer?
Ensure your cream cheese is softened and beat it thoroughly before adding other ingredients.
What’s the best way to melt chocolate?
Microwave it in short intervals, stirring frequently, or use a double boiler for more control.
Pin This Recipe!
Decadent Chocolate Mousse Cheesecake Cups

Velvety chocolate mousse paired with creamy cheesecake, layered in individual cups for a no-bake, indulgent dessert perfect for any occasion.
- Prep Time: 20 minutes
- Cook Time: 0 minutes
- Total Time: 2 hours 20 minutes
- Yield: 6 servings 1x
- Category: Dessert
- Cuisine: American
Ingredients
- 8 oz cream cheese, softened
- 1/4 cup granulated sugar
- 1 tsp vanilla extract
- 1/2 cup heavy cream, whipped
- 4 oz semi-sweet chocolate, melted and cooled
- 2 tbsp cocoa powder
- 1/4 cup powdered sugar
- 1 cup heavy cream
- 1 cup graham cracker crumbs
- 2 tbsp unsalted butter, melted
- Whipped cream (optional)
- Chocolate shavings (optional)
- Fresh berries (optional)
- Crushed nuts (optional)
Instructions
- Combine graham cracker crumbs and melted butter in a bowl. Mix until evenly coated. Divide among serving cups and press down gently to form a base.
- In a mixing bowl, beat cream cheese, sugar, and vanilla extract until smooth. Fold in whipped cream until fully incorporated. Spoon or pipe this layer over the graham cracker base.
- Melt the chocolate in a microwave-safe bowl in 15-second intervals, stirring frequently. Let it cool slightly. In another bowl, beat heavy cream, cocoa powder, and powdered sugar until soft peaks form. Gently fold in the melted chocolate until smooth and fluffy.
- Spoon or pipe the chocolate mousse over the cheesecake layer in each cup. Smooth the tops with a spatula if needed.
- Finish each cup with whipped cream, chocolate shavings, berries, or nuts as desired.
- Refrigerate the cups for at least 2 hours to set. Serve chilled and enjoy!
Notes
Ensure cream cheese is at room temperature for a smooth cheesecake layer. Let melted chocolate cool slightly before mixing to avoid seizing. Refrigerate for at least 2 hours to set the layers properly.
Nutrition
- Serving Size: 1 cup
- Calories: 450
- Sugar: 30
- Sodium: 150
- Fat: 30
- Saturated Fat: 18
- Carbohydrates: 40
- Fiber: 2
- Protein: 5
Keywords: chocolate mousse, cheesecake cups, no-bake dessert, layered dessert, individual desserts