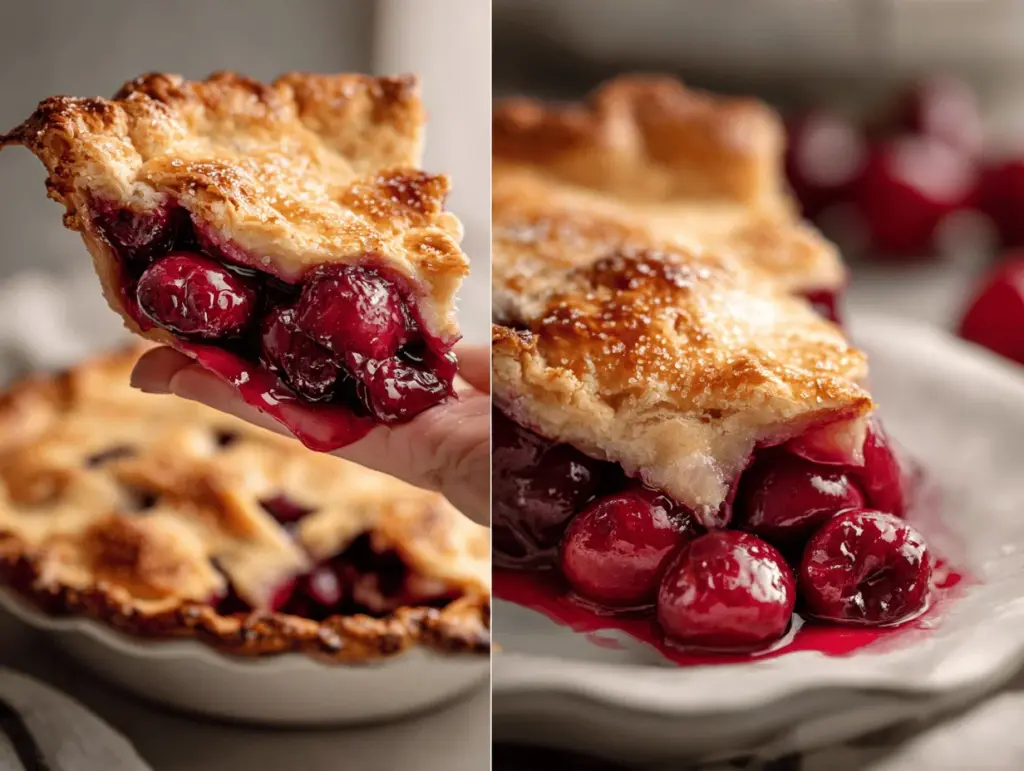
The sound of bubbling cherries and the buttery aroma of a golden crust in the oven—honestly, that’s my happy place. I can still remember the first time I baked this cherry pie recipe for a family picnic—juicy filling, flaky crust, and that moment everyone reached for seconds. If you’ve ever stared at a basket of fresh cherries and wondered what magic you could make, this easy homemade cherry pie might just be your new summer tradition.
Let’s face it: Cherry pie isn’t just dessert. It’s a slice of nostalgia, a centerpiece for sunny afternoons, and (if you ask my kids) the only reason to pick cherries in June. I’ve tweaked and tested this recipe more times than I can count. Now, it’s the version I trust for birthdays, barbecues, and those “just because” baking days. Whether you’re a pie newbie or a seasoned home baker, this cherry pie recipe delivers classic comfort with a few clever upgrades.
Sweet, tart, and absolutely irresistible—this homemade cherry pie is all about simplicity meeting summer flavor. You won’t need any fancy equipment, and I promise the crust is easier than it looks. Plus, the filling is loaded with real fruit (none of that canned stuff!) and just the right amount of sweetness. Grab your apron and a handful of cherries—you’re about to master the ultimate summer dessert!
Why You’ll Love This Cherry Pie Recipe
- Quick & Easy: From prep to table in under 2 hours—perfect for spontaneous cravings or last-minute gatherings.
- Simple Ingredients: Pantry staples and fresh cherries—no hard-to-find items required.
- Perfect for Every Occasion: Whether it’s a summer picnic, holiday brunch, or just a weeknight treat, this cherry pie fits the bill.
- Crowd-Pleaser: Kids, adults, and even “not-a-pie-person” folks rave about the sweet-tart balance and flaky crust.
- Unbelievably Delicious: Every bite is bursting with cherry flavor and buttery goodness—you’ll want to savor every crumb.
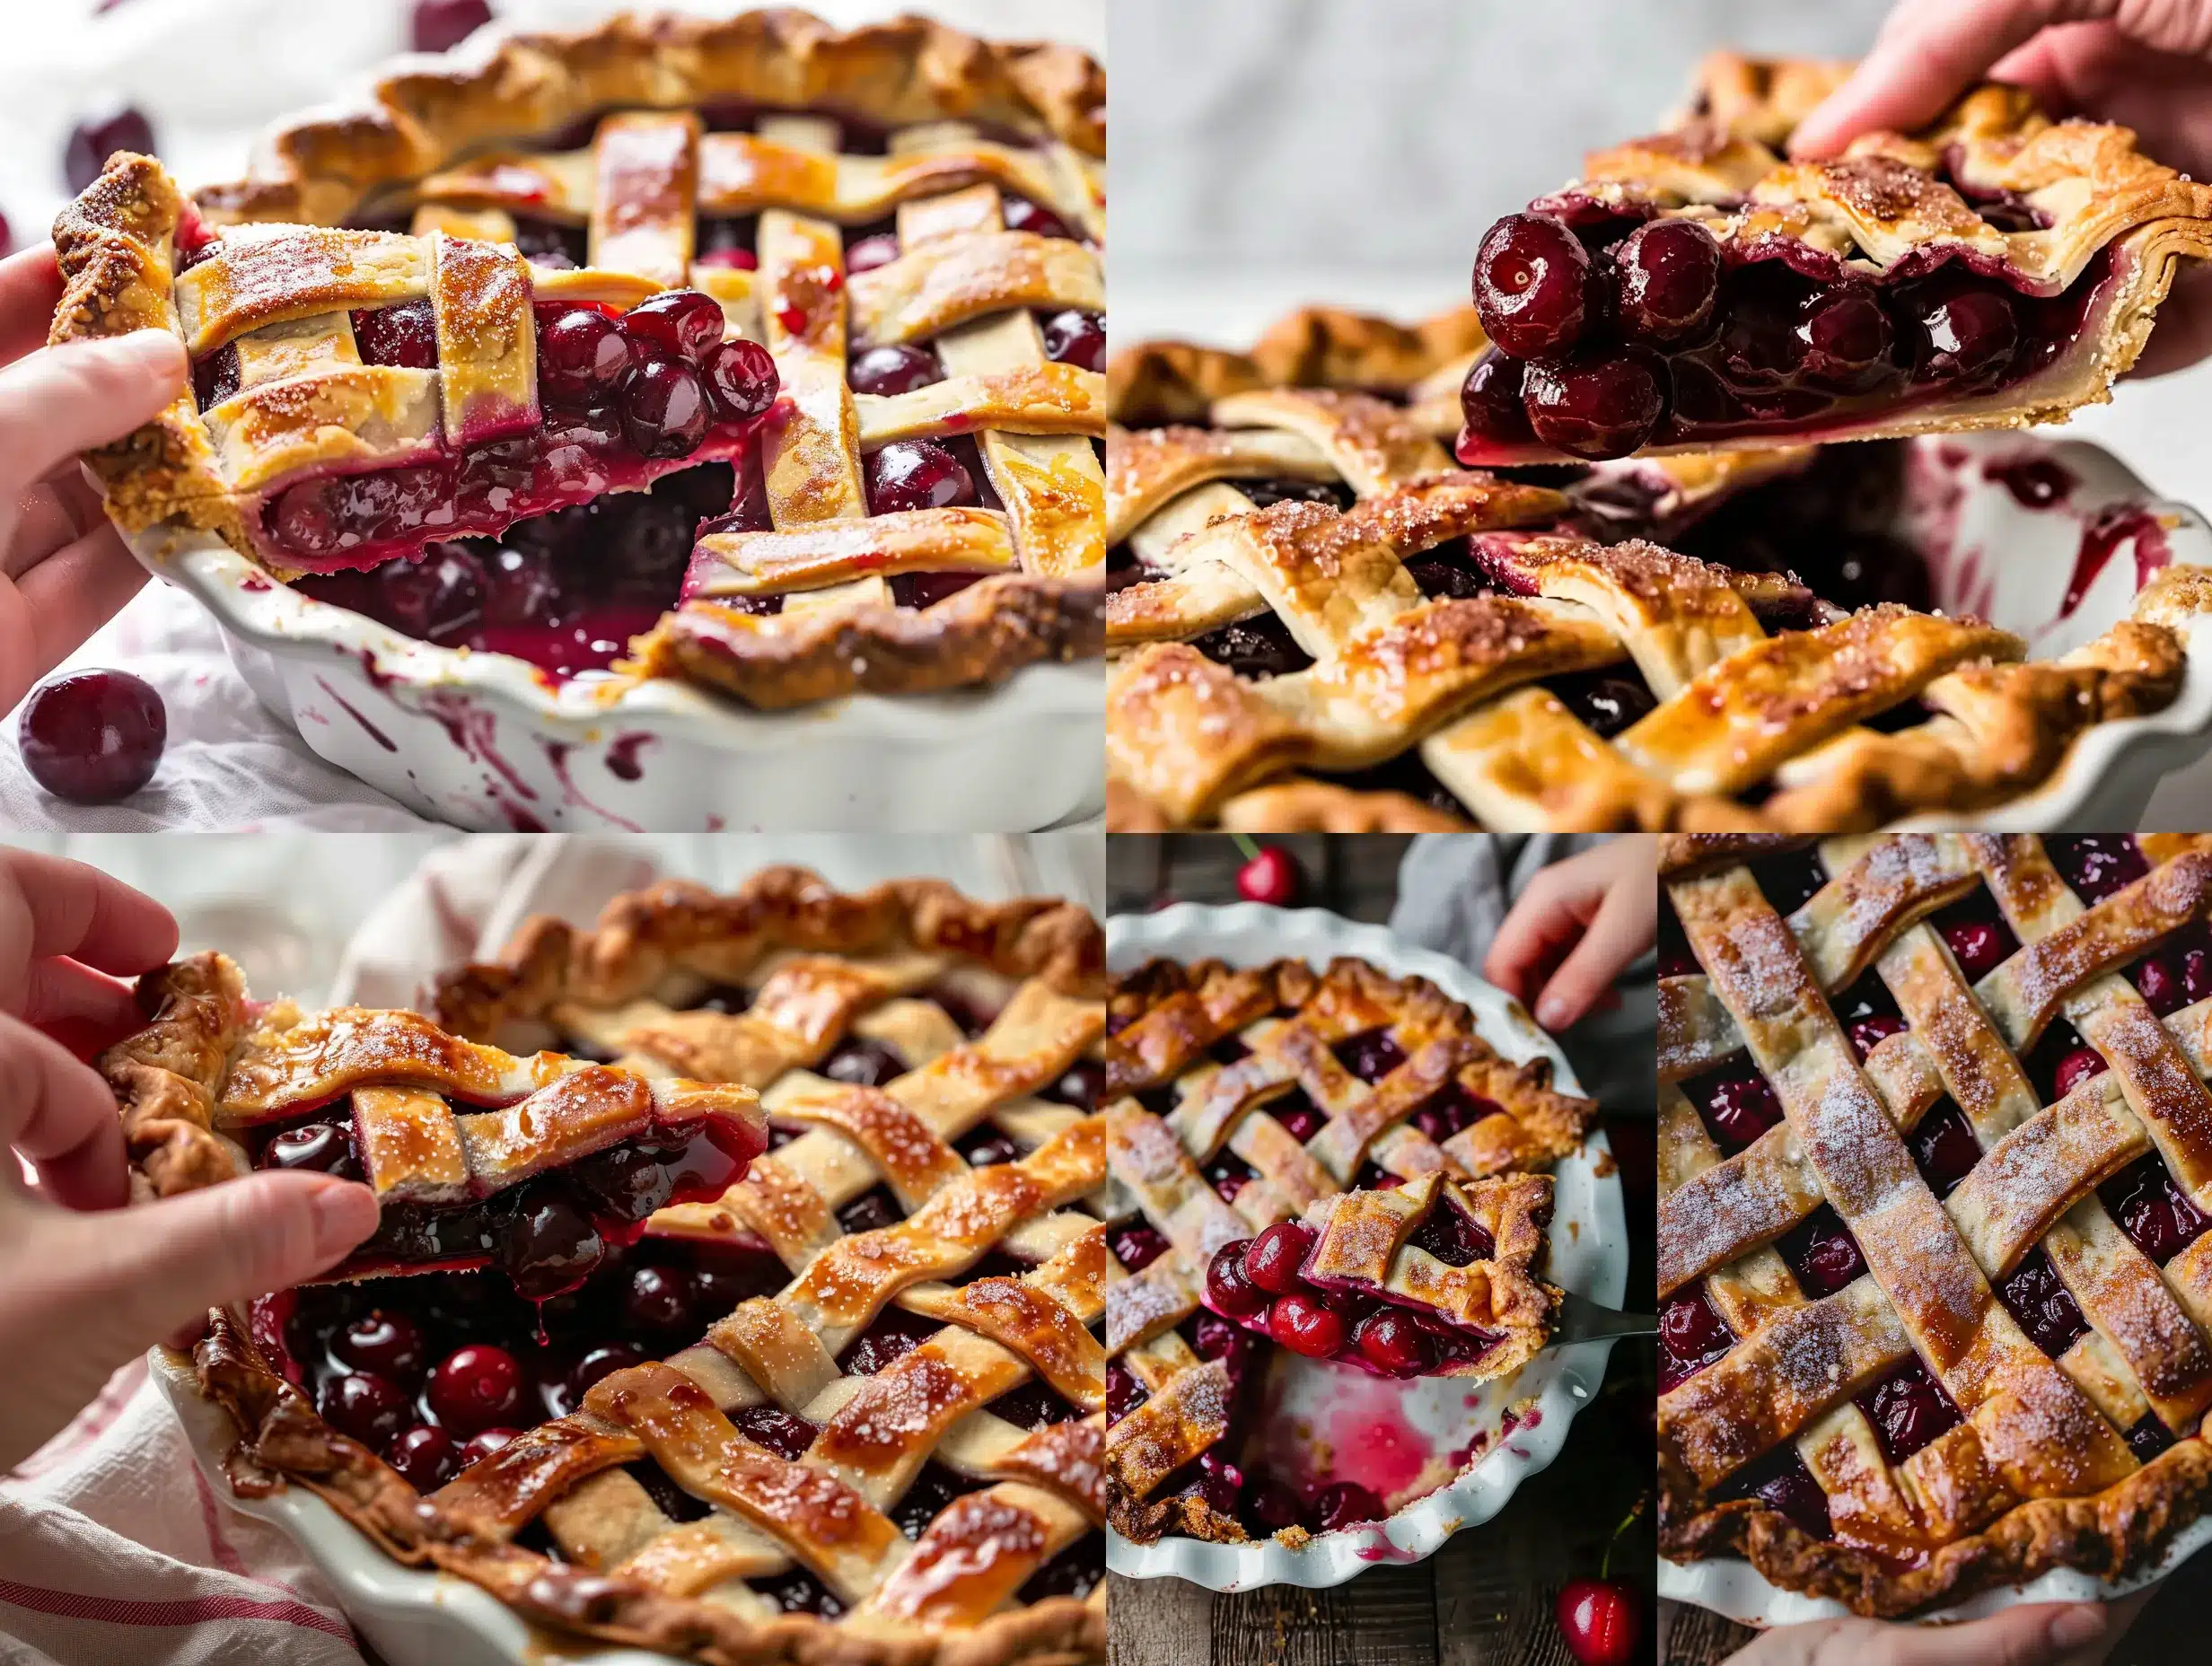
What makes this cherry pie recipe stand out? For starters, I use a mix of sweet and sour cherries for depth of flavor (you can go all sour if you like a tangier kick). The crust is homemade but totally forgiving—no fancy pastry skills needed. I use a splash of almond extract in the filling (trust me, it’s a game changer) and just enough cornstarch to keep things thick but not gummy.
This pie isn’t just “good.” It’s the kind that makes you close your eyes and savor the moment. It’s comfort food with a summery twist—sweet, tart, and satisfying. If you want to impress guests without stress or make any meal feel special, this cherry pie recipe is your secret weapon. I’ve baked it for potlucks, birthdays, and quiet afternoons, and it always disappears fast. Plus, you can tweak the filling or crust to suit your taste, allergies, or dietary needs—this recipe loves a little customization.
After years of pie-baking (and a few crust fails along the way), I can honestly say this is my go-to cherry pie. It’s foolproof, flexible, and truly irresistible. Ready to bake some happiness?
What Ingredients You Will Need
This cherry pie recipe relies on wholesome, classic ingredients to deliver bold flavor and a perfect texture—no complicated steps or specialty groceries. Most items are pantry staples, and the rest are easy to find at any market (especially during cherry season!). Here’s the breakdown:
- For the Pie Crust:
- 2 1/2 cups (315g) all-purpose flour (unbleached is best for flaky texture)
- 1 cup (226g) unsalted butter, cold and cubed (I love using Kerry Gold for extra richness)
- 1 tsp salt
- 2 tbsp granulated sugar (adds just a hint of sweetness)
- 6-8 tbsp ice water (start with 6 and add more if needed)
- For the Cherry Filling:
- 5 cups (about 800g) fresh pitted cherries (a mix of sweet and tart for best flavor)
- 1 cup (200g) granulated sugar (adjust to taste—less for sweet cherries, more for sour)
- 1/4 cup (30g) cornstarch (thickens the filling without making it gluey)
- 1 tbsp lemon juice (brightens and balances sweetness)
- 1/2 tsp almond extract (optional but highly recommended—trust me, it’s magic)
- 1/4 tsp salt
- For Assembly:
- 1 egg, beaten (for egg wash—makes the crust shiny and golden)
- 1 tbsp coarse sugar (for sprinkling—adds crunch and sparkle)
Ingredient Notes & Tips:
- If cherries aren’t in season, frozen ones work in a pinch—just thaw and drain well.
- You can substitute gluten-free flour for the crust (I like King Arthur’s blend), but add an extra tablespoon of ice water.
- If you’re dairy-free, use plant-based butter (Earth Balance is my go-to).
- Want extra tartness? Use all sour cherries or add a little more lemon juice.
- Prefer less sugar? Reduce by 1/4 cup—cherries shine on their own!
- Don’t have almond extract? Vanilla works, but almond really brings out the cherry flavor.
I’ve tested this cherry pie recipe with different brands and types of cherries, and honestly, the fresher the fruit, the better the pie. If you’re lucky enough to have a cherry tree or local orchard, pick ripe, firm cherries for the juiciest filling. Otherwise, supermarket cherries work just fine—just taste and adjust the sugar as you go!
Equipment Needed
- 9-inch Pie Pan: Glass or ceramic is ideal for even baking. Metal works too—just watch the crust for browning.
- Mixing Bowls: At least two—one for the crust, one for the filling.
- Pastry Cutter or Fork: For cutting butter into flour. You can use your hands (cold is key!), or even a food processor for speed.
- Rolling Pin: Wooden, marble, or even a wine bottle in a pinch—just make sure it’s clean.
- Cherry Pitter: Not essential, but a lifesaver if you’re pitting lots of cherries. Otherwise, use a small knife (just watch those fingers!).
- Baking Sheet: Place under the pie to catch any drips—it saves on cleanup.
- Pastry Brush: For egg wash. If you don’t have one, use the back of a spoon.
I’ve used everything from vintage pie pans to thrift store rolling pins, and honestly, the most important thing is that your tools are clean and in good shape. If your pastry cutter is getting dull, sharpen or replace it—it makes a difference. And for cherry pitting, while I started with a paring knife, once I invested in a pitter, my prep time dropped (and my hands thanked me). Don’t stress about fancy gadgets—work with what you have, and your cherry pie will still be fabulous.
Preparation Method
-
Make the Pie Crust:
Time: 15 minutes prep, 1 hour chill
In a large bowl, whisk together 2 1/2 cups (315g) flour, 1 tsp salt, and 2 tbsp sugar. Add 1 cup (226g) cold, cubed butter. Using a pastry cutter (or your fingertips), cut the butter into the flour until the mixture looks like coarse crumbs—pea-sized bits are perfect. Sprinkle in 6 tbsp ice water, mixing just until the dough holds together. If it’s too dry, add more water a tablespoon at a time.
Divide the dough in half, flatten into discs, wrap in plastic, and chill for at least 1 hour. (Don’t skip chilling—it keeps the crust flaky!) -
Prep the Cherry Filling:
Time: 10 minutes
In a large bowl, combine 5 cups (800g) pitted cherries, 1 cup (200g) sugar, 1/4 cup (30g) cornstarch, 1 tbsp lemon juice, 1/2 tsp almond extract, and 1/4 tsp salt. Toss gently until cherries are coated and the mixture looks glossy. If using frozen cherries, make sure they’re fully thawed and drained. -
Roll Out the Crust:
Time: 10 minutes
On a lightly floured surface, roll one dough disc into a 12-inch (30cm) circle. Drape over your 9-inch pie pan, pressing gently into the bottom and up the sides. Trim edges, leaving about 1/2 inch (1.25cm) overhang. -
Fill and Top:
Time: 5 minutes
Pour the cherry filling into the crust, spreading evenly. Roll out the second dough disc for the top—classic lattice or full crust, your choice. If using a full crust, cut slits for steam to escape. -
Seal and Finish:
Time: 3 minutes
Trim and crimp the edges to seal. Brush with beaten egg and sprinkle with coarse sugar for sparkle. -
Bake:
Time: 45-55 minutes
Preheat oven to 400°F (200°C). Place the pie on a baking sheet (catch those juicy drips!) and bake for 20 minutes. Reduce heat to 350°F (175°C), then bake another 30-35 minutes, until the crust is golden and the filling bubbles up through the lattice or slits. -
Cool:
Time: 2 hours
Let the pie cool completely on a wire rack before slicing. The filling thickens as it cools, making for cleaner slices.
Troubleshooting & Tips:
- If your crust browns too quickly, cover edges with foil halfway through baking.
- Filling too runny? Add an extra tablespoon of cornstarch next time.
- If dough cracks, patch with a bit of cold water and press gently—imperfections add charm!
When I first baked this pie, my crust shrank a bit (rookie mistake—I forgot to chill the dough). Now, I always chill and never rush the cooling. The result is a pie that slices beautifully and tastes even better the next day.
Cooking Tips & Techniques
- Cold Ingredients are Key: Always use cold butter and ice water for the crust. Warm butter melts before baking, leading to a tough texture. I even chill my mixing bowl in hot weather!
- Don’t Overwork the Dough: Mix just until combined. Over-mixing activates gluten, making crust chewy instead of flaky. (I learned this the hard way—my first crust was more like pizza dough than pie!)
- Lattice or Full Top? Lattice lets steam escape and looks stunning, but a full crust is faster and seals in moisture. Either way, brush with egg wash for shine and crunch.
- Thickening the Filling: Cherries release lots of juice. Cornstarch is the best thickener, but if you want extra insurance, toss cherries with a bit of tapioca starch too.
- Watch for Bubbling: The pie is done when you see syrupy bubbles at the edges. Underbaked pies stay soupy—always check before removing.
- Multitasking: While the dough chills, pit your cherries. Or, prep the filling the night before and refrigerate.
- Consistency is Everything: Measure your flour and cornstarch carefully. Too much flour makes a dry crust; too little thickener means a runny pie.
I’ve burned a few crusts and under-thickened a filling or two, but each bake taught me something new. My biggest lesson? Patience pays off—especially with homemade cherry pie. Always let the pie cool completely before slicing. Rushing leads to runny messes (trust me, I’ve done it more than once!).
Variations & Adaptations
- Gluten-Free Cherry Pie: Swap the all-purpose flour for a gluten-free blend. Add 1/2 tsp xanthan gum for structure. The crust will be a bit more delicate, so handle gently.
- Vegan Cherry Pie: Use plant-based butter in the crust and skip the egg wash. Brush the top with almond milk for shine.
- Spiced Cherry Pie: Add 1/2 tsp ground cinnamon and a pinch of nutmeg to the filling for a cozy, autumn twist. Perfect for late summer or early fall.
- Mini Cherry Pies: Use muffin tins and cut circles of dough to fit. Bake at 375°F (190°C) for 25-30 minutes—great for parties and lunchboxes!
- Nut-Free Option: Skip the almond extract and use vanilla instead.
- Low-Sugar Version: Reduce sugar by 1/3 and use stevia or monk fruit sweetener for a lighter pie.
One time, I mixed in fresh blueberries with the cherries when I was short a cup—turned out beautifully, and now it’s a favorite “kitchen sink” variation (especially when berries are in season). Don’t be afraid to customize—this cherry pie recipe is all about making it your own.
Serving & Storage Suggestions
This cherry pie is best served at room temperature or slightly warm. For a classic presentation, slice generous wedges and plate with a scoop of vanilla ice cream or a dollop of whipped cream. If you’re feeling fancy, drizzle with a little cherry syrup or sprinkle with toasted almonds.
- Serving: Let the pie cool for at least 2 hours before cutting—this sets the filling and keeps slices neat. For picnics, wrap slices in parchment for easy transport.
- Pairings: Goes beautifully with iced tea, lemonade, or even a crisp rosé.
- Storage: Cover leftovers tightly and store at room temperature for up to 2 days, or in the refrigerator for up to 5 days. The flavors deepen overnight (honestly, I think it’s even better on day two!).
- Freezing: To freeze, wrap the whole pie or individual slices in foil, then place in a zip-top bag. Thaw overnight in the fridge and reheat at 350°F (175°C) for 15 minutes.
- Reheating: Warm slices in the oven or microwave—just watch for soggy crust if microwaving.
Sometimes I sneak a slice straight from the fridge (midnight pie, anyone?), and it’s just as good cold. Don’t worry about perfection—crumbly edges and juicy filling are part of the charm!
Nutritional Information & Benefits
Each slice (1/8th of the pie) has approximately:
- Calories: 340
- Fat: 15g
- Carbs: 48g
- Protein: 4g
- Fiber: 3g
- Sugar: 26g
Cherries are loaded with antioxidants, vitamin C, and potassium—great for immunity and muscle recovery. The homemade crust cuts out preservatives found in store-bought pies. If you’re gluten-free or dairy-free, the suggested swaps still deliver plenty of flavor and nutrition. Just note the pie contains wheat and butter (unless adapted), and a hint of almond extract (skip for nut allergies).
Honestly, I love that this cherry pie recipe lets me treat my family to something sweet while still sneaking in a bit of fruit. It’s a dessert you can feel good about sharing.
Conclusion
If you’re looking for a classic homemade cherry pie recipe that’s easy, delicious, and totally customizable, this is the one. It’s the kind of dessert that turns an ordinary day into a celebration and makes every summer gathering a little sweeter. I love how simple ingredients and a few personal touches can create something truly memorable.
Feel free to tweak the filling or crust to suit your family’s tastes or dietary needs—this cherry pie is all about making it your own. If you try it, let me know how it goes (and which variation you choose!).
Leave a comment below if you have questions, share your favorite pie stories, or tag me on social media so I can see your delicious results. Baking is best when shared—so grab those cherries and start a new tradition!
FAQs
Can I use frozen cherries for this cherry pie recipe?
Yes! Just thaw and drain them well before using. Frozen cherries work great, especially outside cherry season.
Do I have to make the crust from scratch?
Nope! You can use a store-bought pie crust if you’re short on time. Homemade does taste richer and flakier, though.
How do I prevent a soggy bottom crust?
Bake the pie on a lower oven rack and use a glass or metal pan for better heat conduction. You can also sprinkle a little flour or ground almonds on the crust before adding filling.
Can I make this cherry pie ahead of time?
Absolutely. Bake, cool, and store tightly covered. The flavors actually improve after a day!
What’s the best way to pit cherries without a cherry pitter?
You can use a small knife or even a sturdy straw to push out the pit. Just be careful—pitting by hand gets messy but works in a pinch!
Pin This Recipe!
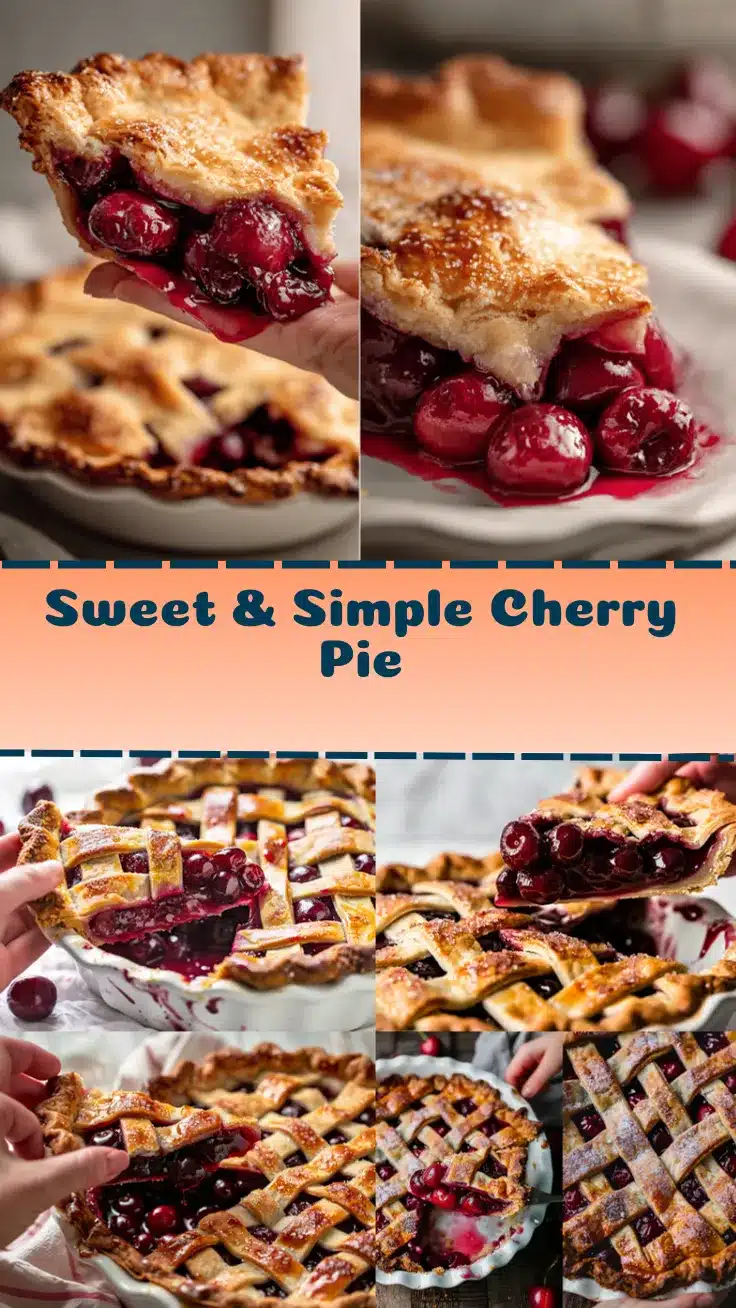
Cherry Pie Recipe: Easy Homemade Classic for Perfect Summer Desserts
This easy homemade cherry pie features a flaky, buttery crust and a juicy, sweet-tart cherry filling made with fresh fruit. Perfect for summer gatherings, it’s a classic dessert that’s simple to make and always a crowd-pleaser.
- Prep Time: 35 minutes
- Cook Time: 50 minutes
- Total Time: 3 hours 25 minutes
- Yield: 1 9-inch pie (8 servings) 1x
- Category: Dessert
- Cuisine: American
Ingredients
- 2 1/2 cups (315g) all-purpose flour
- 1 cup (226g) unsalted butter, cold and cubed
- 1 tsp salt
- 2 tbsp granulated sugar
- 6–8 tbsp ice water
- 5 cups (about 800g) fresh pitted cherries (mix of sweet and tart recommended)
- 1 cup (200g) granulated sugar
- 1/4 cup (30g) cornstarch
- 1 tbsp lemon juice
- 1/2 tsp almond extract (optional)
- 1/4 tsp salt
- 1 egg, beaten (for egg wash)
- 1 tbsp coarse sugar (for sprinkling)
Instructions
- In a large bowl, whisk together flour, salt, and sugar. Add cold, cubed butter and cut into the flour using a pastry cutter or fingertips until the mixture resembles coarse crumbs.
- Sprinkle in 6 tbsp ice water, mixing just until the dough holds together. Add more water a tablespoon at a time if needed.
- Divide the dough in half, flatten into discs, wrap in plastic, and chill for at least 1 hour.
- In a large bowl, combine pitted cherries, sugar, cornstarch, lemon juice, almond extract (if using), and salt. Toss gently until cherries are coated.
- On a lightly floured surface, roll one dough disc into a 12-inch circle. Drape over a 9-inch pie pan, pressing gently into the bottom and sides. Trim edges, leaving about 1/2 inch overhang.
- Pour the cherry filling into the crust and spread evenly.
- Roll out the second dough disc for the top. Create a lattice or full crust, cutting slits for steam if using a full crust.
- Trim and crimp the edges to seal. Brush with beaten egg and sprinkle with coarse sugar.
- Preheat oven to 400°F (200°C). Place the pie on a baking sheet and bake for 20 minutes.
- Reduce oven temperature to 350°F (175°C) and bake for another 30-35 minutes, until the crust is golden and the filling is bubbling.
- Let the pie cool completely on a wire rack for at least 2 hours before slicing.
Notes
For best results, use a mix of sweet and tart cherries. If using frozen cherries, thaw and drain well. Chill the dough thoroughly for a flaky crust. Cover crust edges with foil if browning too quickly. Let the pie cool completely before slicing for clean slices. For gluten-free or vegan adaptations, see variations in the blog post.
Nutrition
- Serving Size: 1 slice (1/8th of pie)
- Calories: 340
- Sugar: 26
- Sodium: 220
- Fat: 15
- Saturated Fat: 9
- Carbohydrates: 48
- Fiber: 3
- Protein: 4
Keywords: cherry pie, homemade cherry pie, summer dessert, classic pie, fruit pie, easy cherry pie, picnic dessert, flaky crust, fresh cherries, American dessert