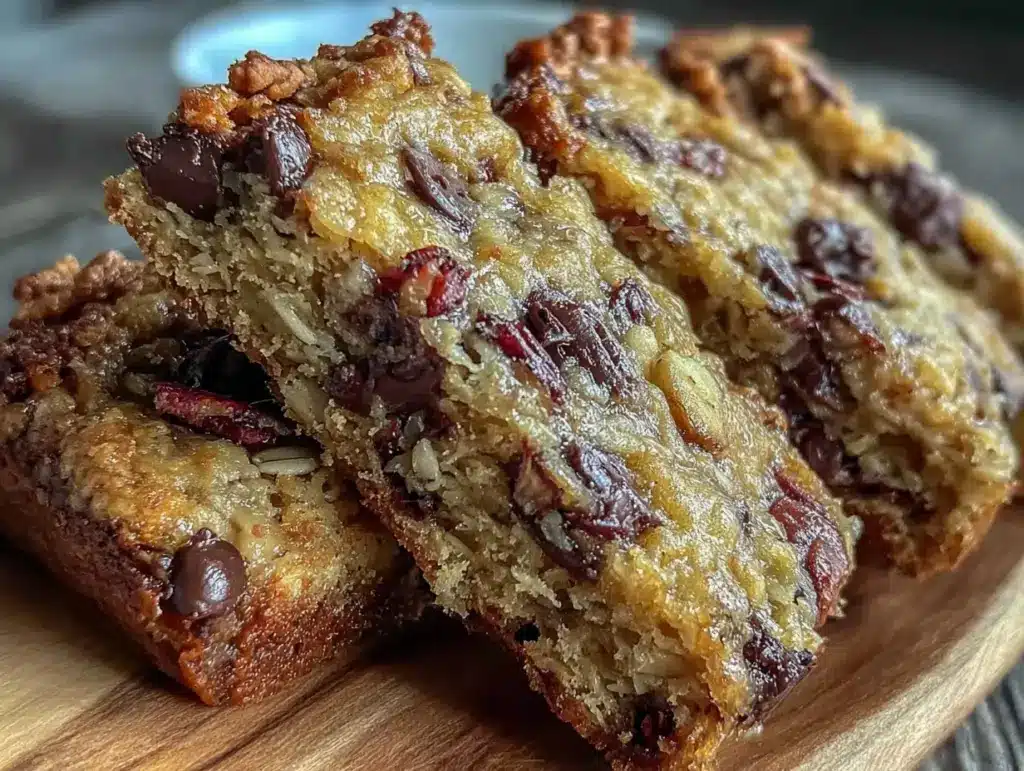
I figured making chewy granola bars would mean a sticky mess of melted marshmallows or a weirdly dry, crumbly block. It took about thirty minutes for that assumption to fall apart completely. Honestly, what I ended up with was this perfect, chewy, chocolate chip-studded snack that didn’t even require a candy thermometer or fancy equipment. The oats held together like old friends, the chocolate chips softened just right, and the whole batch smelled like a cozy campfire treat — but made in my kitchen without any fuss.
What surprised me most was how easy it was to whip these up on a whim, using simple pantry staples I always have around. No complicated steps, no waiting for things to cool forever. Just a quick mix, press, and bake, and voilà: homemade granola bars that tasted better than store-bought. I even found myself sneaking bites right off the baking pan because the edges crisped up just enough to be addictive.
These easy chewy chocolate chip granola bars stuck with me because they’re the kind of snack that’s both satisfying and a bit nostalgic, without feeling like a sugary overload. They’re the perfect grab-and-go treat for mid-afternoon hunger or a quick breakfast when you’re running late. And honestly, once you make these, you’ll see that homemade doesn’t have to be complicated to be memorable.
It’s a recipe I trust to deliver comfort and convenience every time, without the stress or extra cleanup. That’s why it’s become a kitchen staple, right alongside my favorite Southwest Cowboy Caviar and those BBQ pulled pork sliders I make for parties. Simple, reliable, and always crowd-pleasing.
Why You’ll Love This Recipe
Making chewy chocolate chip granola bars from scratch isn’t just about convenience, it’s about having control over ingredients and texture. I’ve tested this recipe more times than I can count, tweaking little things here and there to get that perfect chew and chocolate melt every time. Here’s why this recipe stands out:
- Quick & Easy: Ready in under 40 minutes from start to finish — perfect for busy weeknights or last-minute snack cravings.
- Simple Ingredients: No fancy or hard-to-find stuff. You probably have oats, honey, and chocolate chips sitting in your pantry right now.
- Perfect for On-the-Go: These bars pack well for school lunches, road trips, or a quick energy boost during a hectic day.
- Crowd-Pleaser: The chewy texture with melty chocolate chips always wins over kids and adults alike — I’ve seen it firsthand at family gatherings.
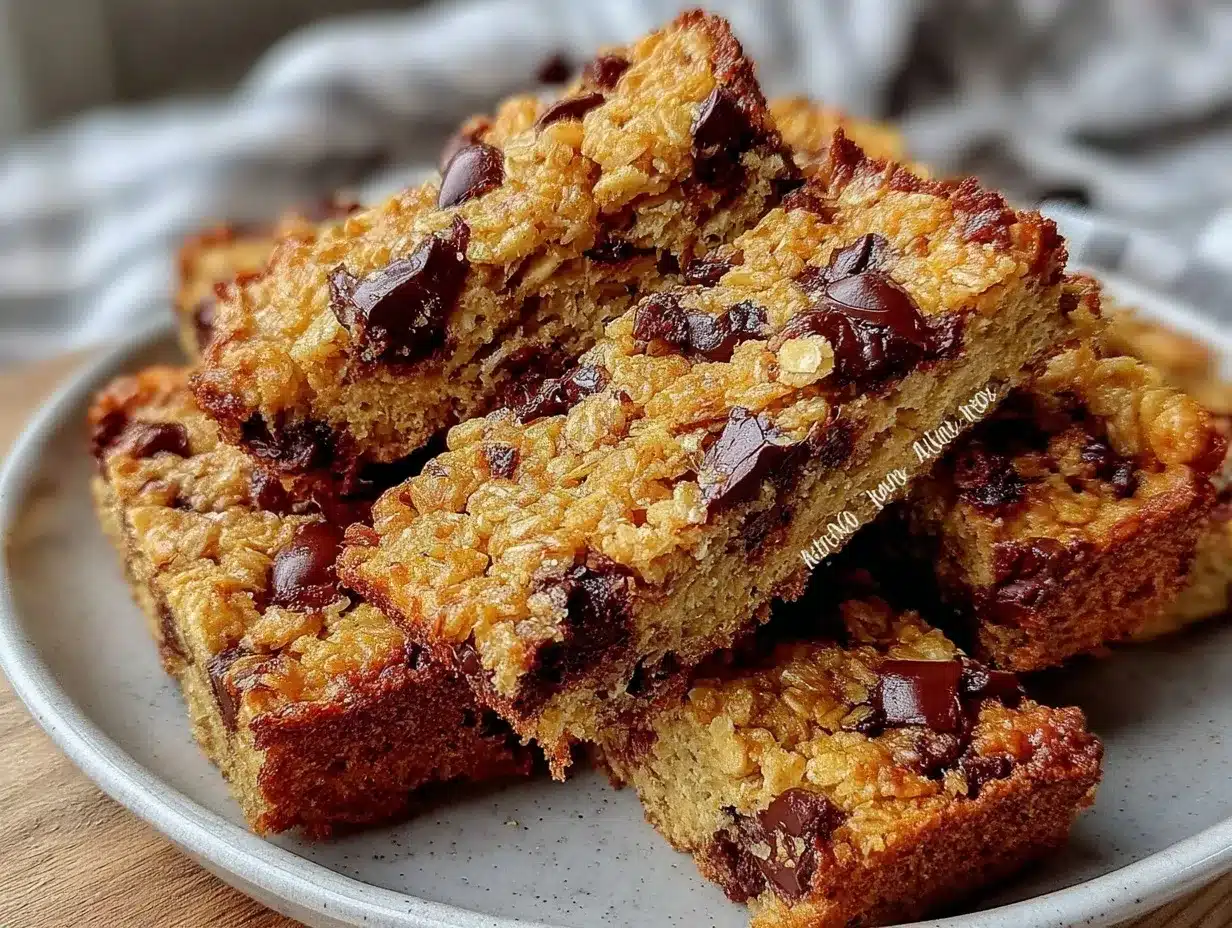
- Unbelievably Delicious: The combination of toasted oats, brown sugar, and chocolate chips gives a rich, comforting bite that feels homemade and indulgent.
This recipe isn’t just another granola bar. The secret is in the balance — not too sticky, not too crumbly, with just enough chew to satisfy without falling apart. I like to use a mix of rolled oats and a touch of quick oats for texture, and the chocolate chips soften slightly without losing shape. Plus, the honey and brown sugar syrup binds it all together in a way that feels natural, never artificial.
Every time I make these bars, I’m reminded that simple can be special. And if you’re looking to impress without stress, this is that recipe. It’s a snack that feels homemade, thoughtful, and satisfying — all rolled into one easy-to-make bar.
What Ingredients You Will Need
This recipe uses straightforward, pantry-friendly ingredients to create a chewy, chocolate chip-packed granola bar that feels a little indulgent but stays wholesome. Most of these items are staples, and you can swap a few to suit your preferences or dietary needs.
- Rolled oats (2 cups / 180g) – The base of the bars, providing hearty texture and chewiness.
- Quick oats (1/2 cup / 45g) – Adds a softer texture and helps bind the bars together.
- All-purpose flour (1/4 cup / 30g) – Just a bit to help hold the bars without being dense (can substitute with almond flour for gluten-free).
- Brown sugar (1/3 cup / 70g) – Adds sweetness and moisture for chew.
- Honey (1/3 cup / 120ml) – Natural sweetener and binder, I prefer raw honey for flavor.
- Unsalted butter (1/4 cup / 57g), melted – Adds richness and helps with that chewy texture.
- Vanilla extract (1 tsp) – For warmth and depth of flavor.
- Baking powder (1/2 tsp) – Helps lighten the bars slightly.
- Salt (1/4 tsp) – Balances sweetness and enhances flavor.
- Mini chocolate chips (3/4 cup / 130g) – The star ingredient! I like Ghirardelli or Nestlé Toll House for best melt and flavor.
Optional add-ins: chopped nuts, shredded coconut, or dried fruit can be tossed in for a personal twist. If you want to keep it dairy-free, swap butter for coconut oil and use dairy-free chocolate chips.
Equipment Needed
- Mixing bowls: At least one medium and one large bowl for dry and wet ingredients.
- Measuring cups and spoons: Accurate measurements make a difference in texture.
- Spatula or wooden spoon: For mixing and folding everything together.
- 8×8 inch baking pan: To press and bake the bars evenly. You can substitute with a 9×9 inch pan but bars will be thinner.
- Parchment paper: Helps with easy removal and cleanup.
- Oven mitts and cooling rack: Safety and proper cooling are key.
If you want to get fancy, a food processor can speed up mixing oats and flour, but honestly, it’s just as easy to stir by hand. I’ve made these bars dozens of times with just basic kitchen gear — no special gadgets needed.
Preparation Method
- Preheat your oven to 350°F (175°C). Line an 8×8 inch baking pan with parchment paper, leaving an overhang on the sides for easy removal later. This small step saves a lot of hassle.
- Mix dry ingredients: In a large bowl, combine 2 cups rolled oats, 1/2 cup quick oats, 1/4 cup flour, 1/3 cup brown sugar, 1/2 tsp baking powder, and 1/4 tsp salt. Stir everything together until evenly distributed. You want the sugar and baking powder spread out so the bars bake evenly.
- Prepare wet ingredients: In a separate bowl, whisk 1/3 cup honey, 1/4 cup melted unsalted butter, and 1 tsp vanilla extract until smooth. The butter should be warm but not hot — if it’s too warm, it might melt the chocolate chips later.
- Combine wet and dry: Pour the wet mixture into the dry ingredients. Stir well using a spatula or wooden spoon until the oats are fully coated and the mixture looks sticky. This is where the magic happens — the honey and butter bind the oats.
- Fold in chocolate chips: Gently fold 3/4 cup mini chocolate chips into the mixture, saving a few to sprinkle on top for visual appeal.
- Press into pan: Transfer the mixture into your prepared baking pan. Using a spatula or clean hands, press firmly and evenly across the pan. Firm pressure here helps the bars hold together after baking.
- Top with extra chocolate chips: Sprinkle the reserved chips evenly over the surface, pressing lightly so they stick.
- Bake: Place in the preheated oven and bake for 20-22 minutes. The edges should be golden brown and the center set but still soft to the touch.
- Cool completely: This is critical. Let the bars cool in the pan on a wire rack for at least 30 minutes. If you try to cut them too soon, they’ll crumble. Patience pays off with chewy, intact bars.
- Slice and serve: Use the parchment overhang to lift the block out of the pan. Transfer to a cutting board and slice into 9 or 12 bars, depending on your preferred size.
If you find your bars are too crumbly, try pressing the mixture a little firmer before baking next time or add an extra tablespoon of honey to improve binding. The first time I made these, I pressed lightly and ended up with granola clusters instead of bars — lesson learned!
Cooking Tips & Techniques
Honestly, the secret to chewy, not crunchy or crumbly, granola bars is all in the balance of moisture and baking time. Here’s what I’ve learned from trial and error:
- Don’t skip the parchment paper: It makes removing bars so much easier and keeps the bottoms from burning or sticking.
- Press firmly: When you press the mixture into the pan, think of it like packing a snowball — solid but not squished beyond recognition. This helps the bars hold their shape.
- Watch your oven: Ovens vary a lot. Start checking bars at 18 minutes to avoid overbaking — you want the edges golden but the center still soft.
- Cool fully: Cutting warm bars leads to crumbling. Cooling on a rack for 30-45 minutes makes slicing cleaner.
- Use mini chocolate chips: Regular-sized chips can melt too much and run, but minis stay nicely distributed throughout.
I once tried swapping maple syrup for honey, and while the flavor was great, the bars were a bit more crumbly. Honey’s stickiness really helps here. Also, melting the butter instead of softening it kept the mixture more uniform, so I recommend that method.
Variations & Adaptations
These chewy chocolate chip granola bars are a perfect base for all sorts of tweaks:
- Nutty twist: Add 1/2 cup chopped nuts like almonds, pecans, or walnuts for crunch and flavor.
- Fruit boost: Stir in 1/3 cup dried cranberries, raisins, or chopped dates for a sweet-tart contrast.
- Gluten-free: Swap all-purpose flour for almond flour or gluten-free flour blend. Make sure oats are certified gluten-free.
- Dairy-free: Use coconut oil or vegan butter instead of butter, and dairy-free chocolate chips.
- Spiced up: Add 1/2 tsp cinnamon or pumpkin pie spice to the dry mix for a warm, cozy flavor.
One of my favorite variations includes toasted shredded coconut and a sprinkle of sea salt on top — it adds a little island vibe to the bars. If you want to skip the oven altogether, you can press the mixture into the pan and chill for a few hours in the fridge. The texture will be chewier and less baked, but still delicious.
Serving & Storage Suggestions
Serve these chewy chocolate chip granola bars at room temperature for the best texture. They’re perfect alongside a glass of milk, a cup of coffee, or even as a quick breakfast paired with yogurt.
You can store the bars in an airtight container at room temperature for up to 5 days. For longer storage, pop them in the fridge for about two weeks or freeze for up to 3 months. When freezing, wrap individual bars in parchment or plastic wrap to prevent freezer burn.
Reheat chilled or frozen bars in the microwave for 10-15 seconds to bring back that soft, melty chocolate feeling. The flavors actually deepen a bit after a day or two, so feel free to make a batch ahead of time — they keep well and taste better as they sit.
Nutritional Information & Benefits
Each granola bar (assuming 12 bars per batch) roughly contains:
| Nutrient | Amount per bar |
|---|---|
| Calories | 180-200 kcal |
| Protein | 3 g |
| Fat | 7-8 g |
| Carbohydrates | 27 g |
| Fiber | 3 g |
| Sugar | 12-14 g |
Thanks to oats and nuts (if added), these bars provide fiber and some protein, making them a decent snack to keep energy up. Honey offers natural sweetness, and choosing dark or semi-sweet chocolate chips can reduce overall sugar content. They’re gluten-free adaptable and can be made dairy-free, too.
From a wellness perspective, these bars bridge the gap between indulgence and nutrition — a treat that fuels rather than weighs you down during the day.
Conclusion
These easy chewy chocolate chip granola bars have become my go-to snack for when I want something homemade without the headache. The balance of chewiness, sweetness, and melty chocolate makes them feel special but they’re simple enough to whip up anytime. I hope you find them as satisfying as I do — versatile enough to customize and reliable every time you bake them.
Give them a try, tweak the add-ins to your liking, and enjoy the comfort of a sweet snack that’s truly your own. And if you ever want to mix up your snack game, you might enjoy my Buffalo chicken dip with blue cheese crumbles — perfect for savory cravings that contrast nicely with something sweet like these bars.
Happy baking and snacking!
Frequently Asked Questions
Can I make these granola bars vegan?
Yes! Substitute butter with coconut oil or vegan margarine and use dairy-free chocolate chips. Make sure the honey is replaced with maple syrup or agave to keep it fully vegan.
How do I keep granola bars chewy and not hard?
Don’t overbake — remove bars when edges are golden but centers still feel soft. Also, pressing the mixture firmly into the pan before baking helps maintain chewiness.
Can I freeze these granola bars?
Absolutely. Wrap individual bars in parchment or plastic wrap and freeze for up to 3 months. Thaw at room temperature or microwave briefly before eating.
What can I use instead of chocolate chips?
Try chopped nuts, dried fruit, butterscotch chips, or even white chocolate chips for a different flavor profile.
Are these granola bars gluten-free?
They can be! Use certified gluten-free oats and swap all-purpose flour for a gluten-free alternative like almond or oat flour.
Pin This Recipe!
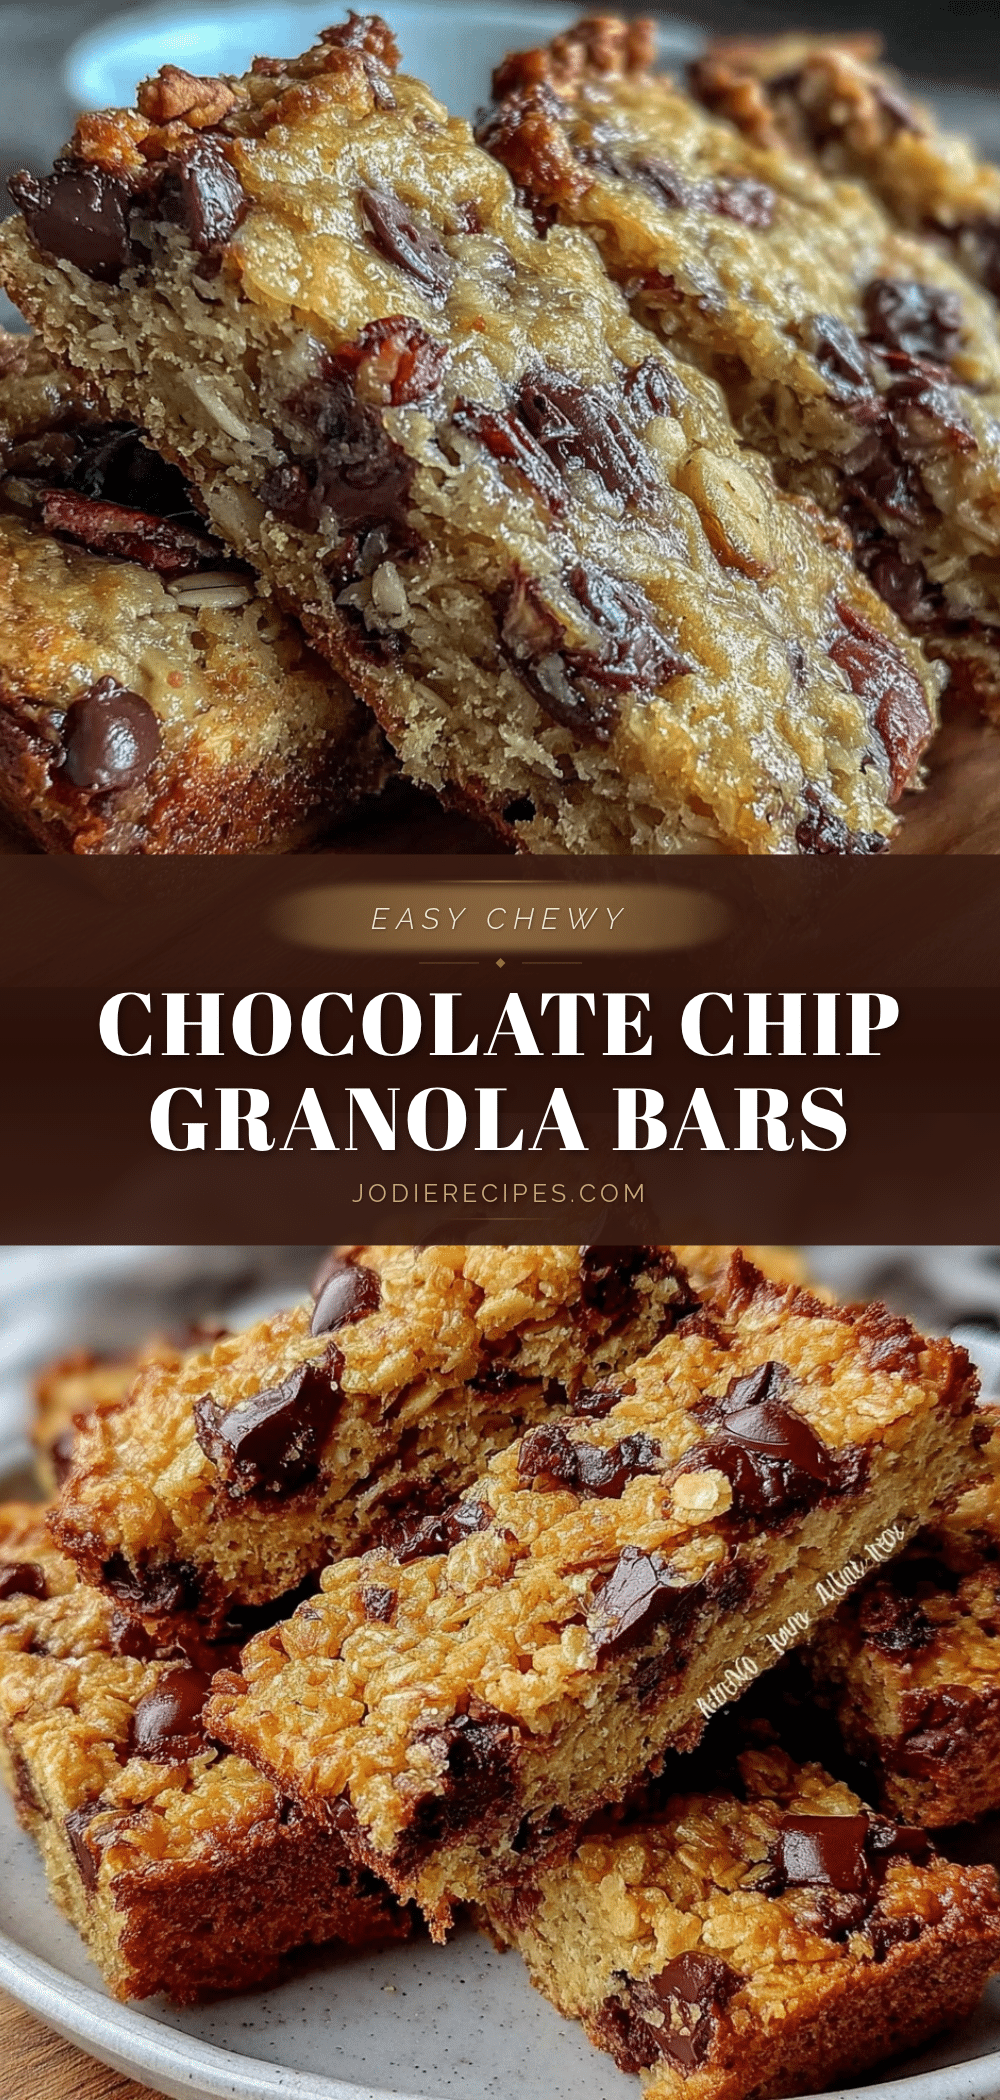
Easy Chewy Chocolate Chip Granola Bars
These chewy chocolate chip granola bars are a perfect homemade snack that balances chewiness and melty chocolate chips, made with simple pantry staples and ready in under 40 minutes.
- Prep Time: 10 minutes
- Cook Time: 22 minutes
- Total Time: 40 minutes
- Yield: 9 to 12 bars 1x
- Category: Snack
- Cuisine: American
Ingredients
- 2 cups rolled oats (180g)
- 1/2 cup quick oats (45g)
- 1/4 cup all-purpose flour (30g) (can substitute with almond flour for gluten-free)
- 1/3 cup brown sugar (70g)
- 1/3 cup honey (120ml)
- 1/4 cup unsalted butter, melted (57g)
- 1 tsp vanilla extract
- 1/2 tsp baking powder
- 1/4 tsp salt
- 3/4 cup mini chocolate chips (130g)
Instructions
- Preheat your oven to 350°F (175°C). Line an 8×8 inch baking pan with parchment paper, leaving an overhang on the sides for easy removal later.
- In a large bowl, combine rolled oats, quick oats, flour, brown sugar, baking powder, and salt. Stir until evenly distributed.
- In a separate bowl, whisk honey, melted unsalted butter, and vanilla extract until smooth.
- Pour the wet mixture into the dry ingredients and stir well until the oats are fully coated and the mixture looks sticky.
- Gently fold in mini chocolate chips, saving a few to sprinkle on top.
- Transfer the mixture into the prepared baking pan and press firmly and evenly across the pan.
- Sprinkle the reserved chocolate chips evenly over the surface, pressing lightly so they stick.
- Bake for 20-22 minutes until edges are golden brown and the center is set but still soft to the touch.
- Cool completely in the pan on a wire rack for at least 30 minutes before slicing.
- Use the parchment overhang to lift the block out of the pan and slice into 9 or 12 bars.
Notes
Press the mixture firmly into the pan to help bars hold together. Use parchment paper for easy removal and cleanup. Cool bars completely before slicing to avoid crumbling. Mini chocolate chips work best to prevent melting and running. For dairy-free, substitute butter with coconut oil and use dairy-free chocolate chips. For gluten-free, use certified gluten-free oats and almond or gluten-free flour. Bars can be frozen for up to 3 months wrapped individually.
Nutrition
- Serving Size: 1 bar (if sliced int
- Calories: 190
- Sugar: 13
- Sodium: 75
- Fat: 7.5
- Saturated Fat: 3.5
- Carbohydrates: 27
- Fiber: 3
- Protein: 3
Keywords: granola bars, chewy granola bars, chocolate chip granola bars, homemade snacks, easy granola bars, healthy snacks


