That faint, tangy aroma — the kind that drifts softly from the kitchen before dawn — still carries me back to my grandmother’s old brick oven tucked behind the garden. It wasn’t the smell of fresh bread exactly, but something more alive, almost electric, like a quiet promise bubbling in a jar on the windowsill. I remember watching her tend to that bubbling mix of flour and water, her hands steady but gentle, coaxing life from the simplest of ingredients. There was no rush, just a slow rhythm, like breathing. It’s funny how that scent sticks with you, weaving itself into the fabric of memory.
Starting your own sourdough starter might seem like a complicated ritual, but honestly, it’s more like growing a tiny, helpful pet — one that rewards you with the most satisfying homemade bread. This Easy Overnight Sourdough Starter from Scratch recipe was born from those quiet mornings and my own trial-and-error dance with wild yeast. It’s a method that fits right into the rhythms of busy lives without demanding all day or special ingredients. Just a few simple things, a little patience overnight, and you’ve got a starter ready to bring perfect bread every time.
It’s comforting to know that such a humble mix can hold so much possibility — a dough that’s alive, tangy, and ready to transform flour and water into warm, crusty loaves. This starter stuck with me because it’s not about rushing or fussing; it’s about trusting the process, however imperfect it might be. And that’s exactly the kind of bread-making companion I want in my kitchen.
Why You’ll Love This Recipe
Whipping up your own sourdough starter from scratch can feel intimidating, but this recipe makes it approachable and actually enjoyable. Here’s why this method stands out (and why it quickly became my favorite):
- Quick & Easy: You only need to mix and leave it overnight — no constant stirring or complicated schedules.
- Simple Ingredients: Just flour and water. No fancy yeast packets or additives. Perfect pantry staples.
- Perfect for Beginners: Designed so even if you’ve never tackled sourdough before, you’ll have a lively starter bubbling in no time.
- Crowd-Pleaser: Once you bake with this starter, friends and family will be asking for your bread recipe (trust me, it happens).
- Unbelievably Delicious: The natural wild yeast gives your bread that classic tang and chewy crumb that just can’t be beat.
- Reliable Results: Unlike some starters that can be finicky, this one is forgiving and consistent, making it a kitchen staple.
What sets this starter apart is the overnight rest — it’s like giving the wild yeast a perfect little nap so they wake up ready to work for you. No guesswork, no stressing about timing. Plus, the balance of whole wheat and all-purpose flour creates a rich, hearty flavor base that’s just right. Honestly, it’s the kind of recipe that makes you close your eyes and savor the moment in that first bite.
Whether you want to impress with fresh sourdough for dinner or enjoy the simple satisfaction of baking your own bread, this starter is the quiet hero behind it all. It’s the kind of recipe that fits effortlessly into busy lives without losing soul — kind of like the easy mini ham and cheese quiche cups I love for freezer snacks, which you can find here.
What Ingredients You Will Need
This Easy Overnight Sourdough Starter from Scratch uses simple, wholesome ingredients to bring wild yeast to life without the fuss. You’ll find most of these in your pantry, and they work together to create that perfect balance of flavor and activity.
- Unbleached all-purpose flour (200g / 1 2/3 cups): This is the main fuel for your starter. I recommend using a trusted brand like King Arthur for consistent results.
- Whole wheat flour (50g / 1/3 cup): Adds natural wild yeast and nutrients to help jumpstart fermentation — a little goes a long way here.
- Filtered water (230g / 1 cup): Room temperature, not too cold or hot — chlorine in tap water can slow down the yeast, so filtered or bottled is best.
- Optional: A pinch of rye flour (about 1 tablespoon): If you want to boost activity even more, rye flour can help, but it’s not necessary.
That’s basically it. No store-bought yeast, no sugar, no additives. Just flour and water combined with a little time and patience. The whole wheat flour is the secret ingredient that helps the starter develop flavor and strength faster, but you could experiment with swapping in spelt or rye if you want to try a twist (just keep the hydration similar).
For those curious about substitutions, you can use gluten-free flours like brown rice or oat flour, but keep in mind the fermentation might take longer and the texture won’t be quite the same. If you’re interested in easy homemade crackers to bake with your leftover starter discard, you might enjoy this crispy homemade goldfish crackers recipe I tested recently.
Equipment Needed
You don’t need fancy gear for this starter — just a few basic kitchen tools. Here’s what I use and recommend:
- Glass jar or container (at least 1 quart / 1 liter): Clear is best so you can watch the bubbles grow. Avoid metal containers as they can react with the starter’s acidity.
- Kitchen scale: Precision matters here — weighing flour and water ensures the right hydration and consistency every time.
- Spoon or spatula: For mixing. A wooden or silicone spatula works great.
- Loose-fitting lid or breathable cover: A clean cloth, coffee filter, or a lid left slightly ajar allows airflow while keeping dust and bugs out.
- Rubber band or string: To mark the starter’s rise level — a simple trick to track growth overnight.
If you don’t have a scale, measuring cups can work, but results may be less consistent. I’ve tried mason jars and old pickle jars — both worked fine as long as they were clean and clear. For those who like setting timers and reminders, a kitchen timer or phone alarm can help keep track of feeding and rest periods without fuss.
Preparation Method
-
Mix the flours: In your glass jar, combine 200g (1 2/3 cups) unbleached all-purpose flour with 50g (1/3 cup) whole wheat flour. If you want, add 1 tablespoon rye flour to boost fermentation. Stir gently to blend.
Tip: Using a scale here makes this step foolproof. -
Add water: Pour in 230g (1 cup) room temperature filtered water. Stir the mixture until it forms a thick, sticky batter — no dry flour should remain.
Sensory cue: It should feel like a thick pancake batter, smooth but with some texture from the whole wheat. -
Cover and mark: Use a breathable cover like a coffee filter or clean cloth secured with a rubber band. Place a rubber band around the jar at the batter’s initial height to track its rise.
Note: Avoid sealing airtight; the starter needs oxygen to thrive. -
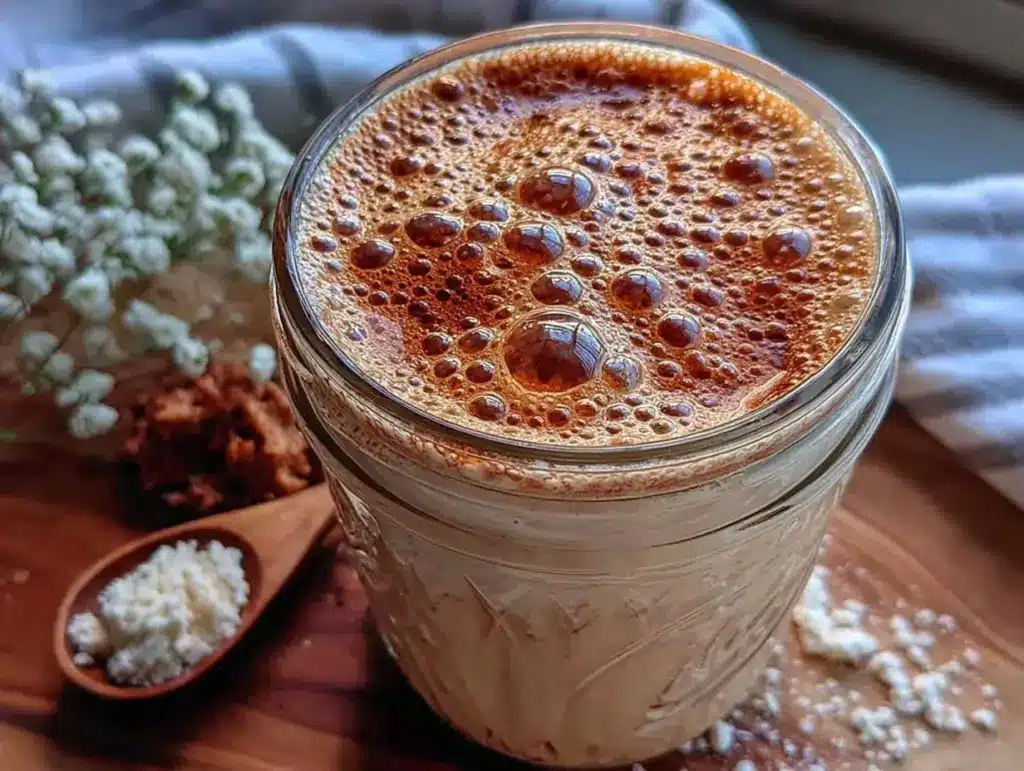
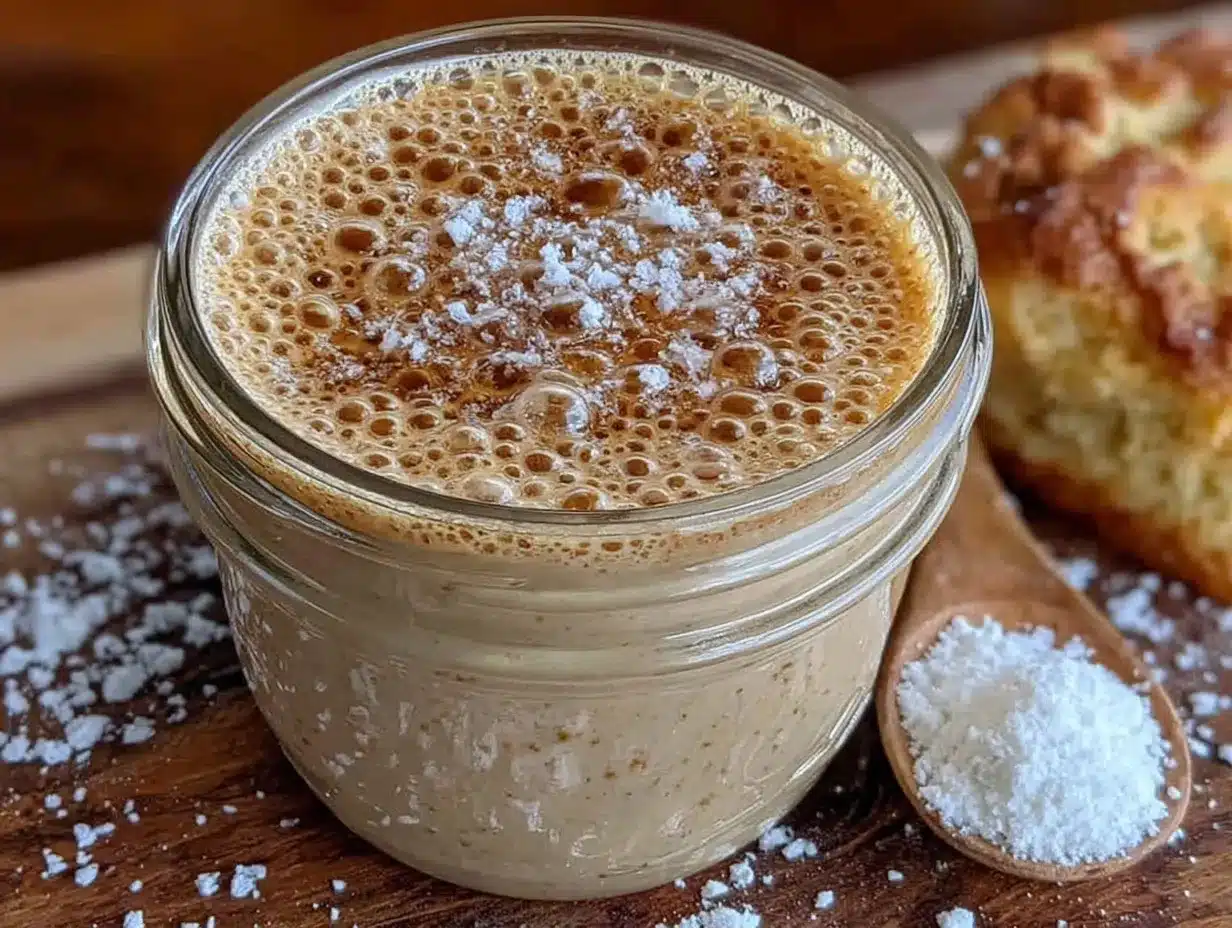
Let it rest overnight: Set the jar in a warm spot—ideally around 70°F (21°C). After 12 to 16 hours, you’ll notice bubbles on the surface and some rise.
Warning: If your kitchen is colder, it might take longer. Don’t worry; patience is part of the process. -
Feed your starter: Discard about half the starter (this keeps acidity and volume balanced). Add 100g (3/4 cup) all-purpose flour and 100g (7 tablespoons) water. Stir gently to combine.
Pro tip: Always mix well to incorporate air and ensure even fermentation. -
Repeat the feeding: Continue feeding every 12 to 24 hours for 3 to 5 days. The starter should become bubbly, rise predictably, and develop a pleasant tangy aroma.
Troubleshoot: If it smells off (like rotten or alcohol-heavy), discard and start fresh. -
Check readiness: When your starter doubles in size 4 to 6 hours after feeding and is full of bubbles, it’s ready for baking.
Test: Drop a spoonful in water — if it floats, your starter’s strong and active.
Throughout this process, I found marking the jar and keeping a simple log really helped me understand the starter’s rhythm. It was like watching a little ecosystem come to life, and honestly, it felt rewarding every time I saw those bubbles swell overnight.
Cooking Tips & Techniques
Getting a sourdough starter going can be a bit finicky, but I’ve learned a few things that make it simpler:
- Use filtered water: Chlorine in tap water can slow down or kill the wild yeast. If you only have tap, let the water sit uncovered overnight to dissipate chlorine.
- Keep it warm but not hot: Yeast like cozy temperatures around 70°F (21°C). Too cold and it’s sluggish; too hot and it can die. I often use my oven light on low or a warm corner near a radiator in winter.
- Don’t skip the discard: Removing half the starter before feeding keeps acidity balanced and prevents it from becoming overly sour or weak.
- Mix gently, but thoroughly: Stirring introduces air which helps yeast grow, but don’t be rough enough to destroy bubbles.
- Watch for bubbles and rise: Visual cues are your best friends here. Remember, smell matters too — a pleasant, tangy scent means your starter is happy.
- Be patient: Some days your starter will double, other days it’ll seem slow. That’s normal. Consistency comes with regular feedings.
I once tried rushing the process by using warm water and extra flour, but that only resulted in a sluggish starter and flat bread. Slowing down and trusting the overnight rest made all the difference—a lesson I remind myself of when multitasking in the kitchen, like when prepping for a batch of apple cider donut muffins.
Variations & Adaptations
Once you’ve got the basic starter going, you can customize it a bit to suit your preferences or dietary needs:
- Gluten-free starter: Use gluten-free flours like brown rice or sorghum, but expect slower fermentation and less rise. Consistency will be more batter-like.
- Whole grain starter: Swap all-purpose flour entirely for whole wheat or rye for a more robust, earthy flavor. Just note, the texture will be denser.
- Faster starter: Adding a tablespoon of natural fruit juice or pineapple juice can speed up acidity balance and yeast activity in the first days.
- Cold fermentation: Once active, you can keep your starter in the fridge and feed weekly. This slows activity but keeps it healthy for occasional baking.
Personally, I tried a rye-heavy starter once, and while the flavor was incredible, it required more frequent feedings to stay lively. For a seasonal twist, you can pair your sourdough bread with a cozy cinnamon sugar zucchini snickerdoodle muffin breakfast spread I shared here.
Serving & Storage Suggestions
Your starter itself isn’t something you serve, but it’s the foundation for some seriously delicious bread. Here are a few tips for working with and storing your starter:
- Use at room temperature: Before baking, feed your starter and let it become bubbly and active at room temp for best rise.
- Refrigeration: Store your starter in the fridge if baking less often. Feed once a week and bring to room temp before baking.
- Freezing starter discard: If you have leftover discard, freeze it in small portions to use later for pancakes, crackers, or even no-bake apple cinnamon granola bars.
- Feeding routine: Regular feeding keeps the starter lively; skipping feedings can make it sluggish or develop off smells.
- Flavors develop over time: The longer you maintain your starter, the more complex and tangy its flavor becomes, adding depth to your bread.
Nutritional Information & Benefits
This sourdough starter recipe is naturally vegan and free from additives or commercial yeast, making it a wholesome choice for homemade bread. Here’s a quick look at what it brings to the table:
- Low in calories: The starter itself is just flour and water.
- Digestive benefits: Sourdough fermentation breaks down gluten and phytic acid, making bread easier to digest for many people.
- Natural fermentation: Encourages beneficial bacteria that can promote gut health.
- Allergen notes: Contains gluten unless using gluten-free flour alternatives.
From a wellness perspective, baking with your own starter means you control ingredients and avoid preservatives found in many store-bought breads. It’s a small step toward nourishing your body with simple, real food.
Conclusion
This Easy Overnight Sourdough Starter from Scratch recipe is a gentle introduction to the magic of sourdough baking — approachable, forgiving, and honestly kind of fun once you get the hang of it. It’s the little bubbling jar that becomes your kitchen’s heartbeat, quietly working while you sleep, ready to help you bake bread that tastes like home.
Feel free to make it your own, tweak the flours, or even experiment with your local environment’s wild yeast. That’s the beauty of sourdough — it’s a living recipe, full of surprises and personal touches. I love that it’s both science and art, a recipe that asks you to slow down and trust something beyond the recipe.
When you’re ready, pairing your fresh bread with something like a creamy cucumber salad or even a honey roasted fig crostini can make your meal truly special. I’d love to hear how your starter journey goes — drop a comment or share your own twists. Here’s to many perfect loaves ahead!
FAQs About Easy Overnight Sourdough Starter from Scratch
- How long does it take to get a sourdough starter ready for baking?
Usually 3 to 5 days of regular feedings until it’s bubbly and doubles in size within 6 hours. - Can I use tap water to make the starter?
It’s better to use filtered or dechlorinated water as chlorine can inhibit yeast growth. - What does it mean if my starter smells bad?
A sour, tangy smell is good, but rotten or alcoholic odors indicate it needs to be discarded and restarted. - How do I know if my starter is active?
It should bubble, rise noticeably, and float in water when ready. - Can I keep my starter in the fridge?
Yes, refrigerate it if you bake less often and feed weekly to maintain.
Pin This Recipe!
Easy Overnight Sourdough Starter from Scratch Recipe for Perfect Bread Every Time

This easy overnight sourdough starter recipe uses simple ingredients and an overnight rest to create a lively, tangy starter perfect for homemade bread. It’s approachable for beginners and fits effortlessly into busy lives.
- Prep Time: 10 minutes
- Cook Time: Overnight rest (12 to 16 hours) plus 3 to 5 days of feedings
- Total Time: Approximately 4 to 6 days including feedings
- Yield: About 1 quart starter, enough for multiple loaves of bread 1x
- Category: Bread Starter
- Cuisine: American
Ingredients
- 200g (1 2/3 cups) unbleached all-purpose flour
- 50g (1/3 cup) whole wheat flour
- 230g (1 cup) filtered water, room temperature
- Optional: 1 tablespoon rye flour
Instructions
- Mix the flours: In a glass jar, combine 200g (1 2/3 cups) unbleached all-purpose flour with 50g (1/3 cup) whole wheat flour. Optionally add 1 tablespoon rye flour to boost fermentation. Stir gently to blend.
- Add water: Pour in 230g (1 cup) room temperature filtered water. Stir until the mixture forms a thick, sticky batter with no dry flour remaining.
- Cover and mark: Use a breathable cover like a coffee filter or clean cloth secured with a rubber band. Place a rubber band around the jar at the batter’s initial height to track its rise. Avoid sealing airtight.
- Let it rest overnight: Set the jar in a warm spot around 70°F (21°C). After 12 to 16 hours, bubbles and some rise should appear.
- Feed your starter: Discard about half the starter. Add 100g (3/4 cup) all-purpose flour and 100g (7 tablespoons) water. Stir gently to combine.
- Repeat feeding: Continue feeding every 12 to 24 hours for 3 to 5 days until the starter is bubbly, rises predictably, and has a pleasant tangy aroma.
- Check readiness: When the starter doubles in size 4 to 6 hours after feeding and is full of bubbles, it’s ready for baking. Test by dropping a spoonful in water; if it floats, the starter is strong and active.
Notes
[‘Use filtered or dechlorinated water to avoid inhibiting yeast growth.’, ‘Keep starter at around 70°F (21°C) for best fermentation; too cold slows it down, too hot can kill yeast.’, ‘Discard half the starter before feeding to maintain acidity balance.’, ‘Mix gently to incorporate air without destroying bubbles.’, ‘Be patient; starter activity can vary day to day.’, ‘If starter smells rotten or alcoholic, discard and restart.’, ‘Mark the jar to track rise and keep a log for best results.’, ‘Refrigerate starter if baking less often and feed weekly.’, ‘Optional rye flour boosts fermentation but is not required.’]
Nutrition
- Serving Size: Starter used per loa
- Calories: 100
- Carbohydrates: 22100
- Fiber: 1100
- Protein: 3100
Keywords: sourdough starter, overnight sourdough, homemade bread starter, easy sourdough, wild yeast starter, bread baking, fermentation