Introduction
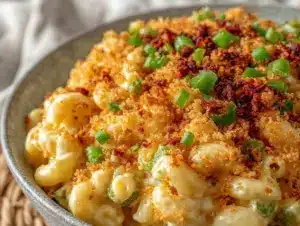
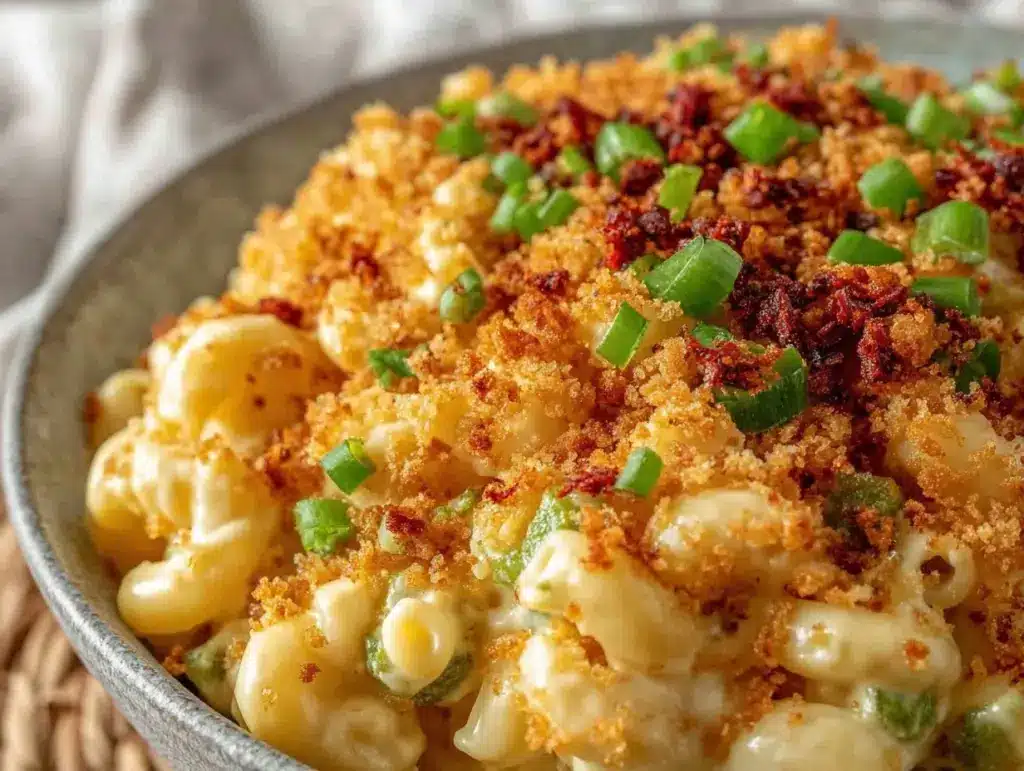
I burned the crispy topping on this Hatch green chile mac and cheese three times before realizing my oven had a hot spot in the back. Honestly, I didn’t even think I liked green chiles that much—at least not in mac and cheese. For years, I stuck to the classic cheddar-heavy versions and only added a little kick with black pepper. But this recipe? It changed everything. The first time I nailed it, the creamy cheese sauce was so velvety, and the spicy, smoky Hatch green chiles cut through the richness just right. Plus, that golden, crispy topping gave it a texture that was downright addictive.
What really pulled me in was how the chiles weren’t just an afterthought but the star of the show, giving the dish a subtle heat and fresh flavor without overpowering the comforting cheese. It’s funny, because I used to think mac and cheese was one-note, but this version feels alive—like it’s telling a story on your palate. I made it again and again, tweaking the topping and cheese blend, until it became my go-to for cozy nights and casual dinner parties alike.
It dawned on me that Hatch green chile mac and cheese is not just a side dish, but a little celebration of bold, Southwestern flavors wrapped in creamy, cheesy goodness. And honestly, once you get that crispy topping just right, you’ll understand why this recipe stuck with me—and why it might just become one of your favorites too.
Why You’ll Love This Recipe
This creamy Hatch green chile mac and cheese with crispy topping has a few tricks up its sleeve that make it stand out from the crowd. I’ve tested this recipe multiple times in my kitchen, learning which cheeses melt best and how to get that topping perfectly crunchy without burning.
- Quick & Easy: You can put this together in under 40 minutes, which is great when you want comfort food without fuss.
- Simple Ingredients: Most of the ingredients are pantry staples or easy to find—think sharp cheddar, cream, and those iconic Hatch green chiles (fresh or roasted).
- Perfect for Cozy Dinners: Whether it’s a chilly weeknight or a casual gathering, this dish hits the spot.
- Crowd-Pleaser: From picky kids to adventurous eaters, everyone seems to come back for seconds (and sometimes thirds).
- Unbelievably Delicious: The creamy sauce paired with the smoky, slightly spicy chiles and that crisp topping? It’s comfort food with a little Southwestern soul.
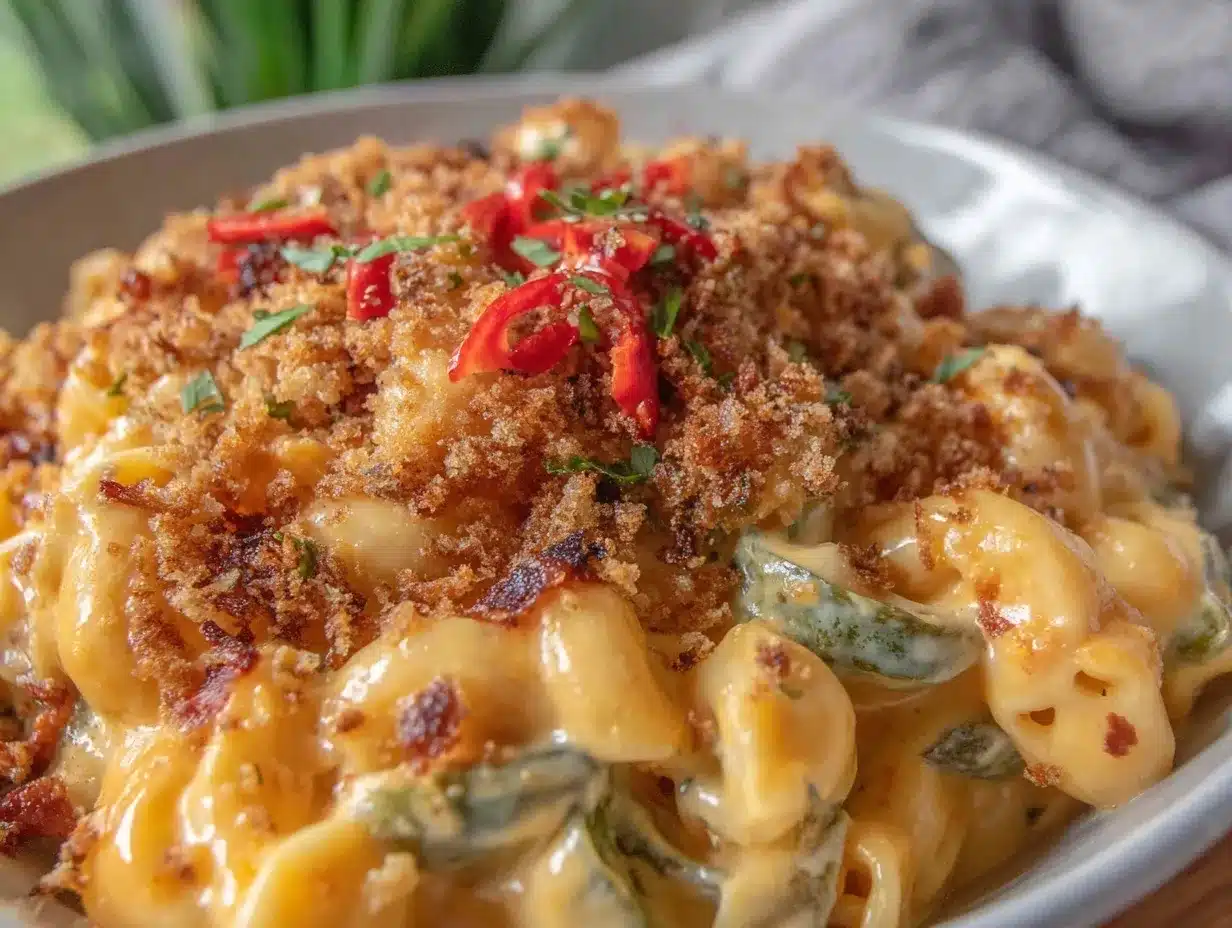
What sets this recipe apart is the layering of flavors and textures. Instead of just stirring the chiles into the cheese sauce, I fold in finely chopped roasted Hatch chiles that give bursts of flavor. The crispy topping combines panko breadcrumbs with a touch of melted butter and extra cheese for crunch that contrasts beautifully with the creamy noodles.
This isn’t just another mac and cheese recipe; it’s one that feels thoughtfully crafted. Plus, it’s versatile enough to pair with simple sides like a fresh tomato cucumber salad or even some crispy homemade goldfish crackers for a playful snack on the side.
What Ingredients You Will Need
This recipe uses simple, wholesome ingredients to build layers of flavor and texture without any complicated steps. Many are pantry staples, and the Hatch green chiles bring a unique regional twist.
- Elbow Macaroni: 12 ounces (340 g), the classic shape that holds sauce well
- Unsalted Butter: 4 tablespoons (57 g), divided (for roux and topping)
- All-Purpose Flour: 1/4 cup (30 g), to thicken the cheese sauce
- Whole Milk: 2 cups (480 ml), warmed (for a creamy base)
- Heavy Cream: 1/2 cup (120 ml), adds richness and silkiness
- Sharp Cheddar Cheese: 3 cups shredded (about 12 ounces/340 g), for that classic tang
- Monterey Jack Cheese: 1 cup shredded (4 ounces/115 g), melts beautifully and balances sharpness
- Hatch Green Chiles: 1 cup chopped (roasted, peeled, and seeded), fresh if possible, or canned roasted for convenience
- Garlic Powder: 1/2 teaspoon, enhances savory notes
- Onion Powder: 1/2 teaspoon, subtle depth
- Salt & Black Pepper: to taste
- Panko Breadcrumbs: 1 cup (about 50 g), for that crispy topping
- Parmesan Cheese: 1/2 cup grated (about 50 g), mixed into the panko for extra flavor
- Smoked Paprika: 1/4 teaspoon, optional, adds smoky warmth to the topping
If you want to tweak things, you can swap the all-purpose flour for a gluten-free blend or use almond milk with a bit of extra cream for a dairy-light version. I personally like to use Tillamook sharp cheddar for its bold flavor and Sargento Monterey Jack for smooth melting.
Equipment Needed
- Large pot for boiling pasta (a 6-quart or larger pot works best)
- Medium saucepan to make the cheese sauce
- Whisk for making the roux and sauce smooth
- Colander for draining pasta
- 9×13 inch baking dish (or similar size) to bake the mac and cheese and get that crispy topping
- Oven mitts and a spatula or wooden spoon for mixing
If you don’t have a baking dish handy, an oven-safe skillet can work in a pinch, but I find the casserole dish spreads the heat better for an even topping. For the breadcrumbs, I sometimes pulse them in a food processor to get a finer texture, but plain panko works great straight from the bag. A good whisk is key to avoid lumps in your cheese sauce, so don’t skip that!
Preparation Method
- Cook the Pasta: Bring a large pot of salted water to a boil. Add 12 ounces (340 g) elbow macaroni and cook according to package directions until just al dente (about 7-8 minutes). Drain and set aside. Don’t overcook—the pasta will cook more in the oven.
- Make the Roux: In a medium saucepan, melt 3 tablespoons (43 g) butter over medium heat. Once melted, whisk in 1/4 cup (30 g) all-purpose flour. Keep whisking constantly for 2 minutes to cook out the raw flour taste; the mixture should turn a pale golden.
- Add Milk and Cream: Slowly pour in 2 cups (480 ml) warmed whole milk and 1/2 cup (120 ml) heavy cream while whisking to avoid lumps. Continue cooking and whisking until the sauce thickens and coats the back of a spoon, about 5-7 minutes.
- Incorporate the Cheese: Lower the heat and stir in 3 cups (340 g) sharp cheddar and 1 cup (115 g) Monterey Jack cheese. Add garlic powder, onion powder, salt, and pepper to taste. Stir until cheese melts fully and sauce is smooth.
- Fold in Hatch Green Chiles: Gently stir 1 cup chopped roasted Hatch green chiles into the cheese sauce. The chiles should be well distributed but not mashed.
- Combine Pasta and Sauce: Add the drained macaroni to the cheese sauce, stirring gently to coat all the pasta evenly.
- Prepare the Topping: In a small bowl, mix 1 cup panko breadcrumbs, 1/2 cup grated Parmesan, 1/4 teaspoon smoked paprika, and 1 tablespoon melted butter. Toss until the crumbs are evenly coated.
- Assemble and Bake: Pour the mac and cheese mixture into a buttered 9×13 inch baking dish. Evenly sprinkle the breadcrumb topping over the surface. Bake at 375°F (190°C) for 20-25 minutes or until the topping is golden and crispy. Watch carefully to avoid burning.
- Rest and Serve: Let the dish rest for 5 minutes before serving to let the cheese sauce thicken slightly and flavors meld.
Pro Tip: If your topping starts browning too fast, loosely cover with foil halfway through baking. Also, stirring the breadcrumbs with a bit of melted butter before topping helps them crisp up perfectly.
Cooking Tips & Techniques
Getting the texture right in this Hatch green chile mac and cheese comes down to a few key details. First, cook the pasta al dente because it’ll continue cooking in the oven. Mushy noodles? Nobody wants that.
When making the roux, constant whisking is your friend. It stops lumps and gives you that smooth, creamy sauce that clings to the macaroni. Use warm milk and cream to keep the sauce silky without shocking the roux.
Cheese choice matters—sharp cheddar brings the classic tang, but Monterey Jack melts beautifully and balances the heat from the chiles. Avoid pre-shredded cheese with anti-caking agents; freshly shredded cheese melts better.
For the crispy topping, panko breadcrumbs are a must. They hold their crunch much better than regular breadcrumbs. Mixing in Parmesan and smoked paprika adds extra flavor and a hint of smokiness that works perfectly with Hatch chiles.
Lastly, watch your oven temperature carefully. I learned the hard way that some ovens have hot spots that burn the topping before the inside is warmed through. If your oven is tricky, tent with foil or rotate the dish halfway through baking.
Variations & Adaptations
- Spicy Upgrade: Add diced jalapeños or a pinch of cayenne pepper to the cheese sauce for extra heat.
- Vegetarian Boost: Stir in sautéed mushrooms, spinach, or roasted corn to add some vegetable goodness without losing the creamy comfort.
- Gluten-Free: Use gluten-free elbow pasta and swap the flour for a gluten-free all-purpose blend. Make sure your breadcrumbs are gluten-free or use crushed gluten-free crackers for the topping.
- Dairy-Free: Try a blend of dairy-free cheese shreds and use coconut or almond milk with a bit more vegan butter. The texture won’t be quite the same, but it still tastes great.
- Personal Twist: I once stirred in a little cream cheese for extra silkiness and a subtle tang. It was a game changer on a cold winter night.
Serving & Storage Suggestions
This creamy Hatch green chile mac and cheese is best served warm, straight from the oven, when the topping is still crisp and the sauce is luscious. I love plating it alongside a crisp tomato cucumber salad to cut through the richness.
Leftovers keep well in the refrigerator for up to 3 days. Store in an airtight container and reheat gently in the oven at 350°F (175°C) for 15-20 minutes to bring back some crunch on top. You can also microwave it covered, but the topping won’t stay crispy.
For longer storage, freeze the mac and cheese (without topping) in a freezer-safe dish for up to 2 months. Thaw overnight in the fridge before baking with fresh topping.
Flavors tend to deepen after a day, so if you can wait, leftovers actually taste better the next day. And if you want to keep the crisp topping, add it fresh before reheating.
Nutritional Information & Benefits
This Hatch green chile mac and cheese offers a comforting dose of protein and calcium from the cheeses and milk. The Hatch chiles add a little vitamin C and antioxidants without adding many calories or fat.
Per serving (based on 6 servings), it contains approximately 450 calories, 20 grams of fat, 35 grams of carbohydrates, and 18 grams of protein. The moderate fat content comes largely from cheese and butter, so balance your day accordingly.
This recipe can be modified for gluten-free or lower-carb diets by swapping pasta and flour. The use of green chiles keeps the dish flavorful without relying on excess salt or artificial ingredients.
From a wellness perspective, the chiles have been linked to metabolism-boosting properties and provide a gentle kick that satisfies cravings without the heaviness of some comfort foods.
Conclusion
This creamy Hatch green chile mac and cheese with crispy topping is a recipe that grew on me—literally through trial, error, and a few kitchen mishaps. Now, it’s a comforting, flavorful staple that surprises with its balance of creaminess, spice, and crunch.
Whether you’re making it for a family dinner, a casual gathering, or just because you want a special kind of comfort food, this recipe is easy to customize and hard to forget. I hope you find yourself coming back to it as often as I do—tweaking it, sharing it, and enjoying every cheesy, spicy bite.
If you try it, I’d love to hear how you made it your own or what you paired it with. Your feedback always makes my kitchen feel a little more connected to yours.
Frequently Asked Questions
Can I use canned green chiles instead of fresh Hatch chiles?
Yes, canned roasted green chiles work well if fresh Hatch chiles aren’t available. Just drain and chop them before adding to the cheese sauce.
What cheeses work best for this recipe?
Sharp cheddar and Monterey Jack are ideal for flavor and meltability. You can add a bit of Parmesan in the sauce if you like a nuttier taste.
How do I keep the breadcrumb topping from burning?
Watch the baking time closely and tent the dish with foil if the topping browns too quickly. Rotating the dish halfway through baking also helps.
Can I make this recipe ahead of time?
Yes! Assemble the mac and cheese and refrigerate it without the topping for up to 24 hours. Add the topping just before baking for best results.
Is this recipe suitable for kids?
Absolutely. The creamy cheese and mild heat of the green chiles usually go over well with kids, but you can reduce or omit the chiles if preferred.
Pin This Recipe!
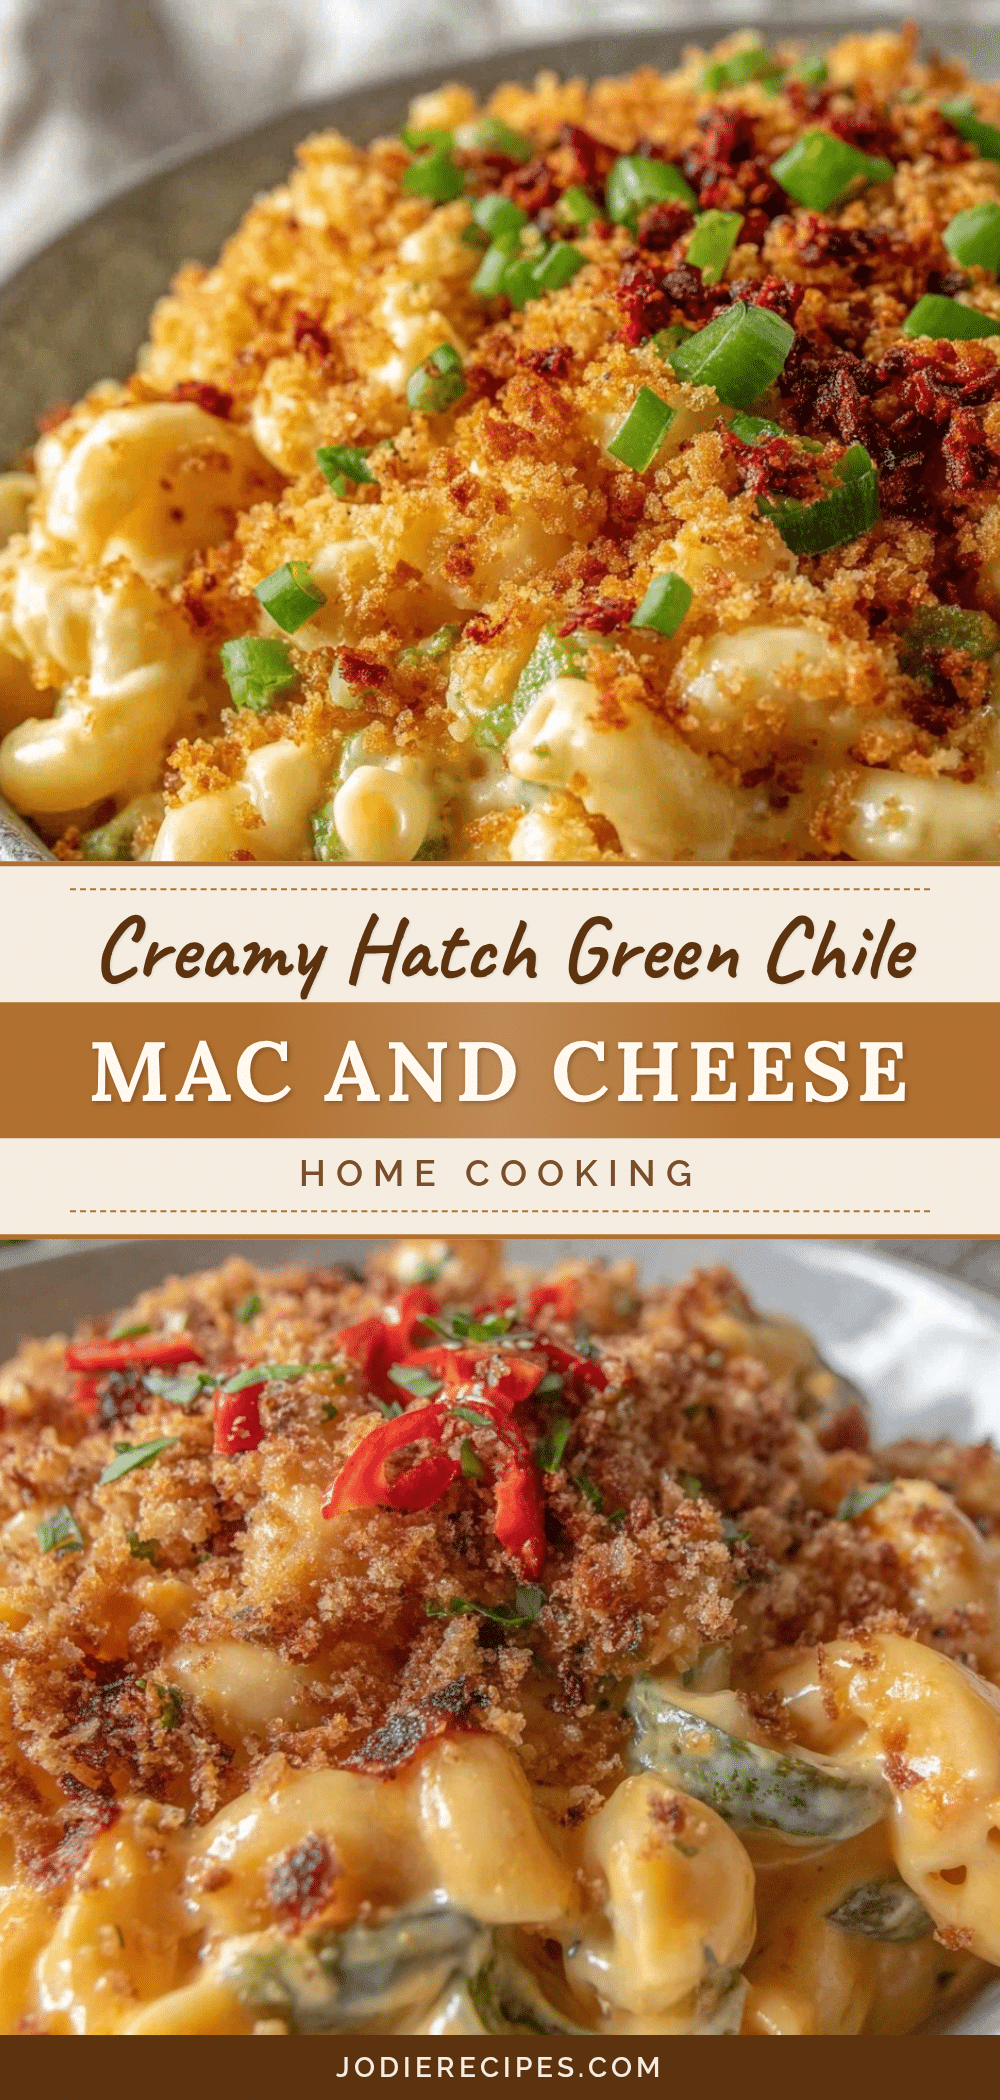
Creamy Hatch Green Chile Mac and Cheese Recipe with Crispy Topping Easy and Perfect

A creamy, velvety mac and cheese featuring smoky, spicy Hatch green chiles and a golden, crispy breadcrumb topping. Perfect for cozy dinners and casual gatherings.
- Prep Time: 15 minutes
- Cook Time: 25 minutes
- Total Time: 40 minutes
- Yield: 6 servings 1x
- Category: Main Course
- Cuisine: Southwestern American
Ingredients
- 12 ounces elbow macaroni
- 4 tablespoons unsalted butter, divided
- 1/4 cup all-purpose flour
- 2 cups whole milk, warmed
- 1/2 cup heavy cream
- 3 cups sharp cheddar cheese, shredded (about 12 ounces)
- 1 cup Monterey Jack cheese, shredded (4 ounces)
- 1 cup chopped roasted Hatch green chiles (fresh or canned)
- 1/2 teaspoon garlic powder
- 1/2 teaspoon onion powder
- Salt and black pepper to taste
- 1 cup panko breadcrumbs (about 50 grams)
- 1/2 cup grated Parmesan cheese (about 50 grams)
- 1/4 teaspoon smoked paprika (optional)
Instructions
- Bring a large pot of salted water to a boil. Add 12 ounces elbow macaroni and cook until just al dente, about 7-8 minutes. Drain and set aside.
- In a medium saucepan, melt 3 tablespoons butter over medium heat. Whisk in 1/4 cup all-purpose flour and cook for 2 minutes until pale golden.
- Slowly pour in 2 cups warmed whole milk and 1/2 cup heavy cream while whisking to avoid lumps. Cook and whisk until sauce thickens, about 5-7 minutes.
- Lower heat and stir in 3 cups sharp cheddar and 1 cup Monterey Jack cheese. Add garlic powder, onion powder, salt, and pepper to taste. Stir until cheese melts and sauce is smooth.
- Fold in 1 cup chopped roasted Hatch green chiles gently.
- Add drained macaroni to cheese sauce and stir gently to coat evenly.
- In a small bowl, mix 1 cup panko breadcrumbs, 1/2 cup grated Parmesan, 1/4 teaspoon smoked paprika, and 1 tablespoon melted butter until evenly coated.
- Pour mac and cheese mixture into a buttered 9×13 inch baking dish. Evenly sprinkle breadcrumb topping over the surface.
- Bake at 375°F (190°C) for 20-25 minutes until topping is golden and crispy. Tent with foil if topping browns too fast.
- Let rest for 5 minutes before serving.
Notes
Cook pasta al dente as it will cook further in the oven. Use warm milk and cream to avoid lumps in the sauce. Watch the breadcrumb topping carefully to prevent burning; tent with foil if needed. Freshly shredded cheese melts better than pre-shredded. Panko breadcrumbs provide the best crunch for the topping.
Nutrition
- Serving Size: 1/6th of the recipe
- Calories: 450
- Sugar: 5
- Sodium: 400
- Fat: 20
- Saturated Fat: 12
- Carbohydrates: 35
- Fiber: 1
- Protein: 18
Keywords: mac and cheese, Hatch green chile, creamy, crispy topping, comfort food, Southwestern, cheesy, easy recipe