Let me tell you, the scent of sweet vanilla and sugar crisping gently in the oven, while these little ghostly shapes puff up, is enough to make anyone’s mouth water. The first time I baked these crispy ghost meringues, it was a chilly October afternoon, and I was looking for a fun, festive treat that would wow both kids and adults at our Halloween party. I was instantly hooked—the kind of moment where you pause, take a deep breath, and just smile because you know you’re onto something truly special.
Years ago, when I was knee-high to a grasshopper, my grandma used to make simple meringues for holiday gatherings, but back then, they never had quite this whimsical charm. Stumbling upon this ghost-shaped twist felt like finding a treasure in the pantry. Honestly, I wish I’d discovered this recipe years ago—it’s dangerously easy and perfect for adding a dash of spooky fun to your fall festivities.
My family couldn’t stop sneaking these crispy ghost meringues off the cooling rack (and I can’t really blame them). They’re light, airy, and just sweet enough to satisfy that Halloween sugar craving without feeling heavy or over-the-top. You know what’s great? These treats brighten up any Halloween dessert table, making them perfect for potlucks, classroom parties, or just a little sweet surprise for your kids after a night of trick-or-treating.
After testing this recipe multiple times—in the name of research, of course—it’s now a staple for family gatherings and gifting. Each bite feels like a warm hug wrapped in a spooky Halloween costume. Trust me, you’re going to want to bookmark this one for years to come.
Why You’ll Love This Crispy Ghost Meringues Recipe
Honestly, these crispy ghost meringues are one of those recipes that tick all the boxes. From my kitchen to yours, here’s why this recipe has earned its place in my Halloween repertoire:
- Quick & Easy: Comes together in just about 15 minutes of prep and bakes while you get other things ready—perfect for busy Halloween afternoons.
- Simple Ingredients: You likely already have everything in your pantry—egg whites, sugar, cream of tartar, and vanilla. No fancy trips required!
- Perfect for Halloween Parties: These meringues bring that spooky vibe without the fuss, great for potlucks, school events, or a fun family treat.
- Crowd-Pleaser: Kids love the fun ghost shapes, and adults appreciate the light, crisp texture that melts in your mouth.
- Unbelievably Delicious: The delicate crunch paired with subtle vanilla sweetness is next-level comfort food that feels festive and nostalgic.
What sets this recipe apart is the little details—like adding cream of tartar for stability, piping the ghosts just right for that perfect puff, and using pure vanilla extract to give them a smooth, inviting flavor. This isn’t your basic meringue; it’s a playful twist that’s as much fun to make as it is to eat. Honestly, after the first bite, you’ll be closing your eyes and savoring that light, crispy texture with a smile. It’s Halloween comfort food with a touch of magic, made easy and stress-free for your spooky celebrations.
What Ingredients You Will Need
This recipe uses simple, wholesome ingredients to deliver bold flavor and that satisfying airy crunch without the fuss. Most are pantry staples, and substitutions are easy if needed.
- Egg Whites – 4 large, room temperature (fresh eggs give the best volume)
- Granulated Sugar – 1 cup (200 grams) (I prefer organic cane sugar for subtle sweetness)
- Cream of Tartar – ½ teaspoon (helps stabilize the egg whites and keeps them fluffy)
- Pure Vanilla Extract – 1 teaspoon (adds lovely warm flavor—don’t skimp here!)
- Black Food Coloring Gel or Edible Marker – for decorating ghost faces (optional but highly recommended!)
Ingredient Tips:
- Use room temperature egg whites—they whip better and hold air longer.
- Organic or caster sugar works well; the finer the sugar, the smoother the meringue.
- If you want to make these vegan, aquafaba (chickpea water) can be swapped for egg whites, but the texture will be slightly different.
- For allergy-friendly versions, ensure your vanilla extract and other ingredients are certified allergen-free.
Equipment Needed
- Electric Mixer: A stand mixer with a whisk attachment makes whipping egg whites effortless. A hand mixer works fine too, but it takes a bit longer and more muscle.
- Baking Sheet: Use a rimmed baking sheet lined with parchment paper or a silicone baking mat to prevent sticking and make cleanup easy.
- Piping Bag and Large Round Tip: For shaping the ghosts. If you don’t have a piping bag, a sturdy plastic bag with the corner snipped off works just fine.
- Oven Thermometer: Optional but handy to ensure your oven maintains a low, steady temperature for perfect meringues.
- Cooling Rack: To let your meringues cool evenly and stay crisp.
Personally, I started with a hand mixer but upgraded to a stand mixer for convenience—it’s a game-changer when making meringues regularly. If you’re on a budget, the plastic bag piping hack is a lifesaver, and parchment paper is non-negotiable for clean release. Keeping your tools dry and grease-free is key—trust me, even a trace of oil can sabotage your meringues!
Preparation Method
- Preheat your oven to 200°F (95°C) and line your baking sheet with parchment paper. Low and slow is the secret here for crispy meringues.
- Separate the eggs: Carefully separate 4 large egg whites into a clean, dry mixing bowl. Make sure no yolk sneaks in—fat can ruin the whip. Let the whites sit at room temperature for about 15 minutes.
- Start whipping the egg whites: Using your mixer, beat the egg whites on medium speed until they become frothy and begin to form soft peaks, about 2-3 minutes.
- Add cream of tartar: Sprinkle in ½ teaspoon to help stabilize the meringue and continue beating.
- Gradually add sugar: Slowly add 1 cup (200 g) of granulated sugar, about one tablespoon at a time, while beating on high speed. This step is crucial—it dissolves the sugar completely for a smooth, glossy finish. This should take about 5-7 minutes.
- Test the meringue: The mixture should be thick, shiny, and hold stiff peaks that don’t droop. Rub a bit between your fingers; it should feel smooth, not gritty. If you feel sugar grains, keep beating.
- Add vanilla extract: Fold in 1 teaspoon of pure vanilla extract gently with a spatula—don’t overmix and deflate the meringue.
- Pipe the ghosts: Transfer the meringue to your piping bag fitted with a large round tip. Pipe ghost shapes onto the prepared baking sheet—start with a round base and taper up to a point for the head. You can make them as big or small as you like, but I recommend about 1.5 inches (4 cm) tall for the perfect bite-sized treat.
- Bake low and slow: Place the tray in the oven and bake for about 1 hour and 15 minutes. The meringues should be dry to the touch and easily lift off the parchment. If they feel sticky, bake for an additional 10-15 minutes.
- Turn off the oven and cool: Leave the meringues inside with the door slightly ajar to cool completely—this helps them dry out fully and become crisp.
- Decorate your ghosts: Once cool, use black food coloring gel or an edible marker to draw spooky, cute faces. Let your creativity run wild!
Pro tip: If your kitchen is humid, it might take a bit longer to bake and dry these out. Patience is key—rushing can lead to sticky centers.
Cooking Tips & Techniques
Getting meringues just right can feel like a bit of a science, but here are some tips I’ve learned (sometimes the hard way) to help you nail it every time.
- Make sure your bowl and beaters are spotless: Any grease or residue will prevent egg whites from whipping properly.
- Room temperature egg whites are a must: Cold whites don’t trap air as well, so let them sit out for 15-20 minutes before whipping.
- Add sugar slowly: Dumping sugar in all at once can deflate your whites and leave a gritty texture.
- Don’t rush the baking: The low and slow method dries out meringues without browning them. High heat means cracked, browned, or chewy meringues—nobody wants that.
- Humidity is the enemy: If your kitchen is humid, try baking on a dry day or use a dehumidifier to keep your meringues crisp.
- Practice piping: If you’re new to piping shapes, practice on parchment before your final tray—it’ll save you some ghostly mishaps!
- Storage matters: Keep meringues in an airtight container at room temp to maintain crispness—refrigeration can add moisture and turn them chewy.
Honestly, I’ve had my share of sticky, flat meringues, but each batch was a learning experience. Now, I multitask—while they bake, I prep decorations or clean up, making the whole process feel like less of a chore and more like fun prep for Halloween.
Variations & Adaptations
Here are a few ways you can switch things up or adapt the crispy ghost meringues to fit your needs or mood:
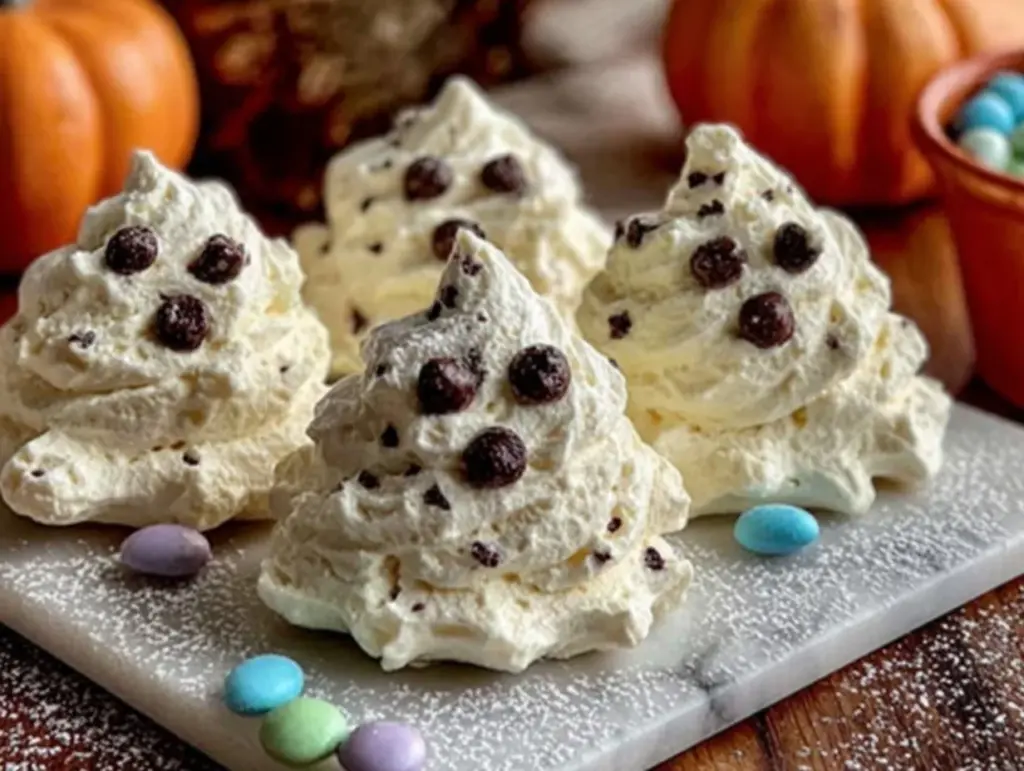
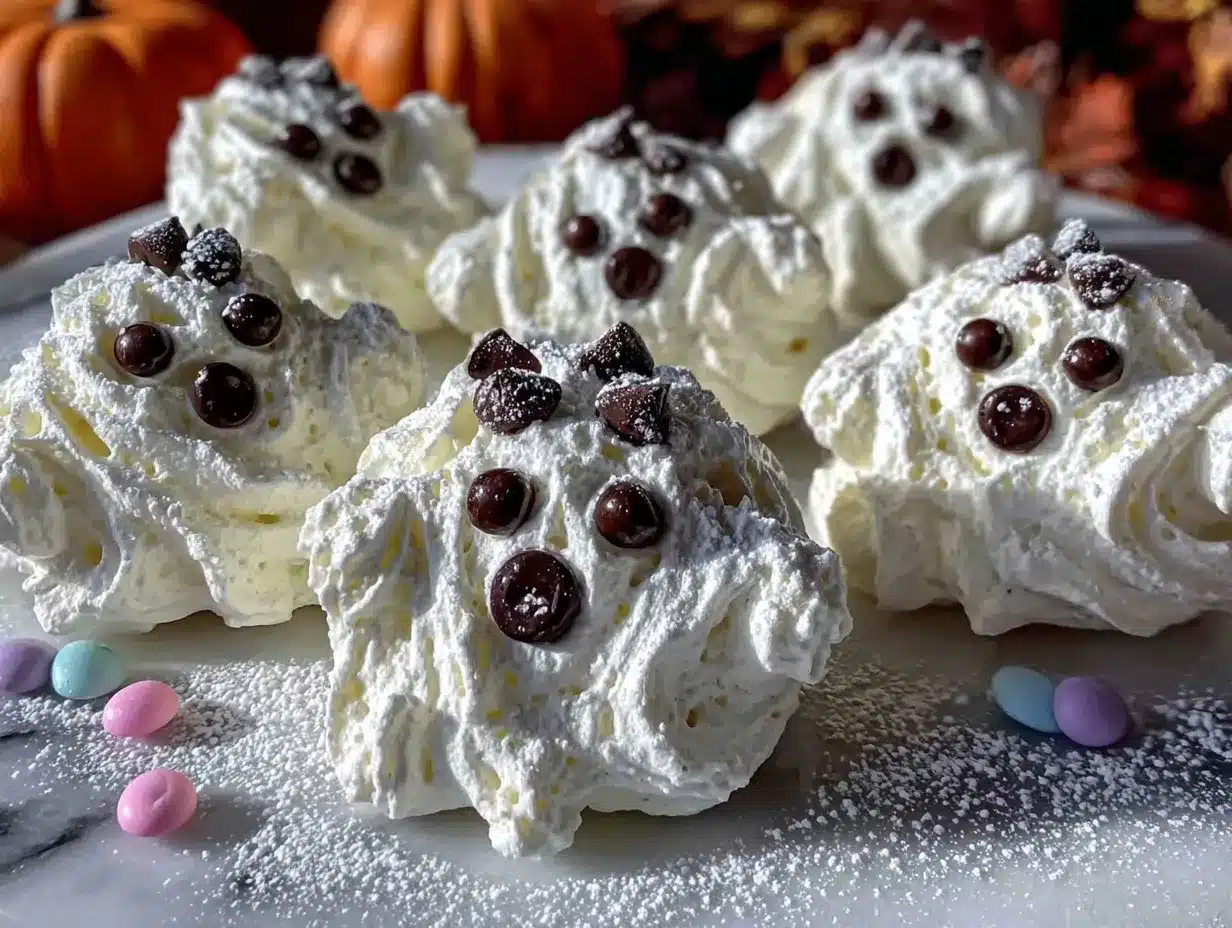
- Chocolate Chip Ghosts: Press tiny mini chocolate chips into the meringue before baking for eyes and mouths—no decorating needed!
- Flavored Meringue: Swap vanilla for peppermint extract for a cool twist, or almond extract for a nutty note.
- Vegan Version: Use aquafaba (liquid from canned chickpeas) instead of egg whites. Whip just like egg whites, but baking time may require adjustment.
- Spiced Sugar: Mix a pinch of cinnamon or pumpkin pie spice into the sugar before adding for a seasonal flavor boost.
- Colored Ghosts: Add a few drops of food coloring to the meringue before piping to create pastel or neon ghosts—great for a glow-in-the-dark theme!
One variation I love is adding a hint of orange zest to the vanilla—gives the ghosts a subtle citrusy brightness that pairs beautifully with fall flavors. Feel free to get creative and make these crispy ghost meringues your own spooky signature treat.
Serving & Storage Suggestions
These crispy ghost meringues are best served at room temperature—let them sit out for a few minutes if they’ve been stored away so they can regain their crispness. Arrange them on a Halloween-themed platter or scatter them around cupcakes and cakes for a festive display.
They pair wonderfully with hot drinks like pumpkin spice lattes, hot chocolate, or spiced apple cider—perfect for cozy autumn evenings. You can also crumble them over ice cream or pudding for a delightful texture contrast.
To store, keep the meringues in an airtight container at room temperature. They’ll stay crispy for up to two weeks if kept dry. Avoid refrigeration as moisture will soften them. If they lose their crunch, pop them in a low oven (about 200°F/95°C) for 10 minutes to refresh their texture.
Over time, the flavors mellow and the vanilla becomes more pronounced, so they’re great for prepping ahead of time. Just decorate right before serving to keep those ghostly faces fresh and fun!
Nutritional Information & Benefits
Per serving (about 3-4 meringues): approximately 70 calories, 0g fat, 17g carbohydrates, 1g protein.
These crispy ghost meringues are naturally low in fat and contain no flour or gluten, making them suitable for gluten-free diets. The main ingredient, egg whites, provide a good source of protein without cholesterol or fat.
This treat is perfect if you’re looking for a light, sweet snack that won’t weigh you down or spike your blood sugar too much compared to heavier desserts. Just be mindful of the sugar content if you’re watching intake.
From a wellness perspective, they’re a fun way to enjoy a sweet bite without the guilt of rich, buttery cookies or cakes. Plus, making them yourself means you control the ingredients—no preservatives or artificial additives.
Conclusion
If you’re after a Halloween treat that’s both spooky and sweet, these crispy ghost meringues are a no-brainer. They come together quickly, use simple ingredients, and bring a light, airy crunch that makes every bite feel special. Customize them with faces, colors, or flavors to suit your mood or party theme.
Personally, I love this recipe because it brings a little magic to an ordinary baking day—and those smiles when the kids see their ghostly treats? Priceless. Give it a shot, have fun with it, and don’t forget to share your spooky creations!
Got a twist on this recipe or a question? Drop a comment below—I’d love to hear all about your crispy ghost meringues adventures. Happy haunting and happy baking!
FAQs About Crispy Ghost Meringues
How long do crispy ghost meringues keep fresh?
Stored in an airtight container at room temperature, they stay fresh and crispy for up to two weeks.
Can I make these without cream of tartar?
Yes, but cream of tartar helps stabilize the egg whites and improves texture. You can substitute with a few drops of lemon juice or white vinegar.
Why did my meringues turn out sticky?
Sticky meringues usually mean they weren’t baked long enough or the kitchen humidity was high. Try baking a bit longer or on a dry day.
Can I use powdered sugar instead of granulated sugar?
It’s best to use granulated sugar as it dissolves better when added gradually, resulting in a smooth texture.
How do I draw faces on the meringue ghosts?
Use black edible food coloring gel with a fine brush or an edible marker once the meringues have cooled completely.
Pin This Recipe!
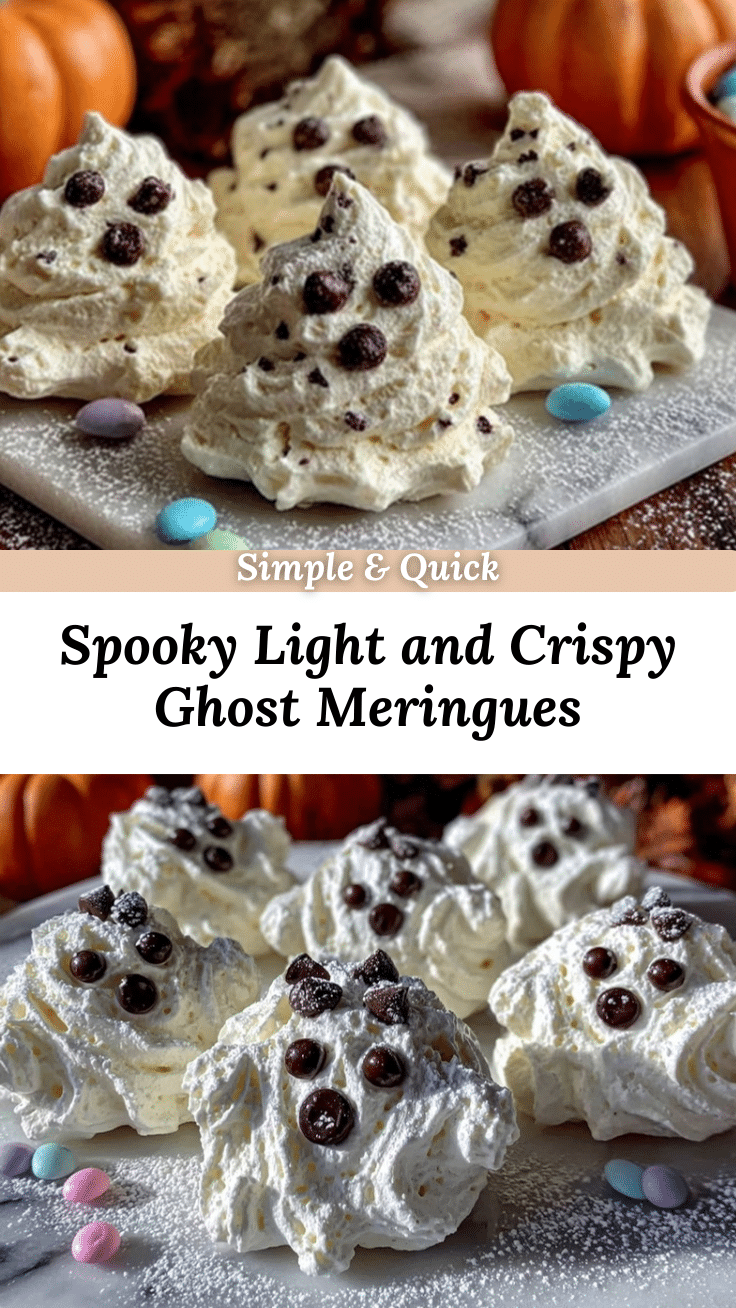
Crispy Ghost Meringues
Light, airy, and sweetly vanilla-flavored meringue treats shaped like ghosts, perfect for Halloween parties and festive gatherings.
- Prep Time: 15 minutes
- Cook Time: 1 hour 15 minutes
- Total Time: 1 hour 30 minutes
- Yield: About 3-4 meringues per serving, multiple servings (exact number depends on size piped) 1x
- Category: Dessert
- Cuisine: American
Ingredients
- 4 large egg whites, room temperature
- 1 cup (200 grams) granulated sugar
- ½ teaspoon cream of tartar
- 1 teaspoon pure vanilla extract
- Black food coloring gel or edible marker (optional, for decorating ghost faces)
Instructions
- Preheat your oven to 200°F (95°C) and line a baking sheet with parchment paper.
- Separate 4 large egg whites into a clean, dry mixing bowl and let sit at room temperature for about 15 minutes.
- Beat the egg whites on medium speed until frothy and soft peaks form, about 2-3 minutes.
- Add ½ teaspoon cream of tartar and continue beating.
- Gradually add 1 cup (200 g) granulated sugar, about one tablespoon at a time, while beating on high speed for 5-7 minutes until the mixture is thick, shiny, and holds stiff peaks.
- Fold in 1 teaspoon pure vanilla extract gently with a spatula.
- Transfer the meringue to a piping bag fitted with a large round tip and pipe ghost shapes about 1.5 inches (4 cm) tall onto the prepared baking sheet.
- Bake for about 1 hour and 15 minutes until dry to the touch and easily lift off the parchment. If sticky, bake an additional 10-15 minutes.
- Turn off the oven and leave the meringues inside with the door slightly ajar to cool completely.
- Once cool, decorate ghost faces using black food coloring gel or edible marker.
Notes
Use room temperature egg whites for best volume. Add sugar slowly to avoid gritty texture. Bake low and slow to keep meringues crisp and avoid browning. Store in an airtight container at room temperature to maintain crispness. Avoid refrigeration. If meringues become sticky, refresh in a low oven at 200°F (95°C) for 10 minutes. For vegan version, substitute egg whites with aquafaba but adjust baking time.
Nutrition
- Serving Size: About 3-4 meringues
- Calories: 70
- Sugar: 17
- Carbohydrates: 17
- Protein: 1
Keywords: Halloween treats, meringues, ghost meringues, crispy meringues, easy Halloween dessert, homemade meringues, spooky treats


