“Hey, did you bring the dip?” I heard from across the dock, just as the sun was heating up the morning. I held up my little mason jar like a trophy — it’s funny how such a simple thing could spark so much interest. Honestly, I never thought layering taco dip in a jar would become my go-to for boat days, but somehow, it did. It all started one chaotic morning when I was scrambling to gather snacks for a last-minute outing on the water. I didn’t have time to haul the usual big bowls and trays, so I tossed together this layered taco dip in mason jars. I was skeptical at first—would it even taste right? Would it be a pain to eat on a rocking boat? Turns out, it was the perfect fix.
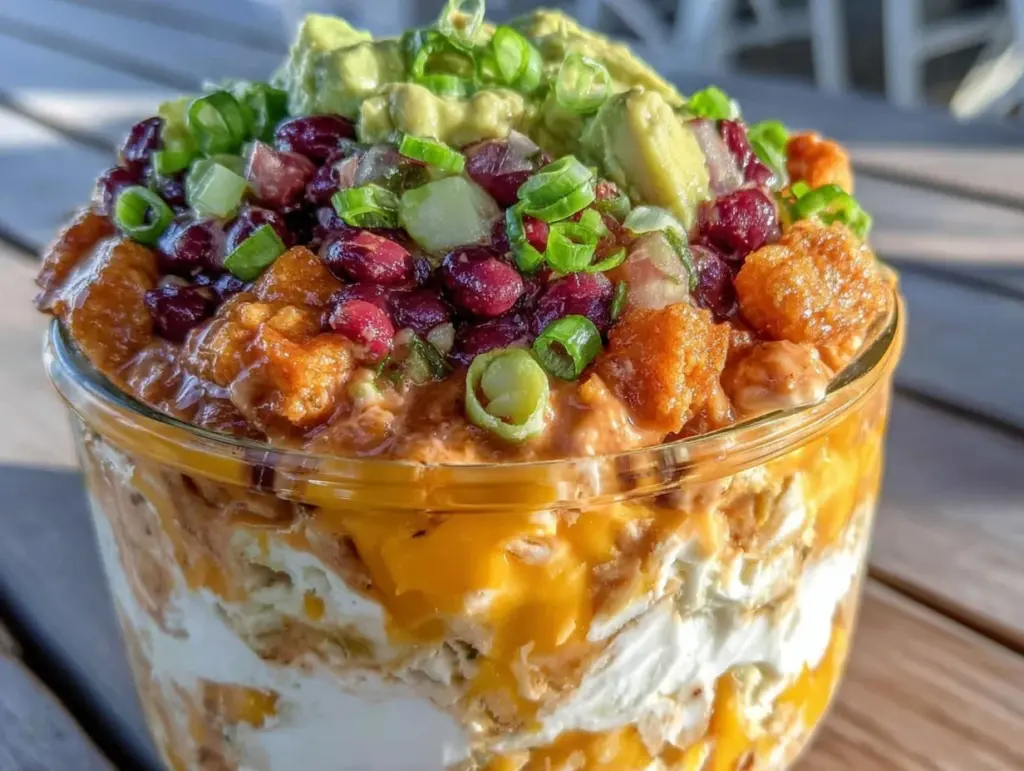
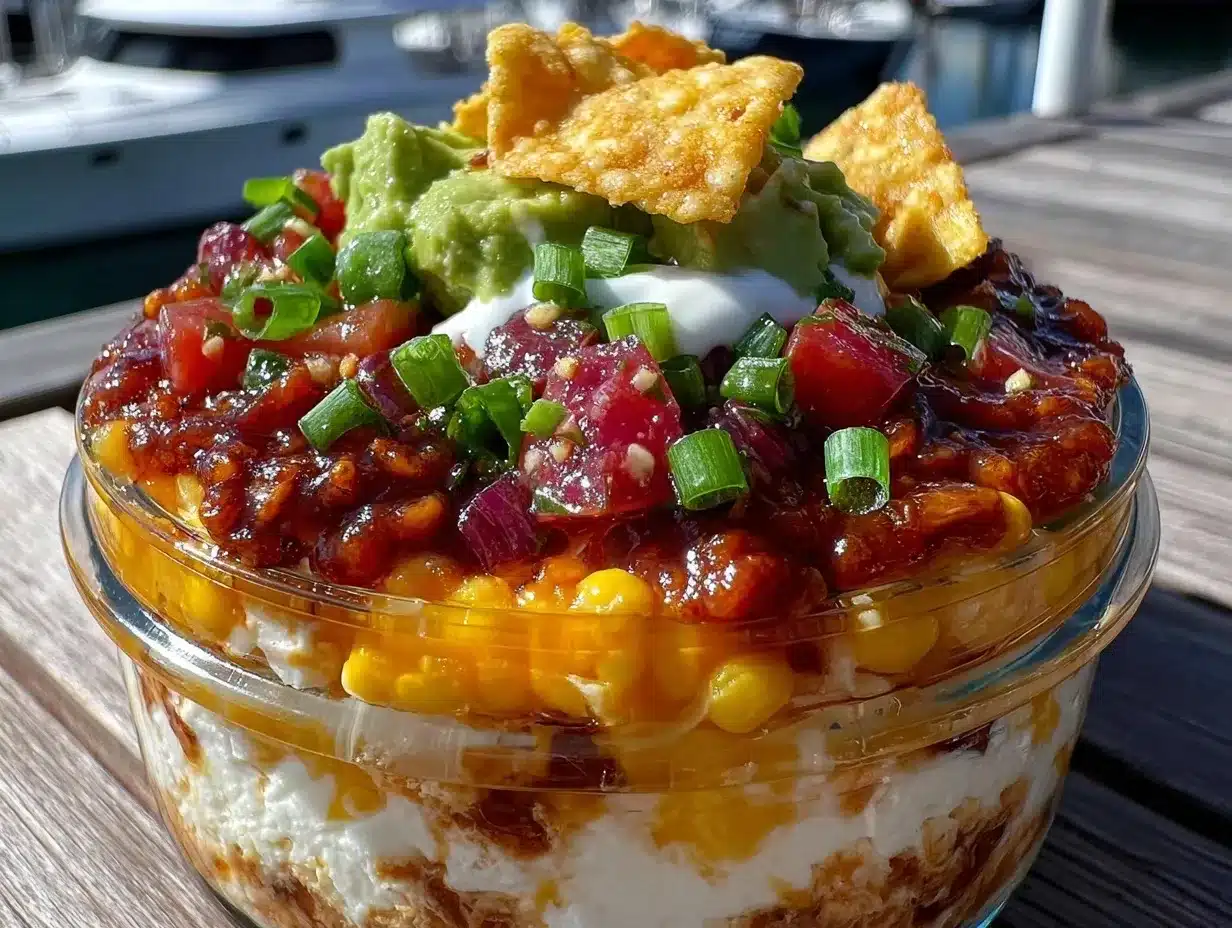
That day, the dip was a hit, not just because it was tasty, but because it was neat, portable, and fuss-free. Plus, it kept fresh all afternoon without needing a fridge nearby (boat life, you know how it is). The layers — creamy beans, zesty salsa, shredded cheese, and fresh toppings — looked so pretty through the glass, too. It felt kind of special, like a little personal snack oasis in a jar. I found myself making it again and again for every boat trip, beach picnic, or even casual backyard hangouts. There’s something quietly satisfying about peeling back those layers, spooning up each bite, and knowing you didn’t have to compromise on flavor or ease.
This easy mason jar layered taco dip stuck around because it’s exactly what those sun-soaked, breeze-blown afternoons call for — simple, colorful, and just a little bit fun. It’s not trying to be fancy, but it delivers exactly the kind of flavor punch and convenience you want when you’re out on the water. So, if you’ve been hunting for that fuss-free, crowd-pleasing snack that travels well and tastes even better, you might find yourself reaching for these jars as much as I do. Let’s get into why this recipe has earned its spot in my boat day essentials.
Why You’ll Love This Recipe
After testing this recipe on multiple boat trips (sometimes twice in a week, not gonna lie), it’s safe to say this layered taco dip has earned serious street cred. Whether you’re a seasoned skipper or just someone who loves a good snack, it hits all the right notes.
- Quick & Easy: Comes together in about 15 minutes — perfect when you’re juggling packing a cooler, sunscreen, and a playlist.
- Simple Ingredients: No need for specialty stores — most ingredients are pantry staples or easy to grab at your local market.
- Perfect for Boat Days: Portable and mess-free, these jarred dips are just right for eating on the go without spills or fuss.
- Crowd-Pleaser: I’ve never met a group that didn’t dive in — kids, adults, and even picky eaters find something they love in these layers.
- Unbelievably Delicious: The combo of creamy beans, tangy salsa, sharp cheese, and fresh herbs is pure comfort food with a little kick.
What sets this recipe apart? Layering in mason jars keeps the flavors fresh and textures distinct until the moment you dig in — no soggy chips or mixed-up messes here. Plus, blending the beans with just the right amount of seasoning creates a silky base that holds up well, even in warm weather. It’s a small twist that makes a big difference.
This isn’t just a dip — it’s a portable party in a jar that brings a little extra joy to those sunlit afternoons. And honestly, knowing you can grab one from the cooler and enjoy a fresh, satisfying bite while the waves lap nearby? That’s a little peace of mind I didn’t realize I needed.
What Ingredients You Will Need
This recipe uses simple, wholesome ingredients to deliver bold flavor and satisfying texture without any fuss. The components are easy to find and mostly pantry staples, making it a breeze to assemble anytime. Plus, you can swap or adapt some based on what you have on hand.
- For the Bean Base:
- 1 can (15 oz / 425 g) black beans, rinsed and drained
- 1/2 cup (120 g) sour cream or Greek yogurt (I often use plain Greek yogurt for a tangy twist)
- 1 teaspoon taco seasoning (homemade or store-bought — I prefer McCormick for consistency)
- 1/2 teaspoon garlic powder
- Salt and pepper to taste
- For the Salsa Layer:
- 1 cup (240 ml) chunky salsa (choose your heat level — I like medium for a bit of zip)
- For the Cheese Layer:
- 1 cup (100 g) shredded sharp cheddar cheese (freshly shredded melts better)
- For the Toppings:
- 1/2 cup (60 g) chopped green onions
- 1/2 cup (50 g) diced tomatoes (optional, but adds freshness)
- 1/4 cup (15 g) sliced black olives
- 1/4 cup (15 g) chopped fresh cilantro
- 1 small jalapeño, thinly sliced (optional for a little heat)
- Extras:
- Small bags of tortilla chips or sturdy veggie sticks for dipping
If you want to make it dairy-free, swapping sour cream or Greek yogurt for a coconut-based or cashew-based alternative works well. For a gluten-free option, just double-check your taco seasoning and salsa labels. The ingredients keep it flexible and friendly for most diets, which is great when you’re sharing with friends who might have different needs.
Equipment Needed
- Medium mixing bowl for blending the bean base
- Fork or food processor (I prefer a food processor to get the beans silky smooth, but a fork mash works in a pinch)
- Measuring cups and spoons
- Clean mason jars (8 oz / 240 ml size works perfectly for individual servings)
- Spoons or small spatulas for layering
- Optional: small airtight containers if you want to prepare ahead without jars
If you don’t have mason jars, any clear container with a tight lid will do — a small plastic container or even a wide-mouth glass jar can work. I’ve also used reusable silicone cups when I didn’t have enough jars, and they held up great on the boat. For easy cleanup, I keep a few spare spoons and napkins in my boat bag — that way, you’re not hunting for utensils mid-trip.
Preparation Method
- Prepare the bean base (about 10 minutes): In a medium bowl, combine the black beans, sour cream or Greek yogurt, taco seasoning, garlic powder, salt, and pepper. Use a food processor to pulse until smooth but still slightly textured, or mash with a fork if you prefer a chunkier feel. Taste and adjust seasoning as needed. The consistency should be creamy and spreadable, not runny.
- Layer the dip in the mason jars (5 minutes per jar): Start by spooning about 3 tablespoons (45 ml) of the bean base into the bottom of each jar. Press down gently to create an even layer. Next, add 2 tablespoons (30 ml) of salsa on top of the bean layer. Follow with a layer of shredded cheddar cheese, about 2 tablespoons (15 g) per jar.
- Add the fresh toppings: Sprinkle green onions, diced tomatoes, olives, cilantro, and jalapeño slices evenly on top of the cheese layer. The colors through the glass make these jars look so inviting — like mini edible landscapes.
- Seal and chill: Screw on the lids tightly and refrigerate for at least 30 minutes before serving. This lets the flavors meld slightly and keeps the jars cool for your boat day. If you’re packing for a trip, these can stay fresh for up to 24 hours refrigerated.
- Serving tip: When ready to eat, grab a spoon and dip your chips or veggies straight into the jar. If you want to share, you can also scoop the layers out onto a plate, but honestly, eating it right from the jar is half the fun.
Keep an eye on the bean base texture — if it feels too thick after chilling, a quick stir with a tablespoon of water or lime juice can freshen it up. Also, layering the salsa carefully helps avoid mixing too early, so take your time with that step. This layering technique keeps everything tasting fresh and distinct, even hours later.
Cooking Tips & Techniques
There’s a little art to making this mason jar layered taco dip just right, and some lessons came from trial and error. For example, at first, I tried tossing the ingredients together in one big bowl, but that just turned into a messy mush. Layering is the secret to keeping each flavor pop.
Here are my go-to tips for success:
- Use quality beans: Rinsing canned black beans well removes excess salt and starch, helping your bean base taste fresh and clean.
- Blend, but don’t overdo it: A little texture in the bean mix adds interest, so pulse to almost smooth but not pureed.
- Choose your salsa wisely: Chunky salsa adds texture and freshness, but too watery can make the layers soggy.
- Layer gently: Use a spoon or spatula to carefully add each layer so you don’t mix the ingredients prematurely.
- Chill time is key: Let the jars rest in the fridge for at least 30 minutes for flavors to settle and the dip to firm up.
I’ve also learned the hard way that topping too early with fresh tomatoes can make the dip watery if left out too long, so I sometimes add those last minute, especially on hot days. And don’t skip the cilantro — that herb really brightens the whole jar.
Variations & Adaptations
This easy mason jar layered taco dip is a great canvas for your creativity. Here are some ways I’ve switched it up based on mood, dietary needs, or ingredients on hand:
- Vegetarian or Vegan: Swap sour cream for a plant-based yogurt or cashew cream and use vegan cheese shreds. Black beans work perfectly, or try refried pinto beans for a creamier base.
- Spicy Kick: Add chopped pickled jalapeños or a dash of hot sauce to the salsa layer. A sprinkle of smoked paprika or chipotle powder in the bean base adds warmth too.
- Protein Boost: Layer in some cooked, seasoned ground turkey or shredded chicken (leftover from a recipe like the fresh Thai lettuce wrap chicken) to make it more filling.
- Seasonal Twist: In summer, swap diced tomatoes with fresh corn kernels or mango chunks for a sweet pop. Fall vibes call for roasted poblano peppers layered on top.
One of my favorite tweaks was layering in creamy guacamole instead of sour cream — it adds richness and keeps the dip feeling fresh. This little swap made it perfect for a low-carb day out on the water.
Serving & Storage Suggestions
This dip is best served chilled, straight from the jar with sturdy tortilla chips or crunchy veggies for dipping. If you’re hosting on the boat or at a picnic, setting out a variety of dippers like bell pepper strips, cucumber rounds, or pita chips keeps things interesting.
Store any leftover jars in the refrigerator with their lids on. They keep well for up to 2 days, though the fresh toppings like tomatoes and cilantro might start to lose their texture after a day. If you want to prepare ahead, keep the fresh toppings separate and add them right before serving.
When reheating (if you prefer warm dip), transfer the contents to a microwave-safe bowl and heat in 30-second intervals, stirring gently. However, I usually prefer this dip cold or at room temperature — it just feels fresher that way. Flavors tend to deepen if you let the jars sit overnight in the fridge, so sometimes preparing the night before boat day is a nice time-saver.
Nutritional Information & Benefits
This mason jar layered taco dip is not only tasty but also packs some nutritional perks. Black beans provide a solid dose of plant-based protein and fiber, helping keep you full and satisfied. Using Greek yogurt instead of sour cream boosts the protein content and adds probiotics for gut health.
The fresh veggies and herbs bring vitamins, antioxidants, and a refreshing crunch. When paired with whole-grain or baked tortilla chips, it’s a balanced snack that doesn’t feel heavy or greasy. Plus, it’s gluten-free by nature, and easy to adapt for dairy-free or vegan diets.
From a wellness perspective, this dip is a nice way to enjoy bold flavors without excess processed ingredients or artificial additives. It’s a snack that feels good to eat after a morning of sun and saltwater.
Conclusion
So, if you’re after a snack that’s as easygoing as your boat day vibes but still tastes like a fiesta in every bite, this easy mason jar layered taco dip is a winner. It’s simple to make, packs well, and pleases just about everyone who tries it. I love how it saves me the mess and hassle of traditional dips and makes sharing on the water a breeze.
Don’t hesitate to play around with the layers, try different toppings, or even pair it with some crispy roasted chickpeas for extra crunch alongside. Whatever you do, this dip has a way of turning snack time into a small celebration — and honestly, that’s why I keep coming back to it.
Feel free to leave a comment sharing your tweaks or how you enjoyed this on your next boat day. Here’s to good food, good company, and great days on the water!
FAQs about Easy Mason Jar Layered Taco Dip
Can I prepare this dip ahead of time?
Yes! You can assemble the jars up to 24 hours ahead. Just keep them refrigerated and add fresh toppings like tomatoes and cilantro right before serving for best texture.
What can I use instead of black beans?
Refried pinto beans or mashed chickpeas work well as alternatives, just adjust seasoning to your taste.
Is this recipe suitable for kids?
Absolutely! You can tone down the spice level by choosing mild salsa and skipping jalapeños. The layers are colorful and fun, which usually appeals to kids.
How do I eat this dip on a boat without making a mess?
Mason jars are great for portion control and portability. Use sturdy chips or veggie sticks for dipping, and keep a napkin handy. Eating straight from the jar minimizes spills.
Can I make this dip vegan?
Yes, swap the sour cream or Greek yogurt for a plant-based alternative and use vegan cheese. Most other ingredients are naturally vegan.
Pin This Recipe!
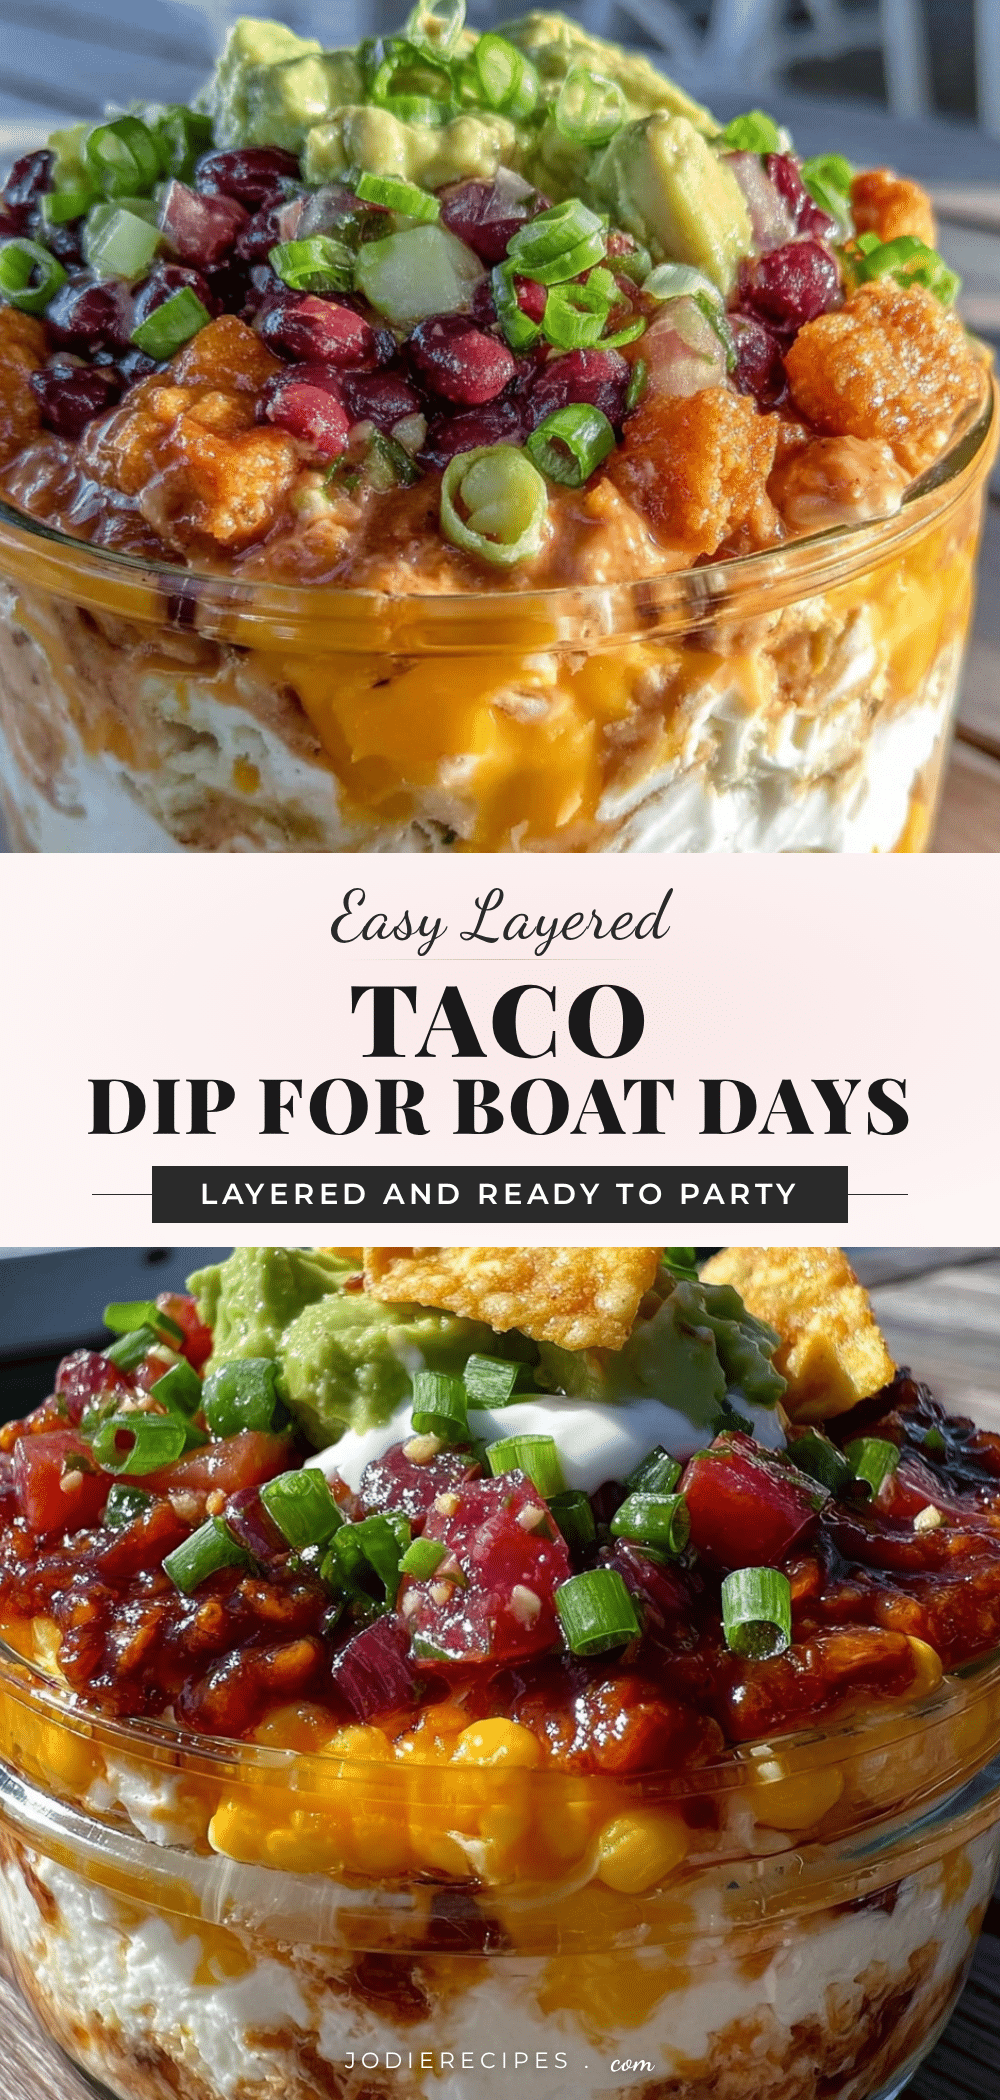
Easy Mason Jar Layered Taco Dip Recipe for Perfect Boat Days

A simple, portable, and mess-free layered taco dip in mason jars, perfect for boat days, picnics, and casual hangouts. Layers of creamy beans, zesty salsa, sharp cheddar cheese, and fresh toppings create a flavorful and convenient snack.
- Prep Time: 15 minutes
- Cook Time: 0 minutes
- Total Time: 45 minutes
- Yield: 4 servings 1x
- Category: Appetizer
- Cuisine: Mexican-inspired
Ingredients
- 1 can (15 oz / 425 g) black beans, rinsed and drained
- 1/2 cup (120 g) sour cream or Greek yogurt
- 1 teaspoon taco seasoning
- 1/2 teaspoon garlic powder
- Salt and pepper to taste
- 1 cup (8 fl oz / 240 ml) chunky salsa
- 1 cup (100 g) shredded sharp cheddar cheese
- 1/2 cup (60 g) chopped green onions
- 1/2 cup (50 g) diced tomatoes (optional)
- 1/4 cup (15 g) sliced black olives
- 1/4 cup (15 g) chopped fresh cilantro
- 1 small jalapeño, thinly sliced (optional)
- Small bags of tortilla chips or sturdy veggie sticks for dipping
Instructions
- Prepare the bean base (about 10 minutes): In a medium bowl, combine the black beans, sour cream or Greek yogurt, taco seasoning, garlic powder, salt, and pepper. Use a food processor to pulse until smooth but still slightly textured, or mash with a fork if you prefer a chunkier feel. Taste and adjust seasoning as needed. The consistency should be creamy and spreadable, not runny.
- Layer the dip in the mason jars (5 minutes per jar): Start by spooning about 3 tablespoons (45 ml) of the bean base into the bottom of each jar. Press down gently to create an even layer. Next, add 2 tablespoons (30 ml) of salsa on top of the bean layer. Follow with a layer of shredded cheddar cheese, about 2 tablespoons (15 g) per jar.
- Add the fresh toppings: Sprinkle green onions, diced tomatoes, olives, cilantro, and jalapeño slices evenly on top of the cheese layer.
- Seal and chill: Screw on the lids tightly and refrigerate for at least 30 minutes before serving to let the flavors meld and keep the jars cool.
- Serving tip: When ready to eat, grab a spoon and dip your chips or veggies straight into the jar. You can also scoop the layers out onto a plate if sharing.
Notes
Use quality rinsed black beans to remove excess salt and starch. Pulse beans to almost smooth but keep some texture. Choose chunky salsa to avoid soggy layers. Layer gently to keep layers distinct. Chill at least 30 minutes before serving. Add fresh toppings like tomatoes last minute on hot days to avoid watery dip. For dairy-free, swap sour cream or Greek yogurt with coconut or cashew-based alternatives. For vegan, use plant-based yogurt and vegan cheese. Can prepare jars up to 24 hours ahead, keep refrigerated.
Nutrition
- Serving Size: 1 mason jar (about 8
- Calories: 220
- Sugar: 3
- Sodium: 350
- Fat: 10
- Saturated Fat: 4
- Carbohydrates: 22
- Fiber: 6
- Protein: 10
Keywords: taco dip, mason jar dip, layered dip, portable snack, boat day recipe, easy appetizer, black bean dip, layered taco dip


