“You have to try this,” my friend insisted over a text one hot afternoon, sending a snap of something glowing golden with a sprinkle of coconut on top. I was skeptical—key lime pie bars? With toasted coconut? Could it really be as good as it looked? The next day, I found myself in the kitchen, the scent of lime zest and toasted graham crackers filling the air in a way that made me pause and smile. Honestly, this recipe wasn’t planned; it was a spontaneous experiment born out of leftover graham crackers and a craving for something tangy but sweet.
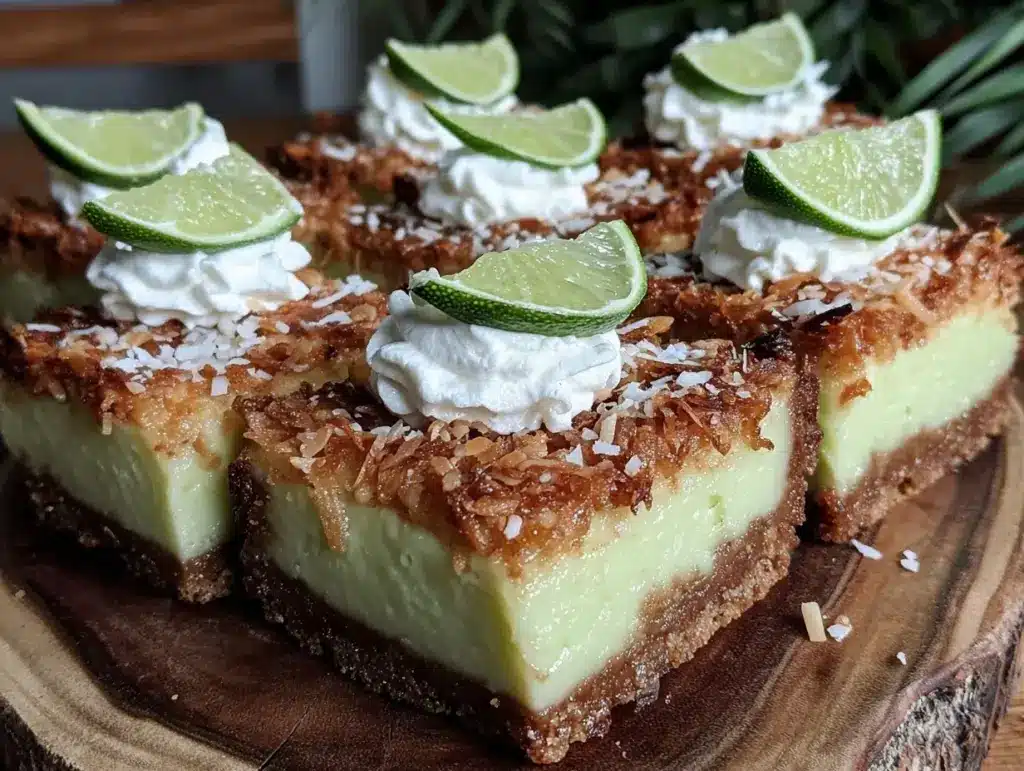
From the first bite, the zing of fresh key lime juice combined with the buttery toasted coconut crust surprised me—like a mini tropical vacation right on my taste buds. It wasn’t just the flavor; it was that perfect balance between tart and sweet, creamy filling and crunchy base, something you don’t find in your everyday dessert bars. Since then, I’ve made these bars a few times a week (not kidding) when I need a little pick-me-up or a simple dessert to bring to a gathering.
What stuck with me is how this recipe captures that breezy, sun-soaked feeling without any fuss. The toasted coconut adds a subtle, nutty crunch to the classic graham crust, making it stand out from typical key lime bars I’ve tried before. If you’re looking for a fresh twist on a beloved dessert, these flavorful key lime pie bars with toasted coconut graham crust might just be your new secret weapon.
Why You’ll Love This Recipe
I’ve tested this recipe more times than I can count, tweaking the crust-to-filling ratio and toasting the coconut just right to get that perfect balance. Here’s why I trust you’ll love making (and eating!) these bars:
- Quick & Easy: Ready in under 45 minutes, including baking and cooling time—ideal for those last-minute dessert cravings or busy weeknights.
- Simple Ingredients: No specialty stores needed. Most of these ingredients are pantry staples like graham crackers, shredded coconut, and fresh key lime juice.
- Perfect for Summer Parties: This pie bar brings a bright, tropical vibe that’s great for potlucks, barbecues, or casual get-togethers—pairs beautifully with a sparkling passion fruit lemonade.
- Crowd-Pleaser: Kids and adults alike rave about the creamy tartness combined with the toasty crust—it disappears fast!
- Unbelievably Delicious: The toasted coconut in the graham crust adds a depth of flavor and texture that takes these bars to another level.
This isn’t just a run-of-the-mill key lime recipe. The secret lies in toasting the coconut right in the crust, giving it that irresistible crunch and a subtle tropical nuttiness that perfectly complements the bright lime filling. Plus, the filling’s creamy yet tangy nature makes you pause and savor each bite, not just gobble it down.
It’s the kind of dessert that makes you close your eyes and smile, the kind that feels like a little personal celebration after a long day. Whether you’re looking to impress guests or simply treat yourself, this recipe hits the sweet spot every time.
What Ingredients You Will Need
This recipe relies on straightforward, wholesome ingredients that work together to create bold flavors and satisfying textures without any stress. Most are pantry-friendly and easy to swap if needed.
- For the Toasted Coconut Graham Crust:
- 1 1/2 cups graham cracker crumbs (about 10-12 full crackers; I prefer the classic Nabisco for the best texture)
- 1/2 cup sweetened shredded coconut (toasted until golden for that nutty flavor)
- 1/4 cup granulated sugar (balances the tartness)
- 6 tablespoons unsalted butter, melted (adds richness and helps bind the crust)
- 1/4 teaspoon kosher salt (enhances all the flavors)
- For the Key Lime Filling:
- 4 large eggs, room temperature (for smooth, even baking)
- 1 1/4 cups granulated sugar (sweetens and balances lime’s tang)
- 1/2 cup freshly squeezed key lime juice (about 4-5 limes; fresh is a must for authentic flavor)
- 1 tablespoon key lime zest (optional but adds bright citrus aroma)
- 1/2 cup sweetened condensed milk (for that creamy, luscious texture)
- 2 tablespoons all-purpose flour (helps the filling set perfectly)
- For Garnish (Optional):
- Whipped cream or coconut whipped cream
- Extra toasted shredded coconut
- Thin lime slices or zest curls for decoration
If you want to make it gluten-free, swapping graham cracker crumbs with almond flour or gluten-free graham crumbs works well. For a dairy-free option, try coconut oil instead of butter, and coconut condensed milk substitutes are available that taste surprisingly close.
Equipment Needed
- 9×9-inch (23×23 cm) square baking pan for perfect thickness and easy slicing
- Mixing bowls (one for crust, one for filling)
- Whisk and spatula for smooth blending
- Food processor or rolling pin (to crush graham crackers finely)
- Baking sheet or skillet for toasting coconut safely on stovetop or oven
- Zester or fine grater for fresh lime zest
- Measuring cups and spoons for accuracy
If you don’t have a food processor, no worries—just place graham crackers in a sealed bag and crush with a rolling pin. For toasting coconut, a dry skillet works just as well as the oven, but keep a close eye so it doesn’t burn. I’ve also found that using a silicone spatula helps scrape the crust evenly into the pan without sticking.
For budget-friendly options, standard metal baking pans and basic kitchen tools do the job just fine. A digital kitchen scale is a nice-to-have but not necessary here.
Preparation Method
- Preheat your oven to 350°F (175°C). Line a 9×9-inch baking pan with parchment paper, leaving extra on the sides to lift bars out easily later. This little trick always saves me from messy cutting.
- Toast the shredded coconut: Spread 1/2 cup of shredded coconut evenly on a baking sheet or dry skillet over medium heat. Stir frequently until golden brown and fragrant, about 3-5 minutes. Watch closely—it can go from toasted to burnt fast! Let cool.
- Make the crust: In a medium bowl, combine 1 1/2 cups graham cracker crumbs, the toasted coconut, 1/4 cup sugar, and 1/4 teaspoon salt. Pour in 6 tablespoons melted butter and stir until all crumbs are evenly moistened.
- Press the crust mixture firmly into the prepared pan, creating an even layer. Press with the back of a spoon or your fingers to compact it well. Bake for 10 minutes until set and slightly golden. Remove from oven and cool slightly while preparing filling.
- Prepare the filling: In a large bowl, whisk together 4 eggs and 1 1/4 cups sugar until smooth and pale, about 2 minutes. Add 1/2 cup fresh key lime juice, 1 tablespoon zest, 1/2 cup sweetened condensed milk, and 2 tablespoons flour. Continue whisking until fully combined and silky.
- Pour the filling evenly over the warm crust. Return to the oven and bake for 18-22 minutes, or until the filling is just set and slightly jiggly in the center. Don’t overbake or you’ll lose that creamy texture.
- Cool completely in the pan on a wire rack, then refrigerate for at least 2 hours or overnight to allow the bars to firm up.
- Slice and serve: Use the parchment edges to lift the bars out and cut into 12 squares. Garnish with whipped cream and extra toasted coconut or lime zest if desired.
Pro tip: Let the bars chill well before cutting to avoid crumbling. If you want cleaner slices, dip your knife in hot water and wipe it dry between cuts. It’s a little trick I learned after a messy first attempt!
Cooking Tips & Techniques
To get these key lime pie bars just right, timing and technique really matter. For instance, toasting the coconut isn’t just for looks—it adds a toasty, nutty flavor that balances the tart lime filling perfectly. But watch the coconut closely while toasting; burnt coconut can ruin the entire crust.
When mixing the filling, whisk eggs and sugar well to incorporate air. This helps the filling set with a light, smooth texture. Also, freshly squeezed key lime juice is a game-changer—the bottled stuff just doesn’t cut it here.
Another tip: baking the crust first gives it enough structure to hold the filling without becoming soggy. I’ve made the mistake of skipping this and ended up with a soggy bottom—definitely not worth it.
Lastly, don’t rush the chilling step. The bars firm up during refrigeration, making slicing neat and easy. If you’re multitasking during cooling, pop together a refreshing mocktail like the mint mojito mocktail to match the tropical vibe perfectly.
Variations & Adaptations
Sometimes you want to mix it up, so here are a few adaptations I’ve played with:
- Low-sugar version: Cut the sugar in the filling by a third and add a teaspoon of vanilla extract to balance the tartness. It’s a lighter but still tasty option.
- Vegan adaptation: Use a flax egg (1 tablespoon ground flax + 3 tablespoons water) for each egg and swap sweetened condensed milk for coconut condensed milk. Use coconut oil instead of butter for the crust.
- Seasonal twist: Swap key limes for Meyer lemons in winter for a sweeter citrus flavor. Or mix in some fresh raspberries on top before baking for a pop of color and tartness—similar to how the raspberry crumble bars layer flavors.
- Extra crunch: Add chopped macadamia nuts or pecans to the crust for texture and a buttery nutty note.
Personally, I love trying the vegan version when entertaining friends who prefer plant-based treats—it’s surprisingly close to the original in creaminess and zing.
Serving & Storage Suggestions
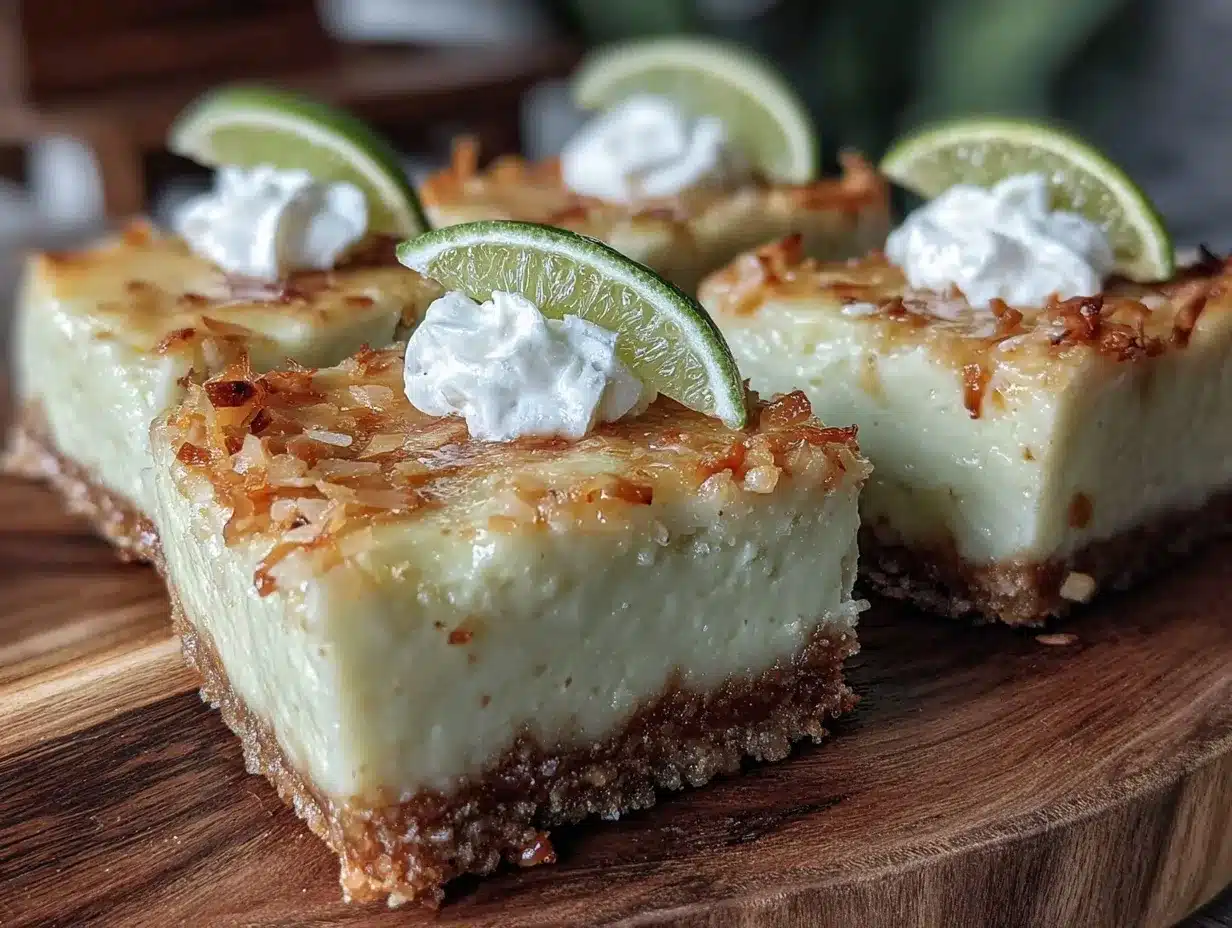
These key lime pie bars taste best chilled, so keep them refrigerated until ready to serve. I like to plate them with a dollop of whipped cream and a sprinkle of extra toasted coconut or a thin lime zest curl for a pretty finish.
Pair them with tropical drinks or light summery beverages—something like a tropical green smoothie complements the bright citrus flavor beautifully.
To store, keep the bars in an airtight container in the fridge for up to 4 days. They can also be frozen for up to 2 months; just thaw overnight in the fridge and serve cold or at room temperature. The flavors actually deepen after a day or two, so if you can wait, it’s worth it.
For reheating, these bars are best enjoyed cold, but if you prefer a softer texture, a few seconds in the microwave does the trick—just don’t overdo it or the filling melts.
Nutritional Information & Benefits
Each serving of these key lime pie bars offers a zesty burst of vitamin C from the fresh key limes, which supports immunity and skin health. The coconut provides healthy fats and a bit of fiber, while the eggs add protein for a more satisfying dessert.
Estimated nutrition per bar (1 of 12): approximately 210 calories, 10g fat, 28g carbs, 3g protein.
This recipe isn’t low-calorie, but it’s a balanced treat that uses real ingredients and no artificial additives. For gluten-sensitive folks, substituting gluten-free graham crackers makes it accessible without sacrificing flavor.
Honestly, it’s a dessert that satisfies your sweet tooth while offering a little nutritional boost compared to typical sugary bars.
Conclusion
These flavorful key lime pie bars with toasted coconut graham crust have earned a permanent spot in my recipe box because they’re just so darn good and easy. The perfect mix of tangy, creamy, and crunchy is hard to beat, especially when the crust has that toasty coconut touch that makes you go “wow.”
Feel free to tweak the levels of tartness, sweetness, or texture to match your mood or occasion—you can’t really go wrong here. I love how they bring a bit of sunshine to any meal, whether as a casual snack or a star dessert for a summer party.
If you give them a try, I’d love to hear how you customize them! Comments and sharing your versions always make my day. Here’s to delicious adventures with simple ingredients and a little zest for life.
FAQs About Flavorful Key Lime Pie Bars with Toasted Coconut Graham Crust
Can I use bottled lime juice instead of fresh key lime juice?
Fresh key lime juice is best for authentic flavor, but if you don’t have access, bottled lime juice can work in a pinch. Just look for 100% lime juice without additives and expect a slightly less vibrant taste.
How do I prevent the crust from becoming soggy?
Baking the crust before adding the filling is key. Press it firmly and bake for about 10 minutes to set it, which helps keep it crisp once the filling is added.
Can I make these bars ahead of time?
Yes! In fact, chilling them overnight improves the flavor and texture. Store them covered in the refrigerator for up to 4 days or freeze for longer storage.
What’s the best way to toast shredded coconut?
Spread the coconut in a dry skillet over medium heat, stirring often until golden brown and fragrant (3-5 minutes). Or, bake it in a 350°F (175°C) oven for 5-7 minutes, stirring halfway through. Watch closely to avoid burning.
Are these bars gluten-free?
The standard recipe uses graham crackers that contain gluten, but you can substitute gluten-free graham cracker crumbs or almond flour to make it gluten-free without losing the delicious crust texture.
Pin This Recipe!
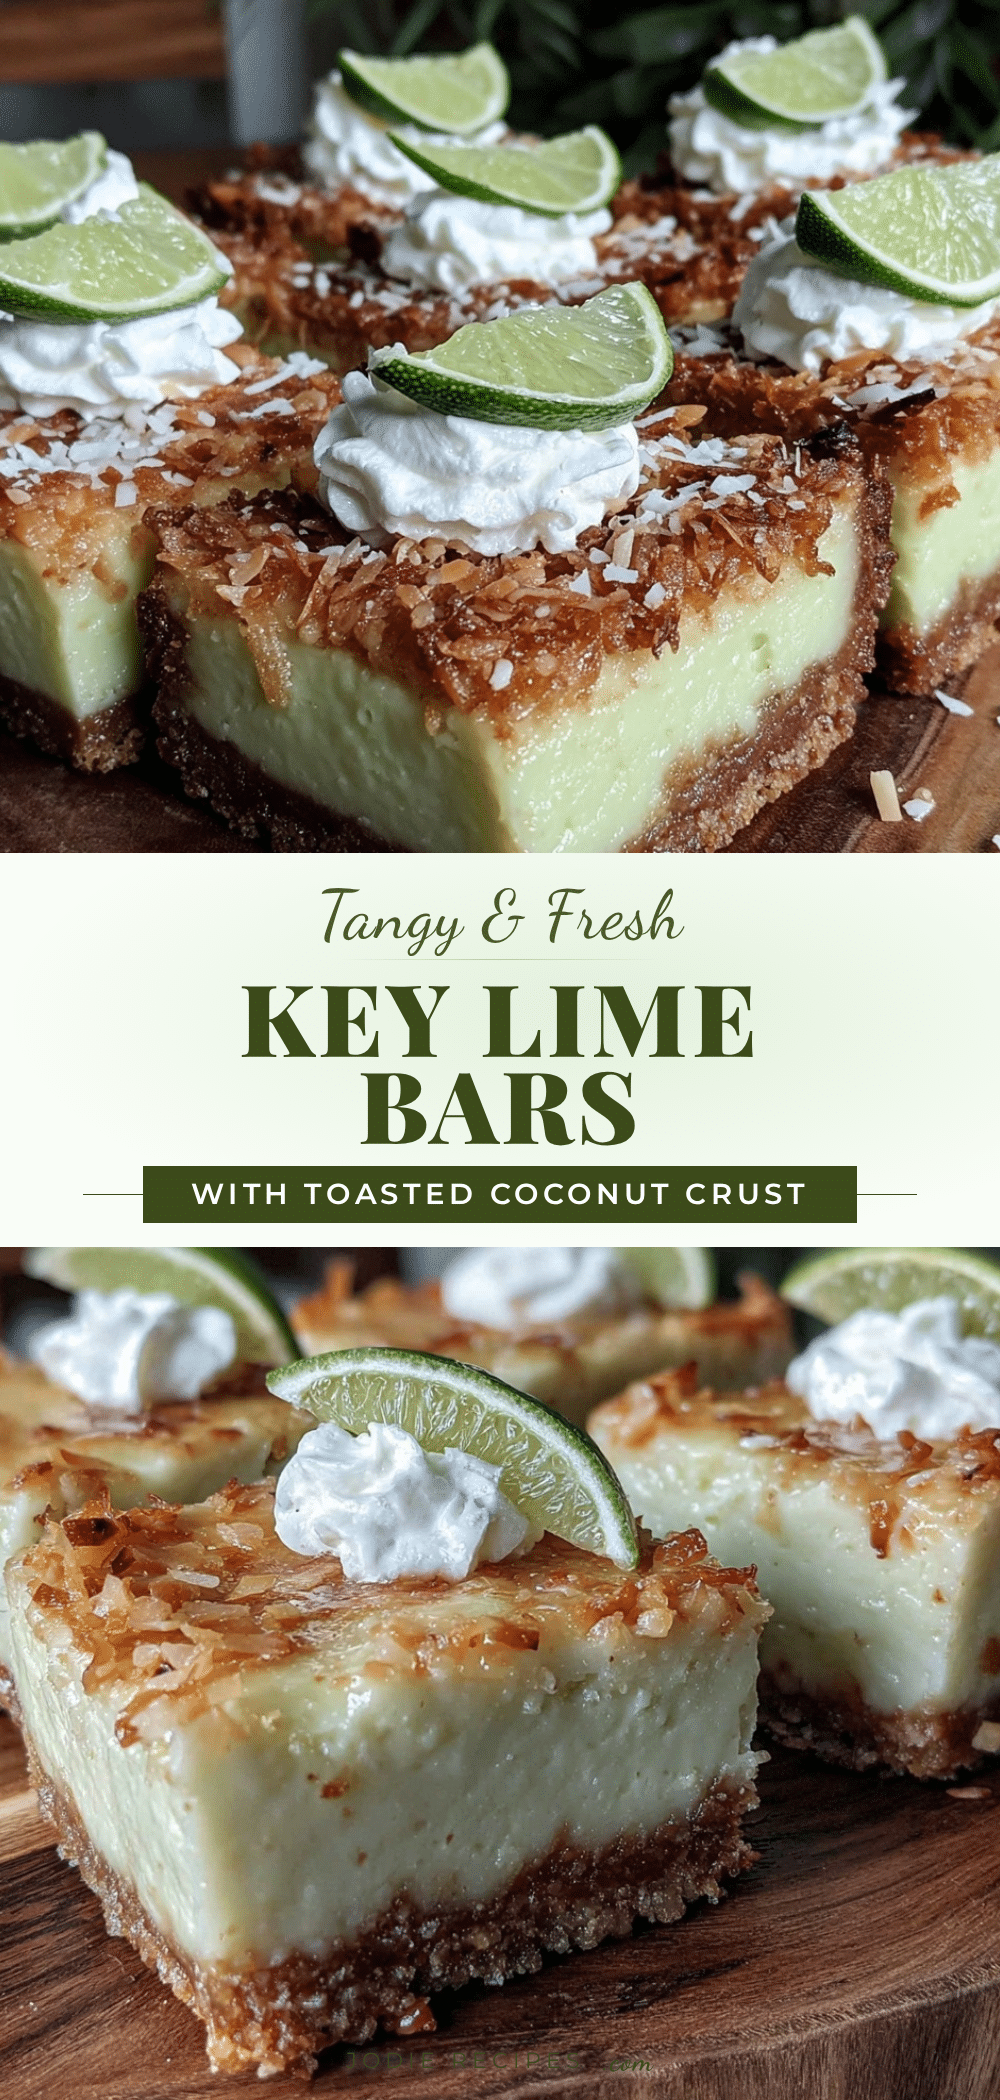
Flavorful Key Lime Pie Bars Recipe with Easy Toasted Coconut Graham Crust
These key lime pie bars feature a tangy, creamy filling atop a buttery toasted coconut graham cracker crust, delivering a perfect balance of tart and sweet with a tropical twist.
- Prep Time: 15 minutes
- Cook Time: 32 minutes
- Total Time: 2 hours 47 minutes
- Yield: 12 servings 1x
- Category: Dessert
- Cuisine: American
Ingredients
- 1 1/2 cups graham cracker crumbs (about 10–12 full crackers)
- 1/2 cup sweetened shredded coconut, toasted until golden
- 1/4 cup granulated sugar
- 6 tablespoons unsalted butter, melted
- 1/4 teaspoon kosher salt
- 4 large eggs, room temperature
- 1 1/4 cups granulated sugar
- 1/2 cup freshly squeezed key lime juice (about 4–5 limes)
- 1 tablespoon key lime zest (optional)
- 1/2 cup sweetened condensed milk
- 2 tablespoons all-purpose flour
- Optional garnish: whipped cream or coconut whipped cream, extra toasted shredded coconut, thin lime slices or zest curls
Instructions
- Preheat oven to 350°F (175°C). Line a 9×9-inch baking pan with parchment paper, leaving extra on the sides for easy lifting.
- Toast the shredded coconut by spreading it evenly on a baking sheet or dry skillet over medium heat. Stir frequently until golden brown and fragrant, about 3-5 minutes. Let cool.
- In a medium bowl, combine graham cracker crumbs, toasted coconut, 1/4 cup sugar, and salt. Pour in melted butter and stir until crumbs are evenly moistened.
- Press the crust mixture firmly into the prepared pan in an even layer. Bake for 10 minutes until set and slightly golden. Remove and cool slightly.
- In a large bowl, whisk eggs and 1 1/4 cups sugar until smooth and pale, about 2 minutes. Add key lime juice, zest, sweetened condensed milk, and flour. Whisk until fully combined and silky.
- Pour the filling evenly over the warm crust. Bake for 18-22 minutes until the filling is just set and slightly jiggly in the center. Avoid overbaking.
- Cool completely in the pan on a wire rack, then refrigerate for at least 2 hours or overnight to firm up.
- Use parchment edges to lift bars out and cut into 12 squares. Garnish with whipped cream, extra toasted coconut, or lime zest if desired.
Notes
Toast the coconut carefully to avoid burning. Bake the crust before adding filling to prevent sogginess. Chill bars overnight for best texture and easier slicing. Dip knife in hot water and wipe between cuts for clean slices. Fresh key lime juice is preferred for authentic flavor.
Nutrition
- Serving Size: 1 bar (1 of 12 squar
- Calories: 210
- Fat: 10
- Carbohydrates: 28
- Protein: 3
Keywords: key lime pie bars, toasted coconut, graham cracker crust, easy dessert, summer dessert, tropical dessert, creamy lime bars