Introduction
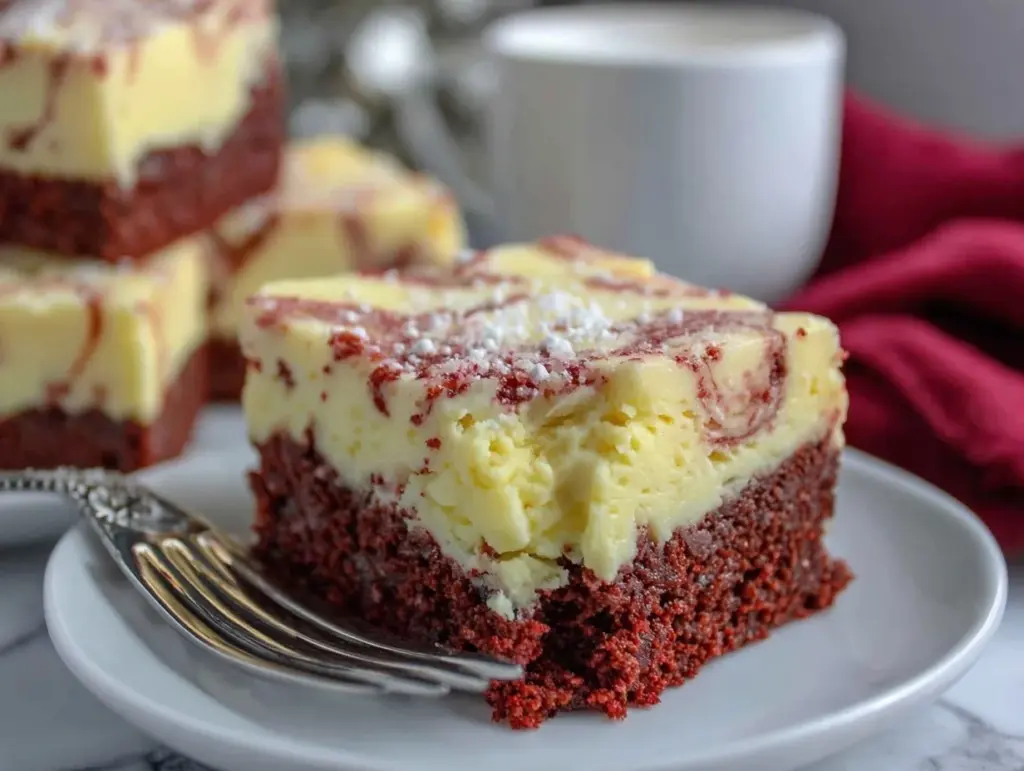
The first time I bit into a red velvet cheesecake brownie, I felt like I’d uncovered dessert magic. The velvety smooth texture of the cream cheese layer paired with the rich, slightly tangy red velvet base was pure heaven. It’s the kind of treat that looks as stunning as it tastes—vibrant red swirls against creamy white, practically begging to be shared on Instagram or Pinterest. But guess what? You don’t need to be a pastry chef to whip these up. They’re surprisingly easy to make, and I’ve perfected this recipe after testing it so many times, I’ve lost count.
If you’re someone who loves the classic red velvet cake but wishes it could be even richer, this dessert is calling your name. Perfect for Valentine’s Day, birthdays, or just because you deserve a sweet treat, these red velvet cheesecake brownies are a showstopper. And the best part? You probably already have most of the ingredients in your pantry.
So grab your whisk, preheat your oven, and get ready to create a dessert that’s as delicious as it is beautiful.
Why You’ll Love This Recipe
- Visually Stunning: The red velvet swirls combined with creamy cheesecake make these brownies almost too pretty to eat.
- Easy to Make: While they look fancy, this recipe is straightforward and beginner-friendly.
- Rich and Decadent: The combination of tangy cream cheese and rich chocolate is an unbeatable match.
- Perfect for Special Occasions: Whether it’s a holiday, party, or just a regular Tuesday, these brownies will steal the show.
- Customizable: You can play with the flavors or even turn these into cupcakes or a layered dessert.
Unlike typical brownies, these red velvet cheesecake brownies have a unique twist that makes them stand out. The red velvet base has just a hint of tanginess from the cocoa powder and vinegar, while the cheesecake layer is creamy, sweet, and indulgent. Together, they create a harmonious balance of flavors and textures that’s hard to resist.
Whenever I make these, they disappear in no time. Trust me, you’ll want to make a double batch—one for sharing and one to keep for yourself!
What Ingredients You Will Need
This red velvet cheesecake brownie recipe is all about combining simple ingredients to create something extraordinary. Here’s what you’ll need:
For the Red Velvet Layer:
- Unsalted butter: Melted and slightly cooled.
- Granulated sugar: Adds sweetness and balances the tangy cocoa flavor.
- Large eggs: Room temperature works best for smooth mixing.
- Vanilla extract: A must for enhancing flavor.
- Red food coloring: Gel or liquid works, depending on your preference.
- Cocoa powder: Use unsweetened for that perfect hint of chocolate.
- White vinegar: Brings out the red velvet tang.
- All-purpose flour: Keep it simple or substitute with a gluten-free option.
- Salt: Just a pinch to balance the sweetness.
For the Cheesecake Layer:
- Cream cheese: Full-fat for the creamiest texture.
- Granulated sugar: Sweetens the cheesecake layer.
- Large egg: Helps bind the ingredients together.
- Vanilla extract: Adds warmth and depth to the flavor.
All of these ingredients come together to create layers of decadent goodness. If you’re missing something, don’t worry! There are easy substitutions, like swapping white vinegar for lemon juice or using beet powder instead of food coloring.
Equipment Needed
- Mixing bowls: One for the brownie batter and one for the cheesecake mixture.
- Whisk: Great for mixing wet ingredients smoothly.
- Spatula: Helps with folding the dry ingredients and spreading the layers evenly.
- Baking pan: Use an 8×8-inch square pan for thick, luscious brownies.
- Parchment paper: Makes removing the brownies a breeze.
- Hand or stand mixer: Perfect for whipping up a smooth cheesecake layer.
If you don’t have a stand mixer, a simple whisk and some elbow grease will work just fine. And if you’re missing parchment paper, just grease the pan thoroughly—though parchment helps keep the layers intact.
Detailed Preparation Method
- Preheat your oven to 350°F (175°C) and line your 8×8-inch baking pan with parchment paper, leaving some overhang for easy removal later.
- In a mixing bowl, whisk together the melted butter and sugar until smooth. Add the eggs one at a time, then stir in the vanilla extract and red food coloring.
- In another bowl, sift together the cocoa powder, flour, and salt. Gradually fold the dry ingredients into the wet mixture, stirring gently until combined. Add the vinegar and mix well.
- Pour about two-thirds of the red velvet batter into the prepared pan, spreading it evenly.
- For the cheesecake layer, beat the cream cheese and sugar together until smooth and fluffy, about 2-3 minutes. Add the egg and vanilla extract, mixing until fully combined.
- Carefully spoon the cheesecake mixture over the red velvet layer in the pan. Smooth it out with a spatula.
- Drop spoonfuls of the remaining red velvet batter on top of the cheesecake layer. Use a knife or skewer to swirl the batter into the cheesecake for a marbled effect.
- Bake for 35-40 minutes, or until the center is set and a toothpick inserted comes out with a few moist crumbs. Avoid overbaking!
- Let the brownies cool completely in the pan before lifting them out using the parchment paper. Slice into squares and serve.
Pro tip: For clean cuts, refrigerate the brownies for 30 minutes before slicing.
Cooking Tips & Techniques
- Don’t skip the parchment paper: It keeps the layers intact and makes cleanup a breeze.
- Room temperature ingredients: Bring your eggs and cream cheese to room temperature for smooth mixing.
- Swirling technique: Don’t over-swirl! Aim for distinct swirls to keep the visual appeal.
- Timing is key: Watch the baking time closely. Overbaking can lead to dry brownies, while underbaking leaves them too gooey.
- Cooling patience: Let the brownies cool completely before slicing to ensure clean cuts and perfect texture.
These little tips make all the difference between good brownies and Pinterest-worthy ones!
Variations & Adaptations
- Gluten-free option: Substitute all-purpose flour with a 1:1 gluten-free baking mix.
- Dairy-free twist: Use dairy-free cream cheese and vegan butter.
- Seasonal spin: For Christmas, add a sprinkle of crushed candy canes on top; for Valentine’s Day, use heart-shaped cookie cutters for serving.
- Extra chocolatey: Add chocolate chips into the red velvet batter for pockets of melted goodness.
One of my favorite variations is adding a hint of orange zest to the cheesecake layer—it gives the brownies a bright, citrusy twist that’s perfect for summer gatherings.
Serving & Storage Suggestions
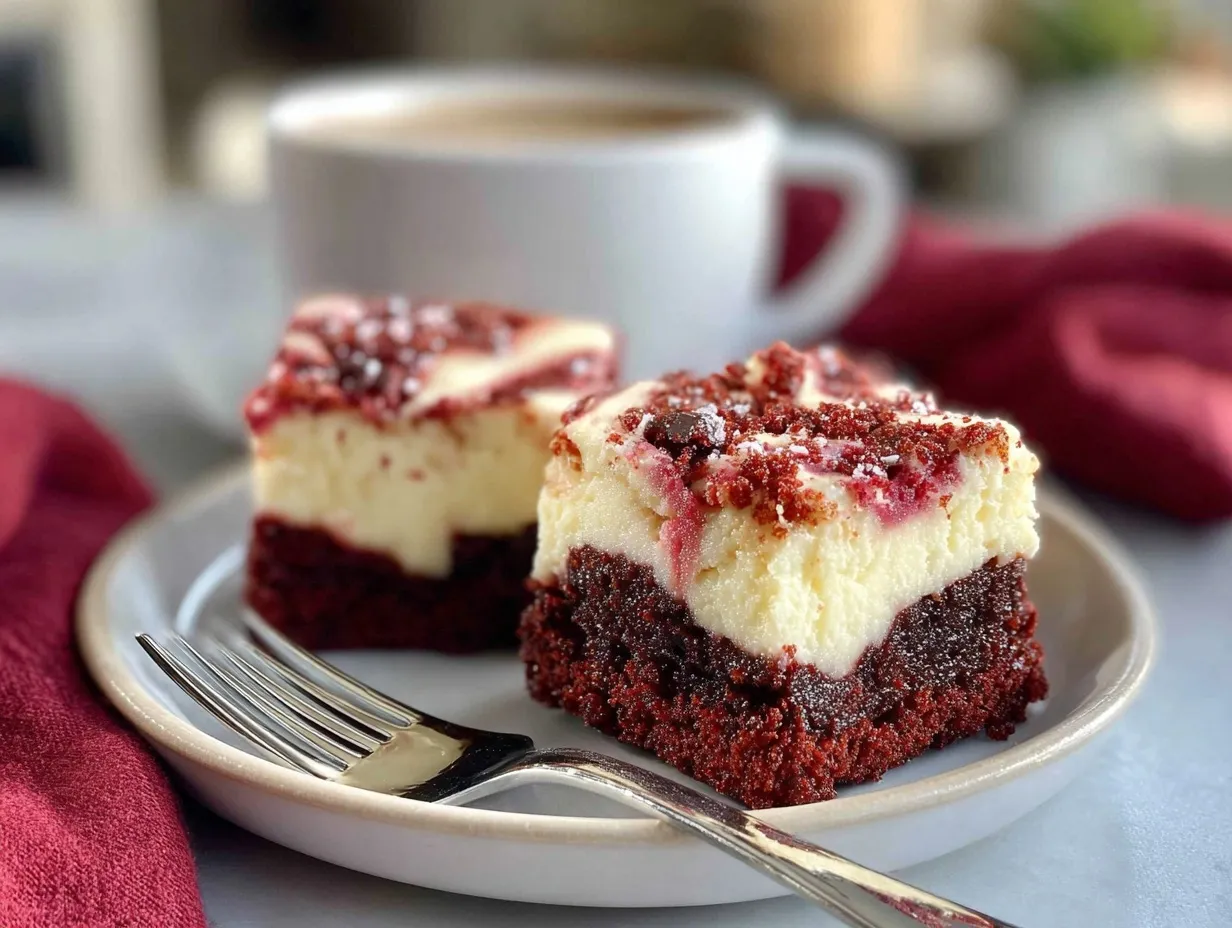
These red velvet cheesecake brownies are best served slightly chilled, which makes the cheesecake layer extra creamy. Arrange the squares on a beautiful platter to show off the gorgeous swirls, and sprinkle a little powdered sugar on top for a touch of elegance.
Looking for pairing ideas? These brownies go exceptionally well with a hot cup of coffee or a cold glass of milk. For an elevated dessert, serve them with a scoop of vanilla ice cream or drizzle with chocolate sauce.
If you have leftovers (though I doubt you will!), store them in an airtight container in the refrigerator for up to 5 days. You can also freeze them for up to 2 months—just wrap each square individually and thaw in the fridge before serving. To reheat, pop them in the microwave for a few seconds to revive their gooey texture.
Nutritional Information & Benefits
These brownies are definitely a treat, but they do have a few redeeming qualities. Here’s a rough idea of the nutritional breakdown per serving:
- Calories: 250
- Protein: 4g
- Carbohydrates: 30g
- Fat: 12g
Thanks to the cream cheese, these brownies deliver a dose of calcium and protein. And while they’re indulgent, they’re perfect for satisfying that sweet tooth without going overboard. If you’re watching your sugar intake, consider using a sugar substitute or halving the sugar in the recipe.
Conclusion
If you’ve been searching for a dessert that’s both stunning and delicious, these perfect red velvet cheesecake brownies are it. They’re easy to make, endlessly customizable, and always a crowd-pleaser. Whether you’re a seasoned baker or just dipping your toes into the world of homemade desserts, this recipe is foolproof.
Give this recipe a try, and let me know how it turns out in the comments below. Did you try any fun variations? I’d love to hear! And don’t forget to share your creations on Pinterest or Instagram—tag me so I can see your masterpiece!
Happy baking, my friends!
FAQs
Can I make these brownies without red food coloring?
Yes! You can leave out the food coloring entirely or use beet powder for a natural alternative.
What size pan should I use?
An 8×8-inch pan works perfectly for thick, chewy brownies. A 9×13-inch pan will result in thinner brownies.
Can I freeze these brownies?
Absolutely. Wrap each brownie individually and freeze for up to 2 months. Thaw in the fridge before serving.
How do I get clean cuts when slicing the brownies?
Refrigerate the brownies for 30 minutes before slicing and use a sharp knife cleaned between cuts.
Can I make this recipe ahead of time?
Yes! You can make them a day ahead and store them in the fridge. They actually taste even better the next day.
Pin This Recipe!
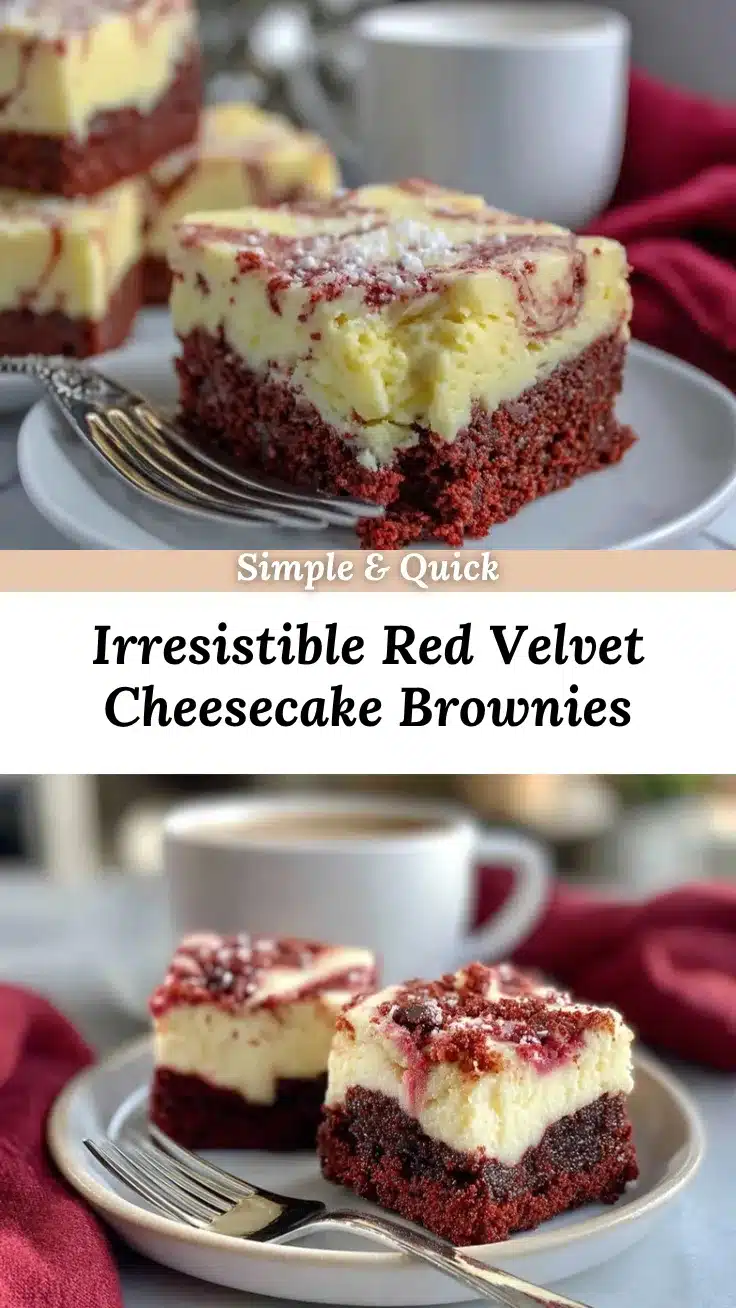
Perfect Red Velvet Cheesecake Brownies
Rich and decadent red velvet cheesecake brownies with a creamy cheesecake layer and vibrant red swirls. Perfect for special occasions or as a sweet treat.
- Prep Time: 20 minutes
- Cook Time: 40 minutes
- Total Time: 1 hour
- Yield: 9 servings 1x
- Category: Dessert
- Cuisine: American
Ingredients
- 1/2 cup unsalted butter, melted and slightly cooled
- 1 cup granulated sugar
- 2 large eggs, room temperature
- 1 teaspoon vanilla extract
- 2 tablespoons red food coloring (gel or liquid)
- 2 tablespoons unsweetened cocoa powder
- 1 teaspoon white vinegar
- 3/4 cup all-purpose flour
- 1/4 teaspoon salt
- 8 ounces cream cheese, full-fat
- 1/3 cup granulated sugar
- 1 large egg
- 1 teaspoon vanilla extract
Instructions
- Preheat your oven to 350°F (175°C) and line your 8×8-inch baking pan with parchment paper, leaving some overhang for easy removal later.
- In a mixing bowl, whisk together the melted butter and sugar until smooth. Add the eggs one at a time, then stir in the vanilla extract and red food coloring.
- In another bowl, sift together the cocoa powder, flour, and salt. Gradually fold the dry ingredients into the wet mixture, stirring gently until combined. Add the vinegar and mix well.
- Pour about two-thirds of the red velvet batter into the prepared pan, spreading it evenly.
- For the cheesecake layer, beat the cream cheese and sugar together until smooth and fluffy, about 2-3 minutes. Add the egg and vanilla extract, mixing until fully combined.
- Carefully spoon the cheesecake mixture over the red velvet layer in the pan. Smooth it out with a spatula.
- Drop spoonfuls of the remaining red velvet batter on top of the cheesecake layer. Use a knife or skewer to swirl the batter into the cheesecake for a marbled effect.
- Bake for 35-40 minutes, or until the center is set and a toothpick inserted comes out with a few moist crumbs. Avoid overbaking!
- Let the brownies cool completely in the pan before lifting them out using the parchment paper. Slice into squares and serve.
Notes
[‘Don’t skip the parchment paper to keep the layers intact and make cleanup easier.’, ‘Bring eggs and cream cheese to room temperature for smooth mixing.’, ‘Avoid over-swirling the batter to maintain distinct swirls.’, ‘Watch the baking time closely to prevent overbaking or underbaking.’, ‘Refrigerate the brownies for 30 minutes before slicing for clean cuts.’]
Nutrition
- Serving Size: 1 brownie
- Calories: 250
- Fat: 12
- Carbohydrates: 30
- Protein: 4
Keywords: red velvet, cheesecake brownies, dessert, baking, easy recipe, special occasions, Valentine's Day, party dessert


