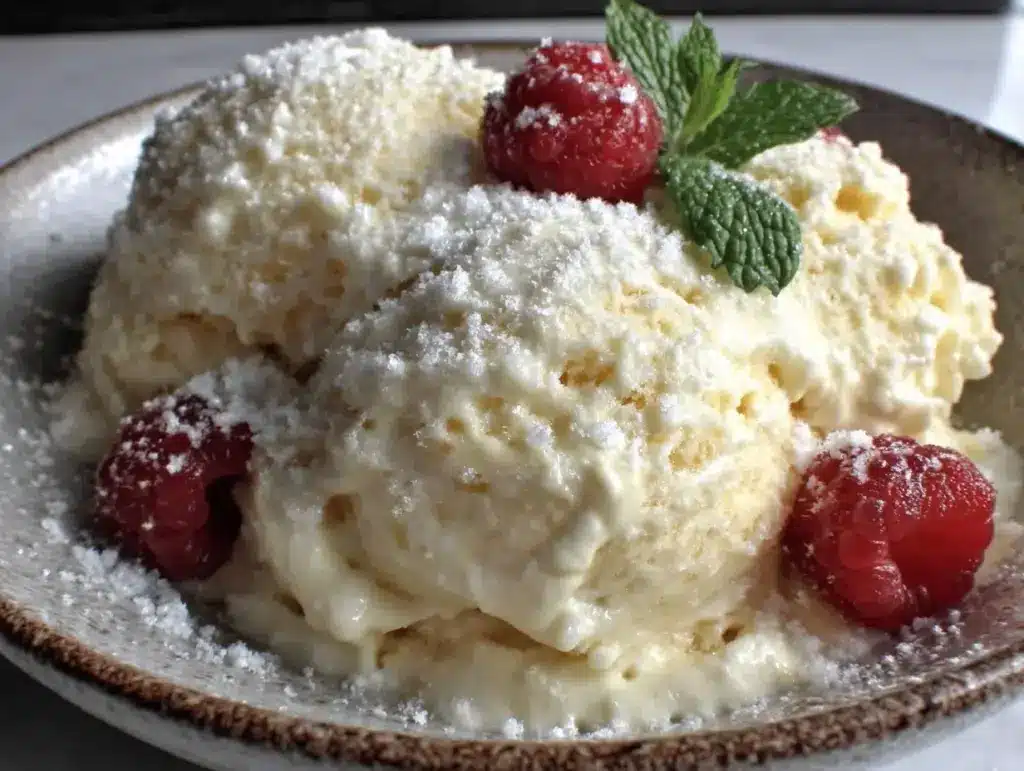
Let me tell you, the moment that creamy, tangy aroma of cottage cheese mingled with sweet vanilla filled my kitchen, I knew I was onto something special. The first time I whipped up this creamy cottage cheese ice cream recipe, it was a rainy Saturday when I was knee-high to a grasshopper—okay, maybe not that long ago—but honestly, it felt like uncovering a secret treasure. I was instantly hooked, the kind of moment where you pause, take a deep breath, and just smile because you know you’re onto a treat that’s both delicious and a little unexpected.
This recipe isn’t your typical vanilla scoop; it has this subtle tang and luscious texture that feels like pure, nostalgic comfort—without the heaviness you’d expect from traditional ice cream. Years ago, I stumbled upon the idea of using cottage cheese in frozen desserts during a late-night kitchen experiment, trying to recreate that creamy mouthfeel but with fewer guilt trips. My family couldn’t stop sneaking spoonfuls off the bowl (and I can’t really blame them). It’s dangerously easy and perfect for those moments when you want something sweet but don’t want to dive into a full tub of ice cream from the store.
You know what else? This creamy cottage cheese ice cream recipe is perfect for surprising your friends at potlucks or just treating your kids to a homemade snack that feels fancy but comes together in no time. Honestly, it’s become a staple for family gatherings and a sweet gift idea. After testing it a few times (in the name of research, of course), it’s safe to say this recipe feels like a warm hug on a hot day—you’re going to want to bookmark this one, trust me.
Why You’ll Love This Recipe
Honestly, this creamy cottage cheese ice cream recipe is a game-changer for homemade frozen treats. Here’s why you’re going to want to keep this one close:
- Quick & Easy: Comes together in under 20 minutes, perfect for last-minute cravings or busy weeknights.
- Simple Ingredients: No fancy grocery trips needed; you likely already have everything in your kitchen.
- Perfect for Any Occasion: Great for summer barbecues, family dessert nights, or a cool refreshment after a workout.
- Crowd-Pleaser: Kids and adults alike rave about its silky texture and subtle tang.
- Unbelievably Delicious: The combo of creamy cottage cheese and a hint of vanilla makes it next-level comfort food.
What really sets this recipe apart is the magic of cottage cheese as the base. It gives the ice cream a creamy texture that’s richer than you’d expect, without the heavy cream and loads of sugar. I’ve tried versions with full-fat and low-fat cottage cheese, and each has its charm, but I recommend a small-curd, well-drained cottage cheese for that perfect silky mouthfeel. Plus, blending the cottage cheese until ultra-smooth is the secret to avoid any graininess—honestly, it’s like cream cheese, but way lighter.
This isn’t just any ice cream recipe—it’s the kind that makes you close your eyes after the first bite, savoring every spoonful. It feels like comfort food reimagined: healthier, faster, but still soul-soothing. Whether you’re impressing guests or just indulging yourself (you deserve it), this recipe is a winner every time.
What Ingredients You Will Need
This recipe uses simple, wholesome ingredients to deliver bold flavor and a satisfyingly creamy texture without fuss. Most are pantry staples, so it’s ready to whip up whenever the mood strikes.
- Cottage cheese, small-curd, well-drained (about 2 cups / 450 g) – the star of the show, providing creaminess and protein
- Heavy cream or full-fat coconut cream (1 cup / 240 ml) – adds richness and smooth texture
- Granulated sugar (⅔ cup / 130 g) – balances tanginess with just the right amount of sweetness
- Pure vanilla extract (1 tsp / 5 ml) – for that classic, comforting flavor
- Lemon juice (1 tbsp / 15 ml) – optional but recommended for a subtle brightness that wakes up the flavor
- Salt (a pinch) – enhances overall taste and balances sweetness
Optional add-ins or toppings:
- Fresh berries or fruit puree for swirling
- Chocolate chips or chopped nuts for texture
- Honey or maple syrup as a natural sweetener alternative
For best results, I prefer using organic cottage cheese from brands like Horizon Organic or Organic Valley—they tend to have a cleaner flavor and creamier texture. If you want a dairy-free version, swap out the dairy heavy cream for coconut cream and use a plant-based cottage cheese alternative if available, or simply increase the coconut cream amount. Also, if you want a lower-sugar version, you can reduce the sugar or swap it with a natural sweetener like stevia, but the texture might change a bit.
Equipment Needed
- High-speed blender or food processor: Essential for blending the cottage cheese until smooth. I’ve tried a regular blender, but a high-speed one really makes the difference here.
- Ice cream maker: While not absolutely necessary, it helps churn the mixture for a creamy, scoopable texture. If you don’t have one, no worries—there’s a no-churn method below.
- Mixing bowls: Medium and large bowls for combining ingredients.
- Measuring cups and spoons: For precise ingredient amounts.
- Fine mesh strainer or cheesecloth: To drain excess liquid from cottage cheese.
If you’re on a budget, a sturdy food processor works just fine, and you can always freeze the mixture in a shallow container, stirring every 30 minutes to mimic churning. Keep your blender blades sharp and clean for best results—dull blades can leave the texture grainy. Also, a silicone spatula is handy for scraping down the sides of the blender.
Preparation Method
- Drain the cottage cheese: Place the cottage cheese in a fine mesh strainer or cheesecloth over a bowl and let it drain for 15-20 minutes to remove excess whey. This step is key to preventing icy crystals and getting that creamy texture.
- Blend the cottage cheese: Transfer the drained cottage cheese to your blender or food processor. Blend on high until completely smooth and creamy, about 2-3 minutes. You want no lumps—think silky and spreadable.
- Mix the cream and sugar: In a separate bowl, whisk together the heavy cream (or coconut cream), granulated sugar, vanilla extract, lemon juice, and a pinch of salt until the sugar dissolves. This usually takes about 2 minutes. The lemon juice gives a nice brightness but can be skipped if you prefer.
- Combine mixtures: Pour the cream mixture into the blender with the cottage cheese. Blend again for about 30 seconds just to combine everything smoothly.
- Chill the mixture: Pour the blended mixture into a bowl and chill in the refrigerator for at least 1 hour. This helps it firm up for churning and improves the texture.
- Churn the ice cream: Pour the chilled mixture into your ice cream maker and churn according to the manufacturer’s instructions, typically 20-30 minutes, until it reaches a thick, creamy consistency.
- Freeze before serving: Transfer the churned ice cream to a freezer-safe container, cover tightly, and freeze for at least 2 hours to firm up and develop flavor. If you like a softer scoop, serve right after churning.
- No ice cream maker option: Pour the chilled mixture into a shallow freezer-safe dish. Freeze for 30 minutes, then stir vigorously with a fork to break up ice crystals. Repeat every 30 minutes for 2-3 hours until creamy and frozen.
Watch out for graininess—that usually means the cottage cheese wasn’t blended enough or the mixture wasn’t properly chilled before churning. Also, don’t rush the freezing step; it really helps the ice cream develop that silky texture you’re after. I like to taste-test at each stage (yes, I’m the official family quality control).
Cooking Tips & Techniques
Let’s face it, homemade ice cream can be tricky, but this recipe is pretty forgiving if you keep a few tips in mind:
- Drain thoroughly: Removing excess liquid from the cottage cheese is crucial. I’ve skipped this step in a pinch and ended up with icy, crumbly texture—definitely not what you want.
- Blend till smooth: Use a high-speed blender to get that perfectly creamy base. If your blender isn’t powerful, blend longer and scrape down the sides frequently.
- Chill well: Let the mixture rest in the fridge before churning. This not only helps with texture but also improves flavor melding.
- Don’t over-churn: Ice cream can turn buttery if churned too long. Stop when it’s thick and creamy but before it starts to look oily.
- Multitask wisely: While the ice cream chills or churns, clean up your prep area or start prepping toppings. This keeps your kitchen workflow smooth and stress-free.
- Use fresh ingredients: Fresh vanilla extract and good-quality cream make a noticeable difference.
In my early attempts, I learned the hard way that skipping the lemon juice left the flavor flat. Just a tablespoon really brightens the whole bowl. Also, freezing in a shallow container helps the ice cream freeze evenly, avoiding dense icy patches. And yes, sometimes I sneak a spoonful right after churning—don’t judge.
Variations & Adaptations
Ready to tweak this viral treat to suit your tastes or dietary needs? Here are some ideas I’ve tried and loved:
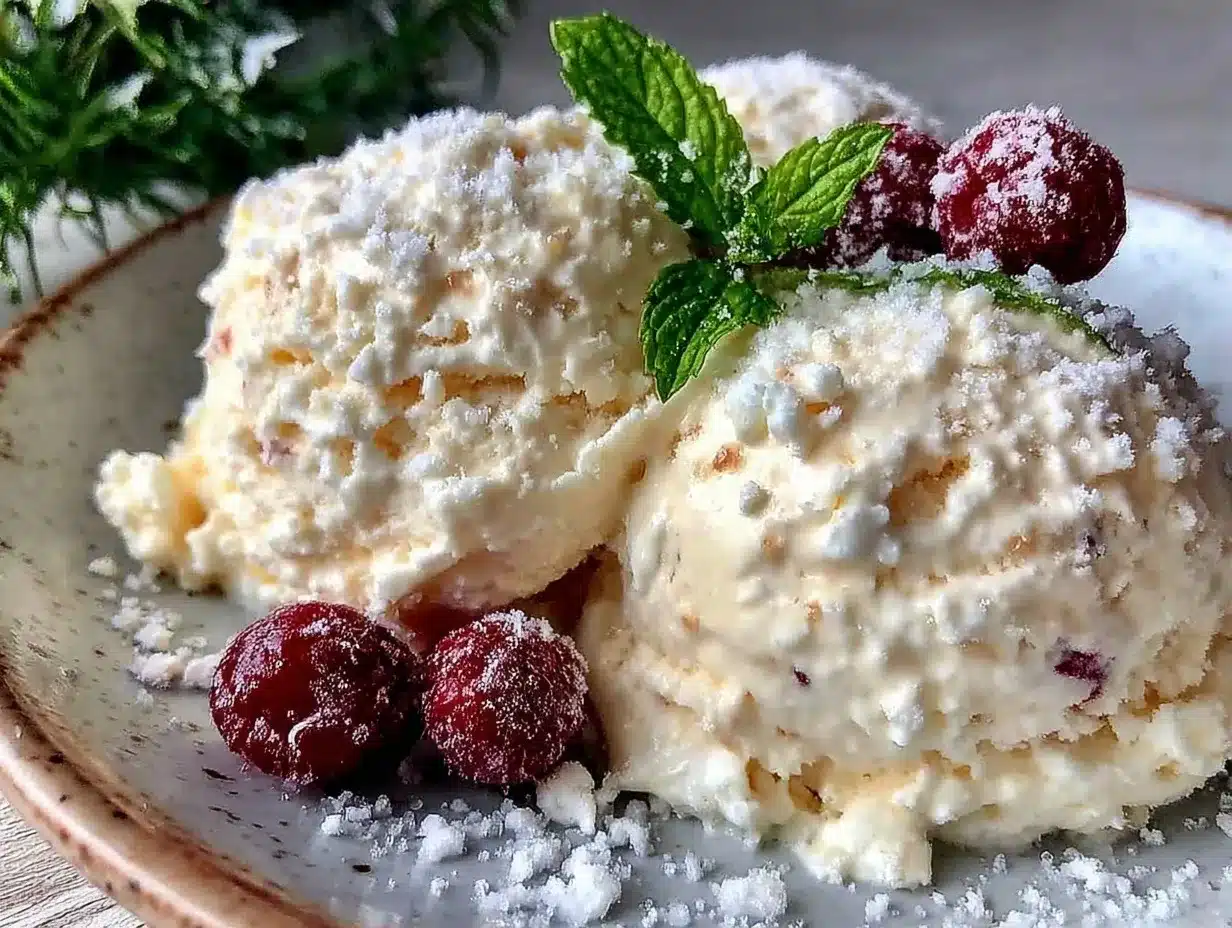
- Fruit Swirl: Fold in fresh berry puree (strawberry, raspberry, or blueberry) right before the final freeze for a colorful, fruity twist.
- Chocolate Chip: Add mini chocolate chips or finely chopped dark chocolate during the last 5 minutes of churning for a classic combo that never disappoints.
- Vegan Version: Use coconut cream instead of heavy cream and a plant-based cottage cheese alternative if you can find one, or increase coconut cream and add a bit of silken tofu for that creamy texture.
- Low-Sugar: Replace sugar with monk fruit sweetener or stevia, but blend well to avoid graininess. Adjust sweetness to taste.
- Spiced Up: Add a pinch of cinnamon or cardamom to the cream mixture for a warm, cozy flavor.
One personal favorite is swirling in homemade mango puree for a tropical vibe—makes the ice cream feel fresh and bright. If you want to skip the ice cream maker, try the no-churn method mentioned earlier; it works surprisingly well with these ingredients. Just remember to stir frequently to keep it creamy.
Serving & Storage Suggestions
This creamy cottage cheese ice cream is best served slightly softened—take it out of the freezer about 5 minutes before scooping. It pairs beautifully with fresh fruit, a drizzle of honey, or a sprinkle of toasted nuts for crunch.
For a fun dessert, try serving it in waffle cones or alongside a warm slice of pie. It’s also fantastic with a cup of strong coffee or iced tea on a sunny afternoon.
Store leftovers in an airtight container in the freezer for up to 2 weeks. When reheating, avoid the microwave; instead, let it sit at room temperature for 5-10 minutes before scooping to keep that smooth texture intact. Flavors actually mellow and deepen when stored overnight—kind of like a good stew!
Nutritional Information & Benefits
This recipe offers a nice balance of protein and creamy indulgence thanks to cottage cheese, which is a great source of casein protein, perfect for muscle repair and sustained energy. A typical serving (about ½ cup or 120 g) contains roughly 150-180 calories, 10-12 grams of protein, and moderate fat depending on the cream used.
It’s lower in sugar than many traditional ice creams, especially if you reduce or swap sweeteners. Plus, cottage cheese provides calcium and B vitamins, making this treat not only delicious but somewhat nutritious. Keep in mind this recipe contains dairy and is not suitable for those with lactose intolerance unless you use dairy-free alternatives.
From my wellness perspective, this ice cream balances indulgence with a touch of nourishment, making it a guilt-light treat perfect for summertime or anytime you need a little sweet pick-me-up.
Conclusion
All in all, this creamy cottage cheese ice cream recipe is a winner in my book—and hopefully yours too! It’s easy, fast, and surprisingly delightful, perfect for anyone wanting a homemade frozen treat that feels special but doesn’t require a culinary degree.
Feel free to customize it with your favorite add-ins or swap ingredients to match your dietary needs. Honestly, that’s the beauty of this recipe: it’s versatile and forgiving.
I love this recipe because it’s a little unexpected, a little wholesome, and totally satisfying—plus, it’s become a treat my whole family looks forward to. Give it a try and let me know how you like it! Share your twists, questions, or favorite toppings in the comments below. Can’t wait to hear what you think!
FAQs About Creamy Cottage Cheese Ice Cream
Can I make this ice cream without an ice cream maker?
Absolutely! Use the no-churn method by freezing the mixture in a shallow container and stirring every 30 minutes until creamy. It takes a bit more hands-on time but works well.
What if I don’t like the texture of cottage cheese?
Blending it thoroughly is key to a smooth texture. If you still find it grainy, try using a high-speed blender or substituting with ricotta cheese for a milder flavor and creamier feel.
Is this recipe suitable for lactose-intolerant people?
Not as-is, since it contains dairy. You can try swapping heavy cream for coconut cream and finding a dairy-free cottage cheese alternative, though results may vary.
Can I add flavors like chocolate or fruit?
Yes! Fold in fruit purees, chocolate chips, or even spices during or after blending for extra flavor. Just be careful not to overload to maintain smooth texture.
How long does the ice cream keep in the freezer?
Stored in an airtight container, it stays good for up to 2 weeks. For best texture, consume within that time frame.
Pin This Recipe!
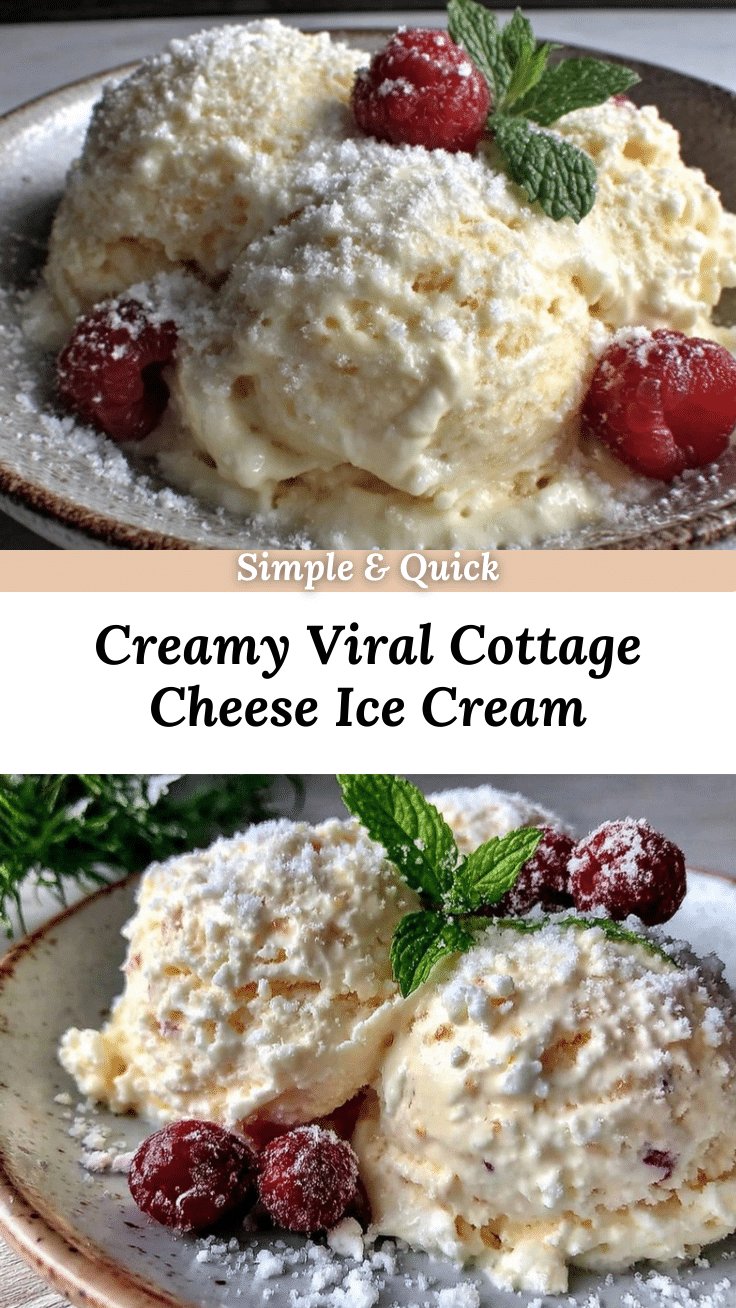
Creamy Cottage Cheese Ice Cream Recipe Easy Homemade Viral Treat

A quick and easy homemade ice cream using cottage cheese for a creamy, tangy, and healthier frozen treat with a luscious texture and subtle vanilla flavor.
- Prep Time: 25 minutes
- Cook Time: 30 minutes
- Total Time: 3 hours 55 minutes
- Yield: 6 servings 1x
- Category: Dessert
- Cuisine: American
Ingredients
- 2 cups (450 g) small-curd, well-drained cottage cheese
- 1 cup (240 ml) heavy cream or full-fat coconut cream
- ⅔ cup (130 g) granulated sugar
- 1 tsp (5 ml) pure vanilla extract
- 1 tbsp (15 ml) lemon juice (optional)
- Pinch of salt
Instructions
- Drain the cottage cheese in a fine mesh strainer or cheesecloth over a bowl for 15-20 minutes to remove excess whey.
- Transfer the drained cottage cheese to a high-speed blender or food processor and blend on high until completely smooth and creamy, about 2-3 minutes.
- In a separate bowl, whisk together the heavy cream (or coconut cream), granulated sugar, vanilla extract, lemon juice, and a pinch of salt until the sugar dissolves, about 2 minutes.
- Pour the cream mixture into the blender with the cottage cheese and blend again for about 30 seconds to combine smoothly.
- Pour the blended mixture into a bowl and chill in the refrigerator for at least 1 hour.
- Pour the chilled mixture into an ice cream maker and churn according to the manufacturer’s instructions, typically 20-30 minutes, until thick and creamy.
- Transfer the churned ice cream to a freezer-safe container, cover tightly, and freeze for at least 2 hours to firm up before serving.
- No ice cream maker option: Pour the chilled mixture into a shallow freezer-safe dish, freeze for 30 minutes, then stir vigorously with a fork to break up ice crystals. Repeat every 30 minutes for 2-3 hours until creamy and frozen.
Notes
Drain cottage cheese thoroughly to avoid icy texture. Blend until ultra-smooth to prevent graininess. Chill mixture well before churning. Do not over-churn to avoid buttery texture. Use fresh vanilla extract and good-quality cream for best flavor. No ice cream maker needed if using no-churn method with frequent stirring.
Nutrition
- Serving Size: About ½ cup (120 g)
- Calories: 165
- Sugar: 12
- Sodium: 150
- Fat: 11
- Saturated Fat: 7
- Carbohydrates: 13
- Protein: 11
Keywords: cottage cheese ice cream, homemade ice cream, creamy ice cream, easy dessert, healthy ice cream, no churn ice cream, vanilla ice cream


