“You know that feeling when a childhood snack suddenly pops back into your mind out of nowhere? Last Thursday, I was unpacking groceries when the smell of fresh strawberries reminded me of the fruit roll-ups I used to sneak from my lunchbox. Honestly, I wasn’t expecting to find a way to make those nostalgic treats at home without a ton of fuss. But, let me tell you, this easy homemade fruit roll-ups with real strawberry puree recipe came from a bit of a happy accident in my kitchen.
I had just planned to make a strawberry sauce for pancakes when I realized I had way more puree than I needed. Instead of wasting it, I spread it thin on a baking sheet and popped it into the oven, thinking, “Why not?” The result? A chewy, sweet, and slightly tangy snack that tastes like summer sunshine and childhood memories wrapped into one. Maybe you’ve been there—wanting that perfect, wholesome snack without the preservatives or mystery ingredients.
What really sticks with me is how simple and satisfying this recipe is. No weird additives, no endless waiting for pectin to set, just pure strawberry goodness stretching into a fun, rollable snack. I made a mess with a drippy bowl and nearly forgot to check the oven timer (classic me!), but that first bite made it all worth it. This recipe has become my go-to for quick treats, especially when I want something sweet but real. So, if you’re craving a snack that’s as fun to make as it is to eat, stick around—I promise you’ll love this take on fruit roll-ups.
Why You’ll Love This Recipe
After trying countless store-bought brands and other homemade versions, this easy homemade fruit roll-ups with real strawberry puree recipe stands out for good reasons. It’s not just nostalgia; it’s about quality and simplicity that deliver every single time.
- Quick & Easy: Ready in under 3 hours, most of which is hands-off baking and drying time.
- Simple Ingredients: Just fresh strawberries and a bit of honey or sugar—you probably already have these in your kitchen.
- Perfect for Kids’ Lunches: A healthy alternative that kids actually ask for, no sneaky preservatives included.
- Crowd-Pleaser: I’ve had adults and kids alike rave about how fresh and flavorful these taste.
- Unbelievably Delicious: The natural strawberry puree gives a vibrant, tangy flavor with just the right chewy texture.
What makes this recipe different? I blend the strawberries to a smooth puree, then spread it thin and slow-bake it just until it’s dry enough to peel but still soft. No gelatin, no artificial flavors—just strawberry love. I find that using a little lemon juice brightens the flavor and helps preserve the color, too. Honestly, it’s comfort food reimagined, but better for you and so satisfying. Plus, it’s a fun project that turns a simple fruit into a snack everyone will adore.
What Ingredients You Will Need
This recipe uses simple, wholesome ingredients to deliver bold flavor and a satisfying chewy texture without any fuss. The fresh strawberry puree is the star, and the rest help balance sweetness and preserve freshness.
- Fresh Strawberries – about 4 cups (600g), hulled and washed (choose ripe, fragrant berries for the best flavor)
- Honey or Maple Syrup – 2 tablespoons (adds natural sweetness; feel free to adjust based on your berries’ tartness)
- Lemon Juice – 1 tablespoon (freshly squeezed; brightens flavor and helps keep the color vibrant)
- Optional Vanilla Extract – 1 teaspoon (for a subtle warm note; I like Nielsen-Massey brand for quality)
- Non-stick Cooking Spray or Parchment Paper – for lining the baking sheet
Ingredient Tips: If fresh strawberries are out of season, frozen strawberries work well too—just thaw and drain excess liquid before pureeing. For a sugar-free version, skip the honey and add a little extra lemon juice or a splash of apple juice to keep natural sweetness.
Equipment Needed
- Food Processor or Blender: Essential for turning strawberries into smooth puree. I use a small blender for quick batches.
- Baking Sheet: A rimmed one works best to hold the puree without spilling.
- Parchment Paper or Silicone Baking Mat: To prevent sticking and make peeling easier.
- Rubber Spatula: For spreading the puree evenly on the sheet.
- Oven: The slow baking process dries out the puree perfectly.
If you don’t have a food processor, a sturdy blender will do fine. When it comes to baking sheets, I recommend investing in a good quality non-stick one or just use parchment paper generously. Silicone mats are awesome but not necessary. I’ve tried this recipe with different tools, and honestly, the simpler, the better—less cleanup, more fun!
Preparation Method
- Preheat your oven to 170°F (75°C) or the lowest possible setting. This low temperature slowly dries the puree without burning it. (Time: 10 minutes)
- Prepare the strawberries: Hull and wash about 4 cups (600g) of ripe strawberries. Place them in your food processor or blender. (Time: 5 minutes)
- Blend to puree: Pulse until smooth with no large chunks. This ensures your fruit roll-ups have that perfect, even texture. (Tip: If you want it extra smooth, strain through a fine mesh sieve.)
- Add sweetener and lemon juice: Stir in 2 tablespoons honey or maple syrup and 1 tablespoon lemon juice. Optionally, add 1 teaspoon vanilla extract for warmth. (This balances tartness and boosts flavor.)
- Line your baking sheet: Cover with parchment paper or a silicone baking mat. Lightly spray with non-stick cooking spray. (Prevents sticking and makes peeling a breeze.)
- Spread the puree: Use a rubber spatula to spread the mixture evenly into a thin layer about 1/8 inch (3 mm) thick. Try to avoid holes or thick spots. (This helps it dry uniformly.)
- Bake low and slow: Place the baking sheet in the oven and bake for 2.5 to 3 hours. Check after 2 hours to see if the edges are lifting and the center feels dry but still pliable. (Avoid overbaking or it will get brittle.)
- Cool completely: Allow the fruit leather to cool at room temperature for 30 minutes. Then carefully peel from the parchment. (If it sticks, gently loosen with a spatula.)
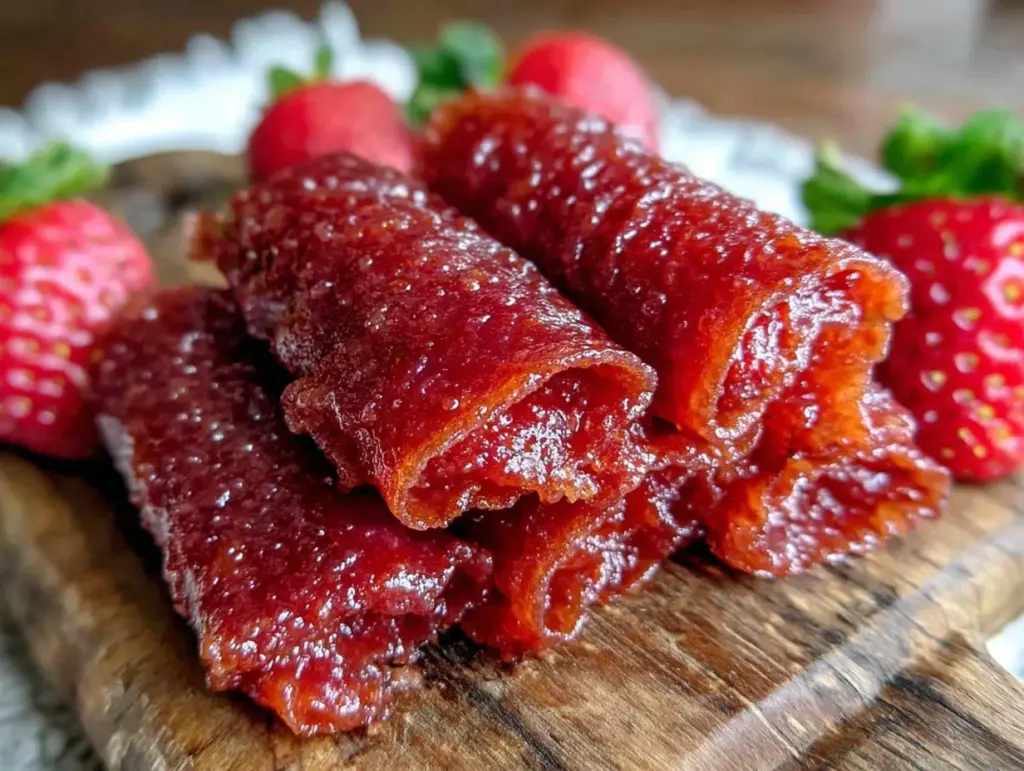
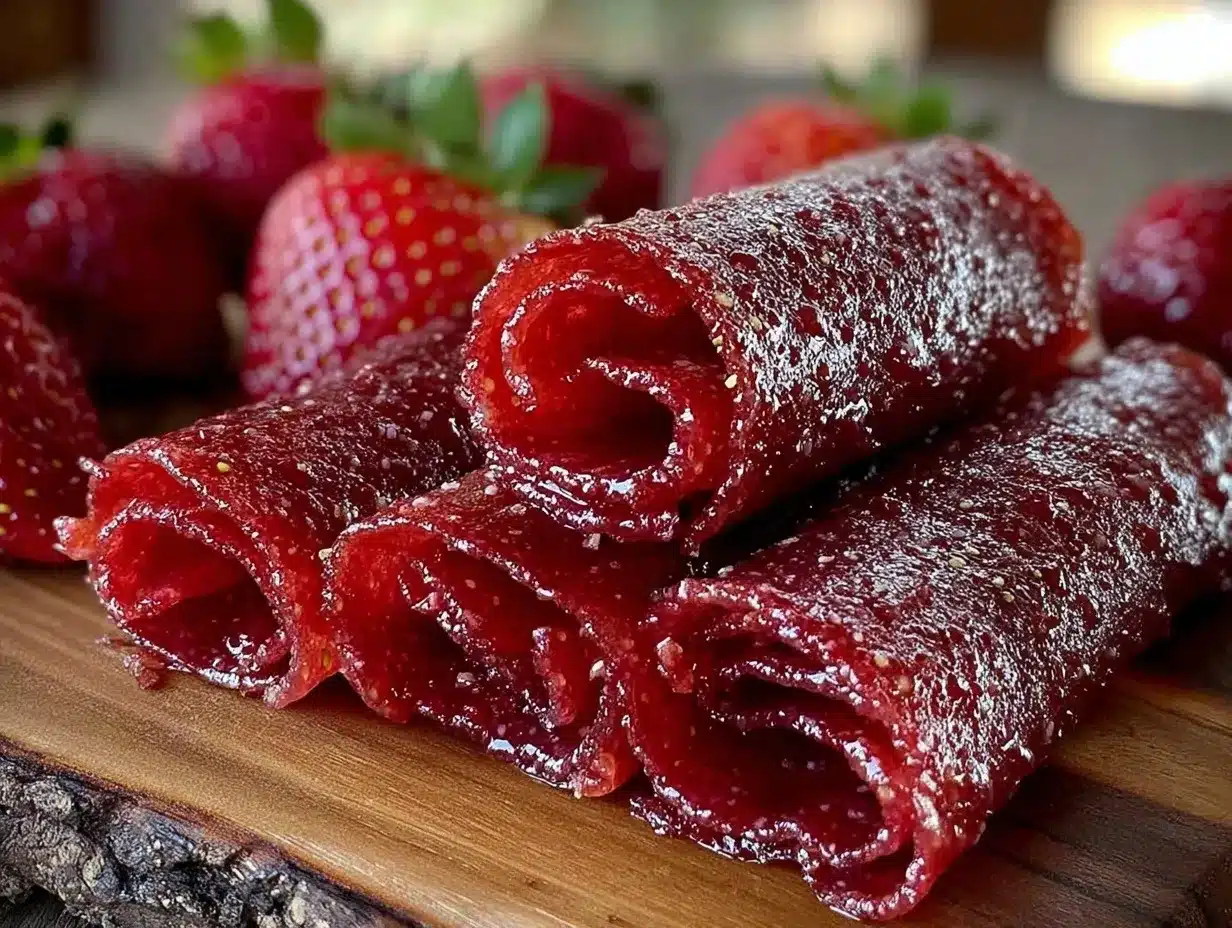
- Cut and roll: Slice into strips about 1.5 inches (4 cm) wide. Roll them up with parchment paper to keep them from sticking together. (Store in an airtight container.)
Pro tip: If your oven runs hot, keep a close eye during the last 30 minutes. I once left mine an extra 15 minutes and ended up with crispy edges—still tasty, but less flexible.
Cooking Tips & Techniques
Making fruit roll-ups might seem straightforward, but a few little tricks make a huge difference. First, patience is key. Low and slow drying avoids the burnt taste and keeps that chewy texture you want. I learned the hard way not to rush this step!
Another tip: spreading the puree evenly is crucial. Uneven layers mean some parts dry faster, leading to brittle edges or sticky centers. Use a spatula with a straight edge to smooth it out gently.
Also, keep in mind that the fruit leather continues to firm up as it cools. So if it feels a bit soft right out of the oven, let it rest before peeling.
Beware of moisture—too much liquid in your puree can prolong drying time. If your strawberries look watery, gently simmer the puree on the stove for a few minutes before baking to thicken it up.
Finally, store your fruit roll-ups in a cool, dry place to prevent stickiness. Wrapping each strip individually in parchment paper makes snack time mess-free and keeps the rolls fresh longer.
Variations & Adaptations
- Mixed Berry Fruit Roll-Ups: Combine strawberries with raspberries or blueberries for a tangy twist.
- Apple Cinnamon: Swap strawberries for applesauce and add 1 teaspoon ground cinnamon for a cozy flavor.
- Vegan & Sugar-Free: Use pure fruit puree without added sweetener or a splash of agave syrup if desired.
For a tropical vibe, try mango or pineapple puree, but reduce the lemon juice slightly since these fruits are more acidic. If you want to skip the oven, a food dehydrator works like a charm and can cut drying time by a bit.
I once experimented with adding chia seeds to the puree before baking for a fun texture and extra nutrition—it worked surprisingly well but made the roll-ups a little thicker. Play around and see what you like best!
Serving & Storage Suggestions
Serve your homemade fruit roll-ups at room temperature for the best chewiness. They’re perfect as a lunchbox addition or a quick afternoon snack. Pair them with a glass of cold milk or a cup of herbal tea for a balanced treat.
Store the rolls in an airtight container at room temperature for up to two weeks. For longer storage, wrap them tightly and freeze for up to 3 months. Just thaw at room temperature before enjoying.
If your fruit roll-ups get a bit sticky after storage, a quick chill in the fridge helps firm them up. Over time, the flavors mellow and sweeten, so if you make a big batch, try a few fresh and some aged for comparison!
Nutritional Information & Benefits
These fruit roll-ups are naturally low in fat and packed with vitamin C from the fresh strawberries. Each serving (about one strip) contains approximately 50 calories, 1 gram of fiber, and no added preservatives or artificial colors.
Using real fruit puree means you’re getting antioxidants and natural sugars instead of the high-fructose corn syrup commonly found in store-bought snacks. Plus, the lemon juice adds a small boost of vitamin C and helps preserve freshness.
This recipe is gluten-free, dairy-free, and can easily be made vegan. It’s a wholesome snack that kids and adults can enjoy without guilt or mystery ingredients.
Conclusion
If you’ve been craving a wholesome, homemade treat that tastes like a burst of fresh strawberry with every bite, this easy homemade fruit roll-ups with real strawberry puree recipe is for you. It’s simple, fun, and a little bit nostalgic—all rolled into one chewy snack.
Feel free to tweak the sweetness or try different fruits based on your mood or what’s in season. I love how this recipe brings a bit of joy to snack time, and I hope it does the same for you. When you make it, drop a comment or share how you customized your rolls—I’d love to hear!
So go ahead, give it a try, and enjoy a snack that’s truly homemade, healthy, and delicious.
FAQs
Can I use frozen strawberries for this recipe?
Yes! Just thaw them completely and drain any excess water before pureeing to avoid overly wet fruit leather.
How long do homemade fruit roll-ups last?
Stored in an airtight container at room temperature, they last about two weeks. For longer storage, freeze them for up to 3 months.
What’s the best way to prevent sticking to the parchment paper?
Lightly spray the parchment with non-stick cooking spray before spreading the puree. Also, make sure the fruit leather is completely cool before peeling.
Can I make fruit roll-ups without an oven?
Absolutely! A food dehydrator works well and can reduce drying time, but a low-temperature oven is a great alternative.
Is it possible to make this recipe sugar-free?
Yes, just omit the honey or maple syrup. Use naturally sweeter fruit or add a little extra lemon juice to balance flavors.
Pin This Recipe!
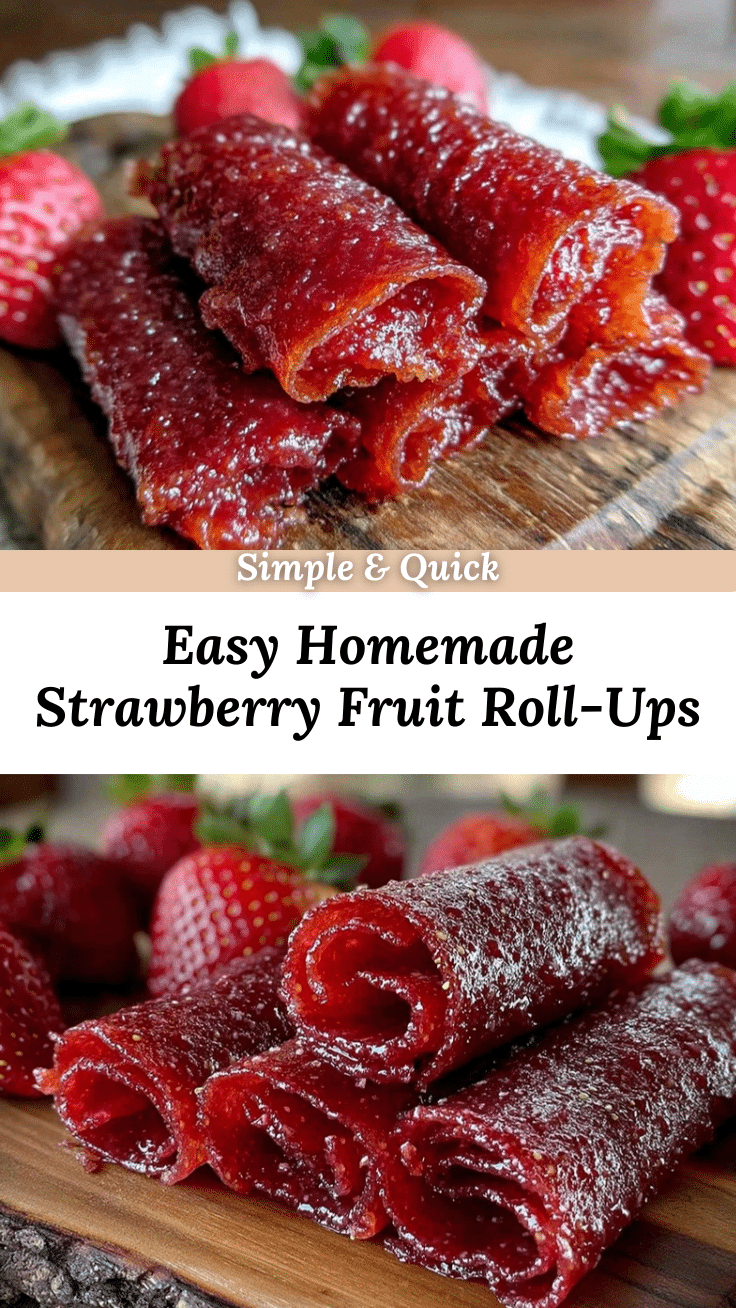
Easy Homemade Fruit Roll-Ups with Real Strawberry Puree

A simple and nostalgic recipe for chewy, sweet fruit roll-ups made from fresh strawberry puree, perfect for a healthy snack without preservatives.
- Prep Time: 15 minutes
- Cook Time: 3 hours
- Total Time: 3 hours 15 minutes
- Yield: 12 servings 1x
- Category: Snack
- Cuisine: American
Ingredients
- 4 cups (600g) fresh strawberries, hulled and washed
- 2 tablespoons honey or maple syrup
- 1 tablespoon freshly squeezed lemon juice
- 1 teaspoon vanilla extract (optional)
- Non-stick cooking spray or parchment paper for lining the baking sheet
Instructions
- Preheat your oven to 170°F (75°C) or the lowest possible setting.
- Hull and wash about 4 cups (600g) of ripe strawberries and place them in a food processor or blender.
- Blend the strawberries until smooth with no large chunks. Optionally strain through a fine mesh sieve for extra smoothness.
- Stir in 2 tablespoons honey or maple syrup and 1 tablespoon lemon juice. Add 1 teaspoon vanilla extract if using.
- Line a rimmed baking sheet with parchment paper or a silicone baking mat and lightly spray with non-stick cooking spray.
- Spread the strawberry puree evenly into a thin layer about 1/8 inch (3 mm) thick using a rubber spatula.
- Bake in the oven for 2.5 to 3 hours, checking after 2 hours to ensure edges are lifting and the center is dry but pliable.
- Allow the fruit leather to cool completely at room temperature for 30 minutes, then carefully peel from the parchment.
- Cut into strips about 1.5 inches (4 cm) wide and roll them up with parchment paper to prevent sticking.
- Store in an airtight container.
Notes
If your oven runs hot, monitor closely during the last 30 minutes to avoid crispy edges. For watery strawberries, simmer puree briefly on stove to thicken before baking. Store rolls in airtight container at room temperature for up to two weeks or freeze for up to 3 months. Wrapping strips individually in parchment paper prevents sticking.
Nutrition
- Serving Size: One strip (about 1.5
- Calories: 50
- Sugar: 10
- Sodium: 1
- Fat: 0.1
- Carbohydrates: 13
- Fiber: 1
- Protein: 0.5
Keywords: fruit roll-ups, homemade snack, strawberry puree, healthy snack, kids lunch, fruit leather, gluten-free, dairy-free, vegan


