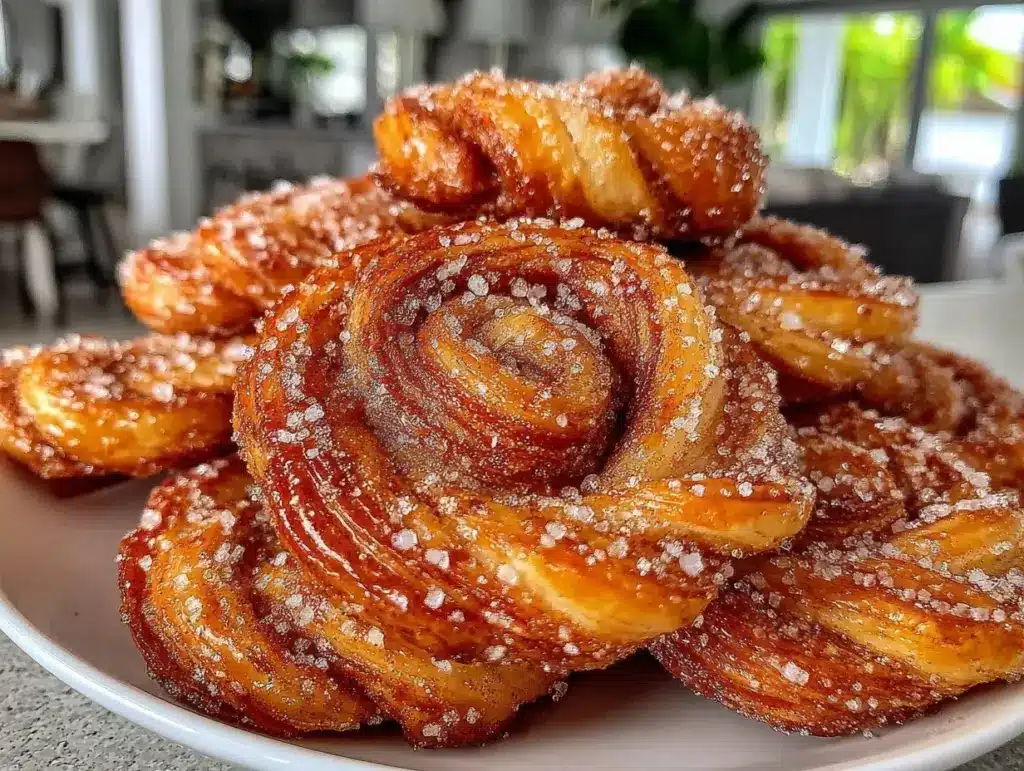
Imagine this: the sweet, spicy aroma of cinnamon mingling with buttery pastry, curling through your kitchen and nudging everyone out of bed. I still remember the first time I pulled these fluffy cinnamon twists from my oven—the golden spirals practically begged to be eaten, their scent wrapping me up in pure, nostalgic comfort. The outside was just barely crisp, the inside pillowy and soft, with pockets of cinnamon-sugar melting into every bite. It was the kind of moment where you pause, take a deep breath, and just smile because you know you’re onto something truly special.
Years ago, when I was knee-high to a grasshopper, my grandma used to make cinnamon rolls that were so good, you’d want to lick the plate. But on a rainy weekend, I wanted something a little easier—no yeast, no waiting for dough to rise. So I tinkered with her recipe, swapping the classic roll for twists that bake up lightning fast, but still deliver that same cozy flavor. Honestly, I wish I’d discovered this shortcut years ago. My family couldn’t stop sneaking them off the cooling rack (and I can’t really blame them). Even now, these cinnamon twists have become a staple for family gatherings, gifting, and those “just because” mornings when you need a treat with your coffee.
Let’s face it: there’s something magical about homemade pastries. Whether you’re looking for the perfect breakfast for a crowd, a sweet treat for your kids, or a new star for your Pinterest board, this fluffy cinnamon twists recipe is dangerously easy and guaranteed to please. I’ve tested it more times than I care to admit—in the name of research, of course—and each batch feels like a warm hug. So, you’re going to want to bookmark this one. Trust me, it’s a keeper.
Why You’ll Love This Recipe
As someone who’s gone through more cinnamon pastry trials than I can count (some edible, some… not so much), I can honestly say this fluffy cinnamon twists recipe is the one I keep coming back to. After countless tweaks and taste tests, these homemade pastries strike the perfect balance between simplicity and indulgence. Here’s exactly why you’ll fall in love:
- Quick & Easy: Comes together in under 40 minutes, so you can satisfy those cinnamon cravings fast—even on busy mornings.
- Simple Ingredients: No fancy grocery trips needed; everything is a pantry staple. If you bake even occasionally, you probably have it all on hand.
- Perfect for Breakfast or Brunch: These pastries are ideal for lazy weekend breakfasts, potlucks, or cozy holiday mornings with family.
- Crowd-Pleaser: Kids and adults gobble them up. Seriously, I’ve brought them to bake sales and watched them disappear in minutes.
- Unbelievably Delicious: The soft, fluffy dough and gooey cinnamon-sugar filling are pure comfort food—no fancy techniques, just honest flavor.
What makes my cinnamon twists different? The dough is whipped up with a touch of baking powder instead of yeast, making it super fast and forgiving. I use a special swirling technique so every twist is layered with cinnamon goodness. Plus, I brush them with a simple vanilla glaze that adds just the right amount of sweetness without overpowering the cinnamon.
This recipe isn’t just good—it’s the kind that makes you close your eyes after the first bite and sigh, because it’s that satisfying. It’s comfort food with a twist (pun totally intended), and you don’t have to wait hours for a fancy dough to rise. If you want to impress guests without breaking a sweat, or just turn a sleepy morning into something memorable, these cinnamon twists deliver every time. You know what? Sometimes the simplest recipes are the ones we end up loving the most.
What Ingredients You Will Need
This cinnamon twists recipe uses simple, wholesome ingredients to deliver bold flavor and that fluffy, tender texture we crave in homemade pastries. Most are pantry staples, so there’s a good chance you won’t need a special trip to the store. If you’re feeling adventurous, I’ve included notes for easy substitutions and a few trusted brands I swear by.
For the Dough
- 2 cups (250g) all-purpose flour (King Arthur or Bob’s Red Mill work great for consistent results)
- 2 tsp baking powder (make sure it’s fresh for maximum fluffiness)
- 1/2 tsp salt
- 1/4 cup (50g) granulated sugar (adds a hint of sweetness to the dough)
- 1/2 cup (120ml) whole milk (room temperature is best; use any dairy-free milk if needed)
- 1/4 cup (60g) unsalted butter, melted (for richness and tender texture; Earth Balance for dairy-free)
- 1 large egg (room temperature; flax egg works for vegan)
- 1 tsp vanilla extract (pure vanilla for best flavor)
For the Cinnamon Filling
- 1/3 cup (65g) brown sugar, packed (light or dark both work)
- 2 tsp ground cinnamon (Saigon cinnamon is my favorite for strong flavor)
- 2 tbsp (28g) unsalted butter, softened (for spreading; swap coconut oil for dairy-free)
For the Glaze
- 3/4 cup (90g) powdered sugar
- 2-3 tbsp (30-45ml) milk (adjust for desired consistency)
- 1/2 tsp vanilla extract
Optional Add-Ins & Substitutions
- Nuts: Add 1/4 cup (30g) chopped pecans or walnuts inside each twist for extra crunch.
- Gluten-Free: Use a 1:1 gluten-free flour blend; I’ve had success with Cup4Cup.
- Spices: Add a pinch of nutmeg or cardamom for a deeper flavor profile.
- Dairy-Free: Swap butter and milk for plant-based alternatives—these twists stay just as fluffy!
If you want to make these cinnamon twists even more special, toss in a handful of mini chocolate chips or dried fruit. In summer, fresh berries make a lovely addition. The base recipe is sturdy—so don’t be afraid to experiment a little (trust me, I’ve tried just about every combo). And if you’re short on time, pre-made pie dough will do in a pinch, but homemade is always worth it.
Equipment Needed
- Mixing bowls: At least two—one for the dough, one for the filling. I use glass because they’re easy to clean and don’t hold onto odors.
- Whisk or electric mixer: For blending the dough. A sturdy whisk works, but a hand mixer makes it extra easy.
- Rolling pin: Essential for rolling the dough evenly. If you don’t have one, a clean bottle works in a pinch.
- Pastry brush: For spreading butter and glaze. If you don’t have one, the back of a spoon does the job.
- Baking sheet: Line with parchment paper or a silicone mat for easy clean-up.
- Sharp knife or pizza cutter: For slicing dough into strips. I prefer a pizza cutter for quick, clean cuts.
- Measuring cups and spoons: Accurate measurements make all the difference—trust me, I learned the hard way.
If you’re just starting out, don’t worry about fancy gadgets. I’ve made these with the most basic tools and they still turn out great. For specialty equipment, like silicone baking mats, gentle hand-washing keeps them lasting for years. And if you’re on a budget, stick with metal baking sheets—they’re reliable and affordable.
Preparation Method
-
Preheat and Prepare: Set your oven to 375°F (190°C). Line a baking sheet with parchment paper or a silicone mat.
Tip: If your oven runs hot, lower the temperature by 5°F—overbaked twists get dry fast! -
Mix Dry Ingredients: In a large bowl, whisk together 2 cups (250g) all-purpose flour, 2 tsp baking powder, 1/2 tsp salt, and 1/4 cup (50g) granulated sugar until well combined.
Note: Sift the flour for extra fluffiness if you want to be fancy. -
Combine Wet Ingredients: In a separate bowl, mix 1/2 cup (120ml) milk, 1/4 cup (60g) melted butter, 1 large egg, and 1 tsp vanilla extract. Whisk until smooth.
Warning: Don’t use hot butter—let it cool a bit or you might scramble the egg. Learned that one the hard way. -
Make the Dough: Pour the wet ingredients into the dry mixture. Stir with a wooden spoon until a shaggy dough forms. Turn out onto a lightly floured surface and knead gently for 2-3 minutes until smooth.
Sensory cue: Dough should feel soft but not sticky. If it’s too dry, add a tablespoon of milk; too wet, sprinkle with flour. -
Roll Out: Using a rolling pin, roll the dough into a rectangle about 12×8 inches (30x20cm).
Tip: If the dough shrinks back, let it rest for 5 minutes—relaxes the gluten. -
Prepare Filling: In a small bowl, mix 1/3 cup (65g) brown sugar and 2 tsp cinnamon. Spread 2 tbsp (28g) softened butter evenly over the dough, then sprinkle the cinnamon-sugar mixture on top.
Note: Press mixture gently into the butter with your hands to help it stick. -
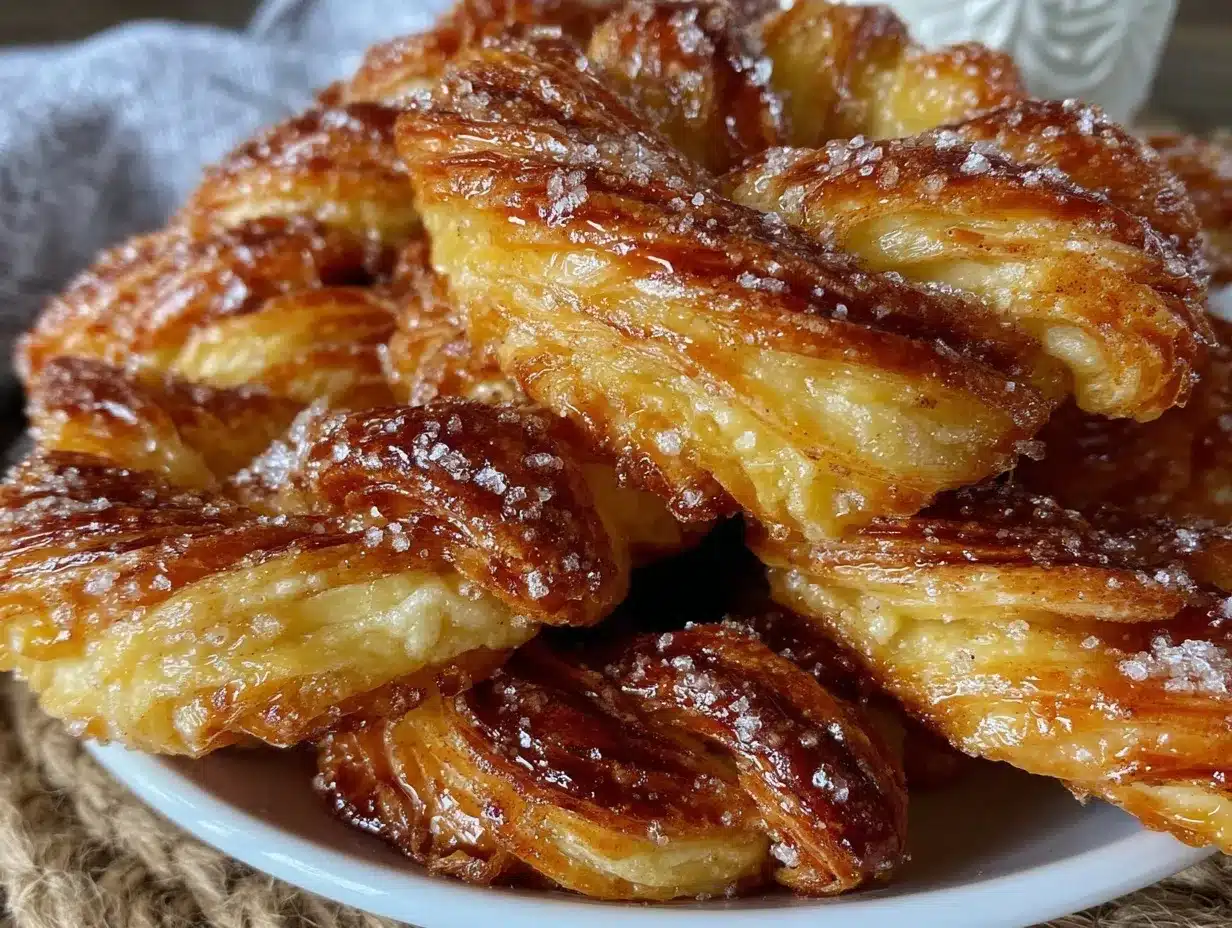
Cut and Twist: Slice the dough into 10-12 strips (about 1 inch/2.5cm wide) using a sharp knife or pizza cutter. Take each strip, twist it several times, and lay on the baking sheet.
Tip: Twist tightly for more dramatic spirals; loose twists bake up softer. -
Bake: Place in the oven and bake for 18-22 minutes, until golden and slightly puffed. The house will smell incredible right about now.
Sensory cue: Twists should be lightly browned and spring back when touched. -
Make the Glaze: While twists cool slightly, whisk together 3/4 cup (90g) powdered sugar, 2-3 tbsp (30-45ml) milk, and 1/2 tsp vanilla extract until smooth.
Warning: Add milk a little at a time—too much and it’ll be runny. -
Glaze and Serve: Brush or drizzle the glaze over warm twists. Serve immediately for the fluffiest texture.
Tip: Glaze will set as they cool, giving a pretty shine perfect for photos.
Honestly, the hardest part is waiting for them to cool enough to eat. If your twists look a little wonky, don’t worry—they still taste amazing. I’ve had batches where the spirals weren’t perfect, but the flavor was all there. And if you want to prep ahead, you can refrigerate the dough overnight (just let it come to room temp before rolling).
Cooking Tips & Techniques
These cinnamon twists are forgiving, but after a few kitchen mishaps, I’ve learned some tricks that make them foolproof. Here’s what experience has taught me:
- Don’t Overmix: Gentle mixing keeps the dough soft. Overworking makes pastries tough—trust me, I’ve baked enough hockey pucks to know!
- Room Temperature Ingredients: Milk and eggs blend best when not cold. Cold ingredients slow down the rise and can affect texture.
- Cinnamon Quality: Use fresh, aromatic cinnamon for bold flavor. Old spice loses its punch and can taste flat.
- Twisting Technique: Twist the strips firmly but don’t stretch them too thin. Loose twists bake up fluffier, while tight twists look more dramatic.
- Baking Sheet Placement: Space twists out—they puff up and spread. Crowding leads to uneven baking.
If you’re multitasking, prep the filling while the dough rests. Timing is everything—bake twists right before serving for peak freshness. Consistency comes from measuring ingredients carefully and keeping an eye on oven hotspots. If your twists brown too quickly, tent with foil halfway through baking.
I’ve burned a few batches by getting distracted, so set a timer and use your nose—the scent of cinnamon tells you when they’re nearly done. And if you like extra gooey centers, underbake by a minute or two (just don’t let them go raw). Honestly, every kitchen has its quirks, but these tips help make each batch a success.
Variations & Adaptations
One thing I love about this fluffy cinnamon twists recipe is how easily you can switch things up to suit your tastes or dietary needs. Here are a few of my favorite variations:
- Vegan Cinnamon Twists: Swap the egg for a flaxseed egg (1 tbsp ground flax + 3 tbsp water), use plant-based milk, and non-dairy butter. Still super fluffy!
- Nutty Crunch: Sprinkle chopped pecans or walnuts over the filling before twisting. Adds texture and a rich, toasty flavor.
- Chocolate Cinnamon Twists: Add 1/4 cup (40g) mini chocolate chips to the filling for an indulgent twist. (My kids claim this is the “best version ever.”)
- Seasonal Fruit: In summer, try fresh berries—blueberries or raspberries—pressed into the dough before twisting. In autumn, diced apples work beautifully.
- Gluten-Free Adaptation: Use a 1:1 gluten-free flour blend. I’ve had great results with Cup4Cup; just add an extra tablespoon of milk if dough feels dry.
If you want to bake these twists in an air fryer, reduce the baking time by 5 minutes and check for doneness early. For a richer flavor, add a tiny pinch of cardamom to the filling. And if you’re avoiding nuts, just skip them—these twists are flavorful enough without. Personally, my favorite variation is adding a swirl of orange zest to the filling during winter—it makes the whole kitchen smell like holiday mornings!
Serving & Storage Suggestions
For best results, serve these fluffy cinnamon twists warm, fresh out of the oven. The glaze will be perfectly glossy and the dough extra soft. Arrange them on a pretty platter or wooden board for brunch, with a dusting of powdered sugar for a bakery-style finish. Pair with fresh fruit, scrambled eggs, or your favorite coffee or tea—they’re versatile enough for sweet or savory sides.
If you have leftovers (which is rare around here), let twists cool completely before storing. Place in an airtight container at room temperature for up to 2 days, or refrigerate for up to 5 days. For longer storage, wrap individually in plastic and freeze for up to 2 months. Reheat in a 300°F (150°C) oven for 5-7 minutes, or microwave for 15 seconds each—just enough to revive that fresh-baked softness.
Honestly, the flavors deepen overnight, and the cinnamon gets even more aromatic. If you want to prep ahead for a party, make the dough and filling the night before, then assemble and bake fresh for that irresistible “just baked” experience. These twists are a hit for breakfast, snack time, or dessert—trust me, they’ll disappear fast!
Nutritional Information & Benefits
Each cinnamon twist contains roughly 180 calories, 5g fat, 30g carbohydrates, and 3g protein, depending on your exact ingredients and glaze. The recipe is naturally nut-free unless you add nuts, and can be made dairy- or gluten-free with simple swaps.
Cinnamon is known for its antioxidant properties and can help regulate blood sugar (though let’s be honest, these are a treat!). Using whole milk adds protein and calcium, and the eggs provide a boost of nutrition. If you use plant-based ingredients, your cinnamon twists are lower in cholesterol and suit vegan diets.
Watch out for allergens: wheat, milk, and eggs are present in the classic version. I always check ingredient labels carefully if baking for groups. From a wellness perspective, I love that you can control the sweetness and ingredients, making these twists lighter than storebought pastries. For special diets, the gluten-free and dairy-free options keep everyone happy.
Conclusion
There’s a reason these fluffy cinnamon twists have become a go-to in my kitchen—they’re easy, fast, and packed with that classic cinnamon pastry flavor everyone loves. Whether you’re baking for a crowd or just treating yourself, this recipe fits the bill for any occasion. You can tweak the filling, swap ingredients, and make it your own—honestly, that’s half the fun.
What I love most is sharing these twists with family and friends, watching them light up as they take that first bite. It’s those little moments that make baking so rewarding. So, if you’re looking for a recipe that’s simple, delicious, and totally customizable, give these cinnamon twists a try. I’d love to hear how you make them your own—leave a comment, share your photos, or tag me with your creative adaptations!
Here’s to mornings made sweeter, kitchens filled with cinnamon-scented happiness, and recipes that just feel like home. Happy baking!
FAQs
Can I make cinnamon twists ahead of time?
Yes! You can prepare the dough and filling the night before, store tightly wrapped in the fridge, and bake fresh in the morning. You can also freeze baked twists and reheat as needed.
How do I keep cinnamon twists soft after baking?
Store them in an airtight container at room temperature or wrap tightly with plastic. If they start to dry out, a quick microwave zap (10-15 seconds) brings back the fluffiness.
Can I use whole wheat flour for this recipe?
You can substitute half the all-purpose flour with whole wheat flour. The twists will be a little heartier and less fluffy, but still delicious!
What’s the best way to get even spirals?
Twist each strip firmly and consistently as you lay them on the baking sheet. If the dough resists, let it rest for a few minutes before twisting—relaxed dough is easier to shape.
Can I make these gluten-free or vegan?
Absolutely! Use a 1:1 gluten-free flour blend for gluten-free twists, and swap egg, milk, and butter for plant-based alternatives for vegan twists. Both versions are tasty and easy to make.
Pin This Recipe!
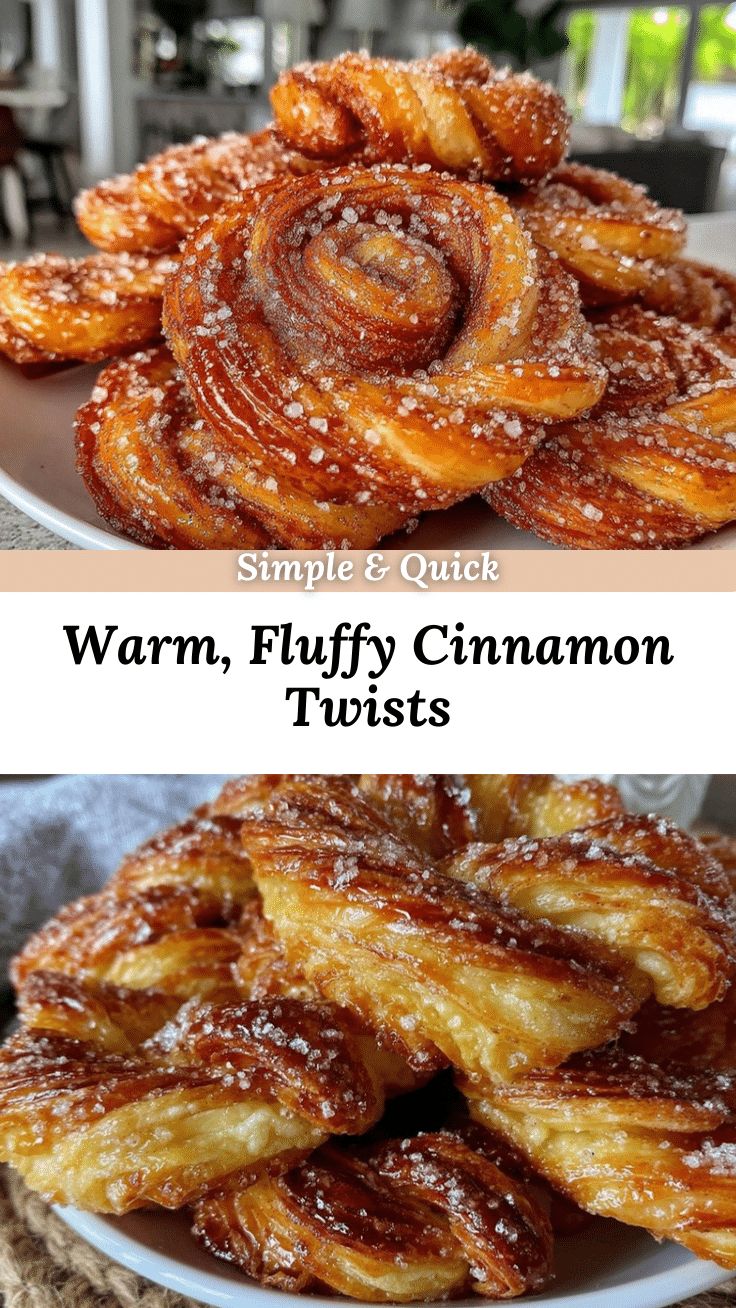
Fluffy Cinnamon Twists
These easy homemade cinnamon twists are soft, fluffy pastries filled with gooey cinnamon-sugar and finished with a sweet vanilla glaze. Perfect for breakfast, brunch, or a cozy treat with coffee, they come together quickly with simple pantry ingredients and no yeast required.
- Prep Time: 15 minutes
- Cook Time: 20 minutes
- Total Time: 35 minutes
- Yield: 10-12 twists 1x
- Category: Breakfast
- Cuisine: American
Ingredients
- 2 cups (250g) all-purpose flour
- 2 tsp baking powder
- 1/2 tsp salt
- 1/4 cup (50g) granulated sugar
- 1/2 cup (120ml) whole milk (room temperature)
- 1/4 cup (60g) unsalted butter, melted
- 1 large egg (room temperature)
- 1 tsp vanilla extract
- 1/3 cup (65g) brown sugar, packed
- 2 tsp ground cinnamon
- 2 tbsp (28g) unsalted butter, softened
- 3/4 cup (90g) powdered sugar
- 2–3 tbsp (30-45ml) milk
- 1/2 tsp vanilla extract
Instructions
- Preheat oven to 375°F (190°C). Line a baking sheet with parchment paper or a silicone mat.
- In a large bowl, whisk together flour, baking powder, salt, and granulated sugar.
- In a separate bowl, mix milk, melted butter, egg, and vanilla extract until smooth.
- Pour wet ingredients into dry mixture. Stir until a shaggy dough forms. Turn onto a lightly floured surface and knead gently for 2-3 minutes until smooth.
- Roll dough into a rectangle about 12×8 inches.
- In a small bowl, mix brown sugar and cinnamon. Spread softened butter evenly over the dough, then sprinkle cinnamon-sugar mixture on top. Press gently to help it stick.
- Slice dough into 10-12 strips (about 1 inch wide). Twist each strip several times and lay on the baking sheet.
- Bake for 18-22 minutes, until golden and slightly puffed.
- While twists cool slightly, whisk together powdered sugar, milk, and vanilla extract for the glaze.
- Brush or drizzle glaze over warm twists. Serve immediately.
Notes
For vegan or dairy-free twists, substitute egg, milk, and butter with plant-based alternatives. Add nuts, chocolate chips, or fruit for variations. Dough can be made ahead and refrigerated overnight. For gluten-free, use a 1:1 gluten-free flour blend. Twist strips tightly for dramatic spirals, loosely for fluffier texture. If browning too quickly, tent with foil halfway through baking.
Nutrition
- Serving Size: 1 twist
- Calories: 180
- Sugar: 13
- Sodium: 180
- Fat: 5
- Saturated Fat: 3
- Carbohydrates: 30
- Fiber: 1
- Protein: 3
Keywords: cinnamon twists, breakfast pastry, easy cinnamon pastry, homemade cinnamon twists, brunch, no yeast cinnamon twists, quick breakfast, cinnamon sugar, vanilla glaze, fluffy pastries


