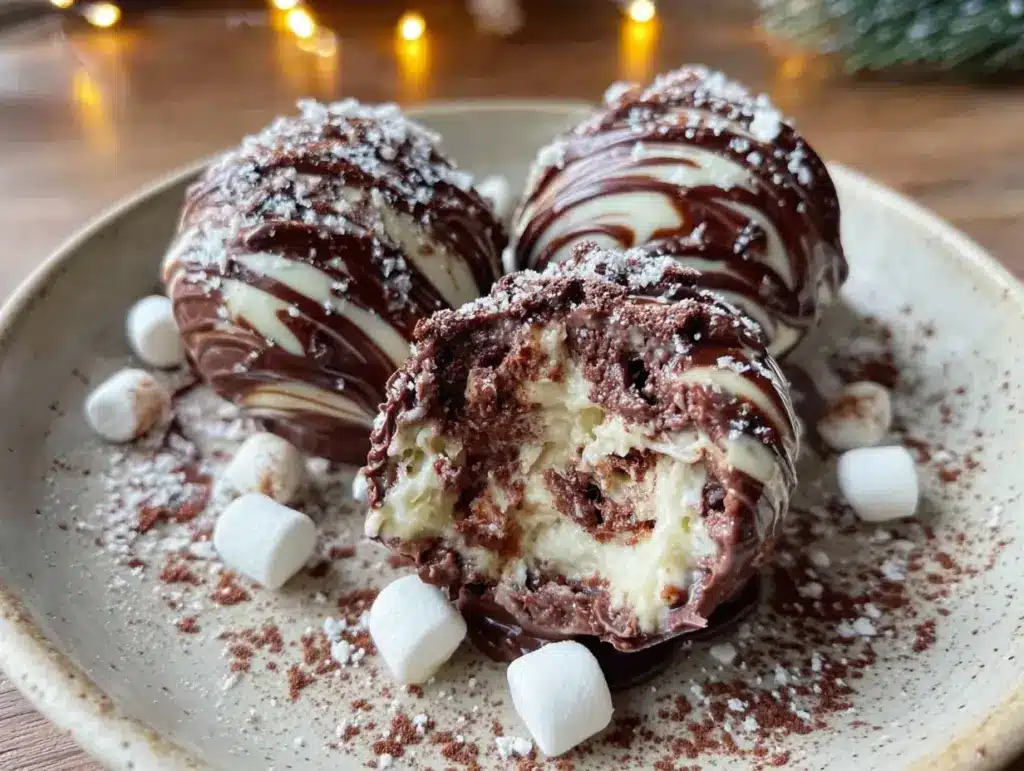
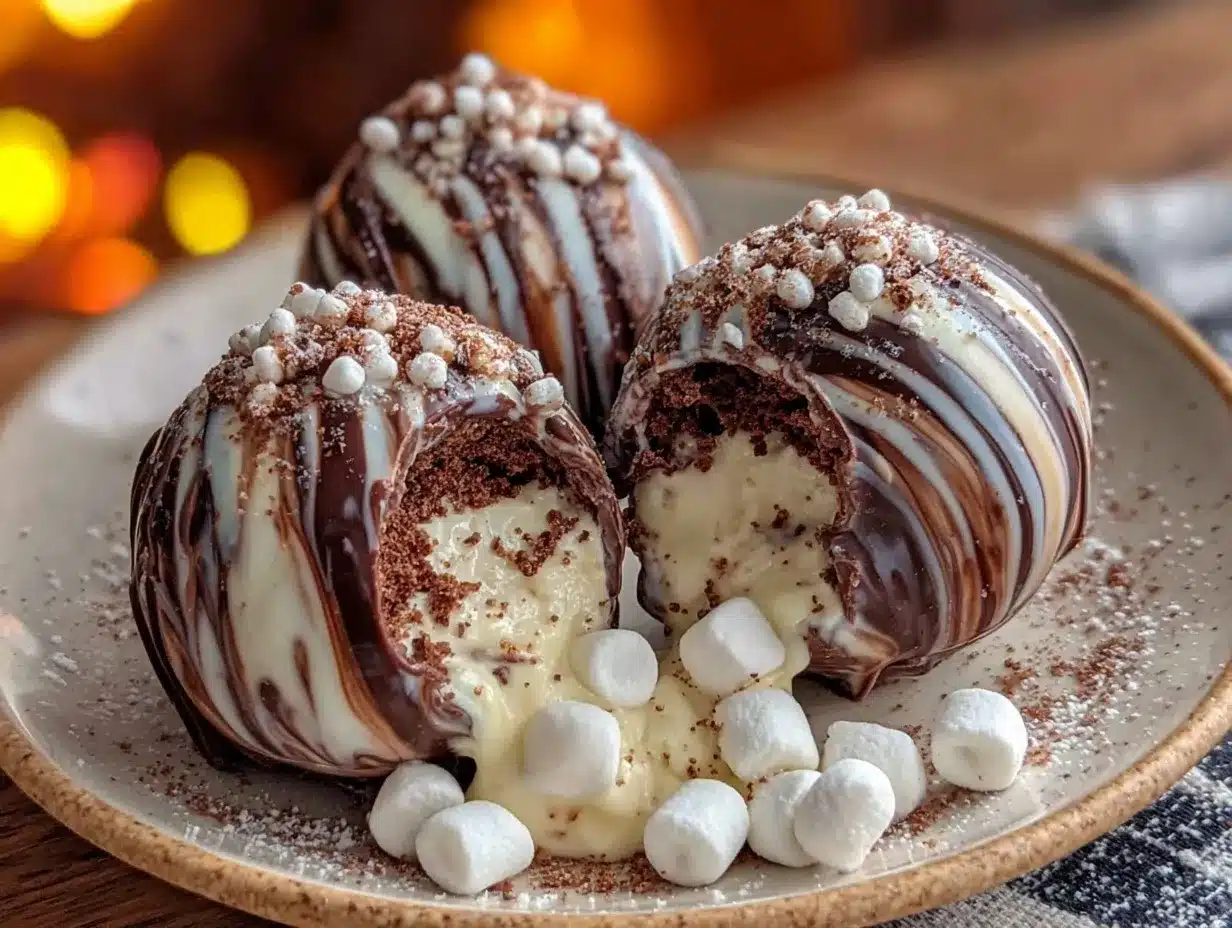
Let me tell you, the moment you crack open one of these hot chocolate bombs and watch the rich cocoa and fluffy marshmallows cascade into your mug, you’re in for a treat that’s as much fun to make as it is to sip. The scent of melting chocolate mingling with warm milk is enough to make anyone’s mouth water—and honestly, it’s pure, nostalgic comfort wrapped up in a shiny chocolate shell. The first time I made these delightful creations, I was instantly hooked. It was one of those rare kitchen moments where you pause, take a deep breath, and just smile because you know you’re onto something truly special.
Years ago, when I was knee-high to a grasshopper, my grandma would make the richest hot cocoa during long winter nights, but these hot chocolate bombs? They bring that magic to a whole new level. I stumbled upon the idea during a chilly weekend, trying to recreate that cozy feeling with a modern twist. Since then, they’ve become a staple for family gatherings and gift-giving occasions. My family couldn’t stop sneaking them off the cooling rack (and I can’t really blame them). You know what’s dangerously easy about these? They’re perfect for potlucks, a sweet treat for your kids, or just brightening up your Pinterest cookie board with something both pretty and delicious.
I’ve tested this recipe more times than I can count—in the name of research, of course—and trust me, it never disappoints. Honestly, you’re going to want to bookmark this one for all those chilly evenings when you crave a warm hug in a mug.
Why You’ll Love This Hot Chocolate Bombs Recipe
After countless trials and generous helpings of these chocolate delights, I can confidently say this hot chocolate bombs recipe is a winner. Whether you’re a seasoned baker or a kitchen newbie, it’s designed to bring joy without the fuss. Here’s why this recipe stands out:
- Quick & Easy: Comes together in under 30 minutes, perfect for busy weeknights or last-minute cozy cravings.
- Simple Ingredients: No fancy grocery trips needed; you likely already have everything in your kitchen pantry.
- Perfect for Winter Gatherings: Great for holiday mornings, cozy nights by the fire, or charming homemade gifts.
- Crowd-Pleaser: Always gets rave reviews from kids and adults alike—because who doesn’t love chocolate?
- Unbelievably Delicious: The creamy texture and rich flavor combo is next-level comfort food that melts your worries away.
This isn’t just another hot chocolate bomb recipe. The secret lies in the perfectly tempered chocolate shells that crack just right, releasing a smooth cascade of cocoa and marshmallow goodness. Plus, the balance of sweet and creamy is spot-on—no bitterness, no cloying sugar overload. It’s comfort food reimagined—faster, easier, but with the same soul-soothing satisfaction.
Trust me, this recipe will impress guests without stress or turn a simple night in into a memorable treat. It’s exactly the kind of indulgence that makes you close your eyes after the first sip and sigh with contentment.
What Ingredients You Will Need
This recipe uses simple, wholesome ingredients to deliver bold flavor and satisfying texture without the fuss. Most of these are pantry staples, and you can swap a few to suit your preferences or dietary needs.
- Chocolate: 12 ounces (340 g) of high-quality semi-sweet or milk chocolate chips or bars, chopped (I recommend Ghirardelli for best melting and smoothness)
- Mini Marshmallows: About 1 cup (50 g) for the filling (use vegan marshmallows if needed)
- Hot Cocoa Mix: ¾ cup (90 g) of your favorite instant hot chocolate powder (homemade or store-bought)
- Optional Add-Ins: 2 tablespoons mini chocolate chips or crushed peppermint candies for extra flair
- Decorations: Colored sprinkles, edible glitter, or white chocolate drizzle (for that extra festive touch)
If you want a dairy-free version, swap the chocolate with dairy-free dark chocolate and the marshmallows with vegan marshmallows. You can even substitute hot cocoa mix with a homemade blend of cocoa powder, sugar, and a pinch of salt if you prefer to control the sweetness.
Equipment Needed
- Hot Chocolate Bomb Mold: A silicone or plastic sphere mold (6 to 8 cavities, about 2.5 inches in diameter). If you don’t have one, you can carefully shape chocolate shells using a baking sheet and a spoon, but the mold makes it so much easier.
- Double Boiler or Microwave-Safe Bowl: For melting chocolate gently without burning.
- Metal Spoon or Silicone Spatula: For stirring melted chocolate and spreading it evenly.
- Piping Bag or Zip-Top Bag: To drizzle chocolate for sealing the bombs—use scissors to snip the tip if needed.
- Baking Sheet with Parchment Paper: To place your formed chocolate shells while they set.
I personally prefer a silicone mold because it’s flexible and makes popping out the chocolate bombs hassle-free. If you’re on a budget, plastic molds from craft stores work just fine too—just be gentle when removing the shells. Keeping your molds clean and dry is key for a glossy finish.
Preparation Method
- Melt the Chocolate (10 minutes): Chop your chocolate into small, even pieces. Using a double boiler, gently melt the chocolate over simmering water, stirring frequently until smooth. Alternatively, microwave in 30-second bursts, stirring in between to avoid burning. The chocolate should be silky and glossy.
- Coat the Mold (10 minutes): Spoon or brush a generous layer of melted chocolate into each cavity of your hot chocolate bomb mold. Make sure to coat the sides evenly but not too thick—aim for about 1/8-inch thickness. Tap the mold gently on the counter to remove air bubbles.
- Set the Chocolate Shells (15 minutes): Place the mold in the fridge for about 10-15 minutes until the chocolate hardens completely. Once set, carefully loosen the edges and pop out the half-spheres. Handle gently to avoid cracks.
- Fill the Bombs (5 minutes): Spoon about 1 tablespoon of hot cocoa mix, a few mini marshmallows, and optional add-ins like mini chips or crushed peppermint into one half of each shell. Don’t overfill, or sealing will be tricky.
- Seal the Bombs (10 minutes): Warm a small plate or pan and briefly press the empty half-sphere against it to slightly melt the edge. Quickly press it on top of the filled half to seal. Use a little melted chocolate as ‘glue’ if needed to secure the seam. Place the sealed bombs back on parchment paper and chill again for 10 minutes to set.
When you’re ready to enjoy, drop a bomb into a mug, pour hot milk over it, and watch it burst open with warm, chocolatey goodness. If the seal isn’t perfect, don’t sweat it—the taste is still fantastic. My tip? Work quickly when sealing so the chocolate edges stay molten enough to stick but don’t melt through.
Cooking Tips & Techniques
Tempering chocolate is often the trickiest part, but honestly, you don’t need to be a chocolate wizard to get it right. Just melt it slowly and keep stirring—patience pays off with that shiny finish and snap. If your chocolate looks dull or streaky, it’s probably overheated or cooled too fast. Warm it gently again.
Here’s what I learned the hard way: don’t rush the chilling steps. Let the chocolate set completely in the fridge or freezer, or the shells will crack when you try to pop them out. Also, when sealing the bombs, use a clean, warm surface to melt the edges. I once tried sealing with cold chocolate, and the bombs fell apart within seconds—lesson learned!
Multi-tasking helps here: melt your chocolate while prepping your filling station. Keep a damp cloth nearby to wipe any stray chocolate drips, making it easier to handle the molds. And remember, even if your first batch isn’t perfect, the taste will still bring smiles.
Variations & Adaptations
Feel free to make this recipe your own. Here are some of my favorite twists:
- Spiced Hot Chocolate Bombs: Add a pinch of cinnamon, nutmeg, or cayenne pepper to your cocoa mix for a little kick and warmth.
- White Chocolate Peppermint: Use white chocolate for the shells and fill with crushed peppermint candies and cocoa mix for a festive touch.
- Nut-Free Version: Swap out any nut-flavored toppings or fillings with allergy-friendly options like sunflower seeds or toasted coconut flakes.
- Dairy-Free Option: Use dairy-free dark chocolate and vegan marshmallows, plus coconut or almond milk for serving.
- Personal Favorite: I once mixed in tiny caramel bits and sea salt inside the bombs—total game changer for salty-sweet lovers.
Adjust the size of your molds if you want mini bombs for bite-sized fun or larger ones for a richer mug. You can even bake the shells with a sprinkle of crushed cookies for a crunchy surprise.
Serving & Storage Suggestions
Serve these hot chocolate bombs immediately after they “explode” in your mug for the best experience. Pour steaming hot milk (dairy or non-dairy) over the bomb and watch the magic unfold. Garnish with whipped cream, a sprinkle of cocoa powder, or extra marshmallows for an indulgent touch.
They keep well stored in an airtight container in a cool, dry place for up to two weeks. Avoid the fridge if you want to maintain a glossy finish, but if your kitchen’s warm, a brief chill is fine. For longer storage, freeze the bombs for up to 3 months—just thaw at room temperature before use.
When reheating leftover hot chocolate, warm gently on the stovetop or in the microwave, stirring occasionally to keep it smooth. Flavors actually deepen the next day, so if you make a batch ahead, you’re in for a treat.
Nutritional Information & Benefits
Each hot chocolate bomb roughly contains 180-220 calories depending on the chocolate and marshmallow brands used. They provide a modest source of antioxidants from the cocoa, and the mini marshmallows add a touch of sweetness without going overboard.
For those watching their diet, using dark chocolate with 70% cocoa or higher reduces sugar content and adds beneficial flavonoids. Dairy-free versions can accommodate lactose intolerance or vegan diets without sacrificing taste. Just be mindful of allergens like nuts if you add mix-ins.
Honestly, these are a treat best enjoyed in moderation, but they offer a cozy, mood-lifting experience that’s worth every calorie on those chilly days.
Conclusion
If you’re craving a cozy, indulgent treat that’s fun to make and even better to eat, this hot chocolate bombs recipe is exactly what you need. It’s simple, customizable, and guaranteed to bring smiles around the mug. I love how these bombs turn a basic cup of cocoa into a little celebration—perfect for sharing or savoring solo.
Don’t hesitate to tweak the flavors and decorations to match your style. And hey, if you try this recipe, please come back and share your twists or stories—I’m always excited to hear how you make it your own. So grab your chocolate, fire up that double boiler, and get ready for some seriously cozy indulgence!
FAQs About Hot Chocolate Bombs
How long do hot chocolate bombs last?
Stored in an airtight container in a cool, dry place, they last about two weeks. You can freeze them for up to three months for longer storage.
Can I use different types of chocolate?
Absolutely! Semi-sweet, milk, dark, or even white chocolate works. Just pick high-quality chocolate for the best texture and taste.
What kind of milk is best to pour over hot chocolate bombs?
Whole milk gives the creamiest texture, but almond, oat, or coconut milk all work great for dairy-free options.
How do I prevent my chocolate bombs from melting too fast?
Keep them stored in a cool spot away from heat and humidity. When serving, use hot milk, not boiling, to avoid breaking the chocolate too quickly.
Can I make these without a mold?
Yes, but molds help get the perfect shape. Alternatively, you can shape the shells on parchment paper or silicone mats, though it takes more practice.
Pin This Recipe!
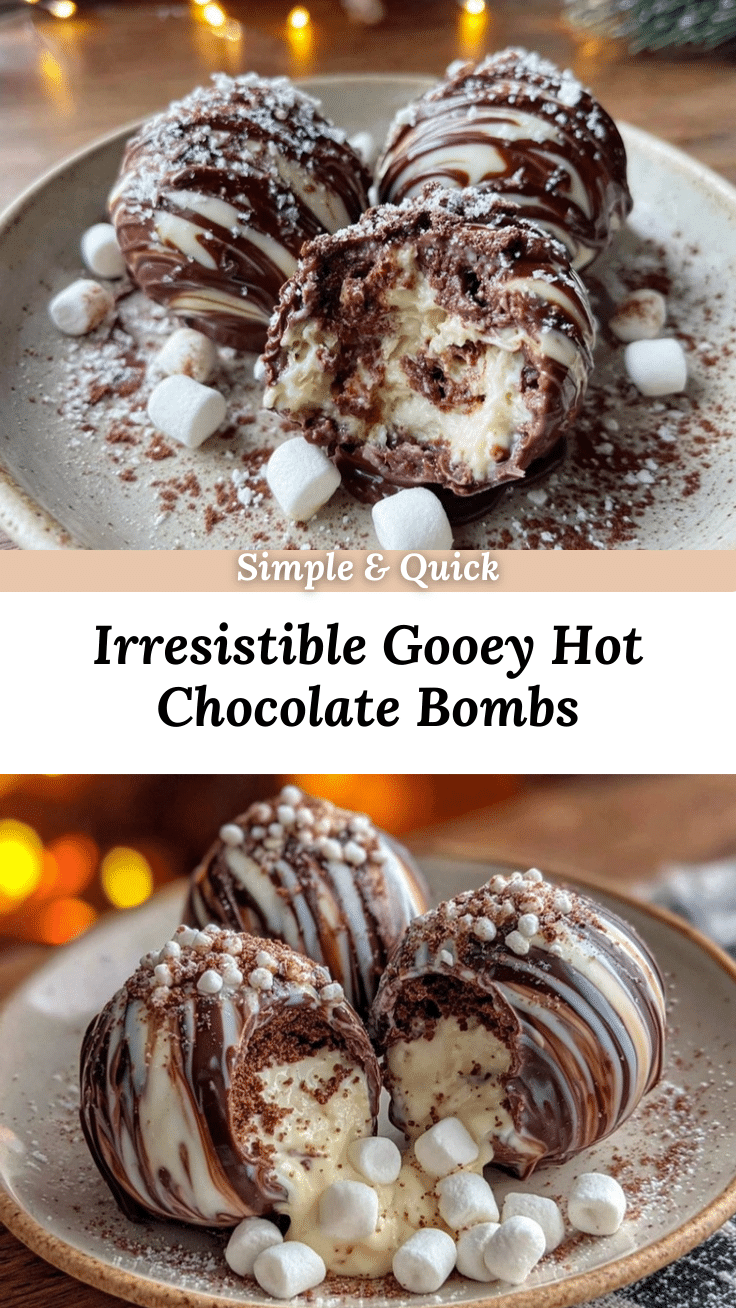
Hot Chocolate Bombs Recipe Easy 5-Step Guide for Cozy Winter Treats

These hot chocolate bombs are a fun and delicious way to enjoy rich cocoa and marshmallows in a glossy chocolate shell, perfect for cozy winter treats and gatherings.
- Prep Time: 15 minutes
- Cook Time: 15 minutes
- Total Time: 30 minutes
- Yield: 6-8 hot chocolate bombs 1x
- Category: Dessert
- Cuisine: American
Ingredients
- 12 ounces (340 g) high-quality semi-sweet or milk chocolate chips or bars, chopped
- 1 cup (50 g) mini marshmallows (use vegan marshmallows if needed)
- 3/4 cup (90 g) instant hot cocoa mix (homemade or store-bought)
- Optional: 2 tablespoons mini chocolate chips or crushed peppermint candies
- Optional decorations: colored sprinkles, edible glitter, or white chocolate drizzle
Instructions
- Chop chocolate into small, even pieces. Melt chocolate gently using a double boiler or microwave in 30-second bursts, stirring frequently until smooth and glossy.
- Spoon or brush a generous layer of melted chocolate into each cavity of the hot chocolate bomb mold, coating sides evenly about 1/8-inch thick. Tap mold gently to remove air bubbles.
- Place mold in the fridge for 10-15 minutes until chocolate hardens completely. Carefully loosen edges and pop out half-spheres.
- Fill one half of each shell with about 1 tablespoon hot cocoa mix, a few mini marshmallows, and optional add-ins. Avoid overfilling.
- Warm a small plate or pan and press the empty half-sphere edge against it to melt slightly. Quickly press it onto the filled half to seal, using melted chocolate as glue if needed. Chill sealed bombs on parchment paper for 10 minutes to set.
Notes
Temper chocolate slowly and stir frequently for a glossy finish. Chill shells completely before popping out to avoid cracks. Work quickly when sealing bombs to keep edges molten but not melted through. Store bombs in airtight container in a cool, dry place for up to two weeks or freeze for up to 3 months.
Nutrition
- Serving Size: 1 hot chocolate bomb
- Calories: 180220
- Sugar: 20
- Sodium: 50
- Fat: 10
- Saturated Fat: 6
- Carbohydrates: 25
- Fiber: 2
- Protein: 3
Keywords: hot chocolate bombs, winter treats, chocolate recipe, cozy drinks, marshmallow, holiday dessert, easy chocolate bombs


