“You really should try these peppers I made last night — the garlic and oregano just hit differently.” — and that was it. I hadn’t given pickled banana peppers much thought before that evening, but after tasting those tangy, zesty bites, I started seeing them as more than just a sandwich topping. It was one of those casual, kitchen-table moments where a simple snack becomes a little revelation.
There was this perfect crunch, a subtle heat that wasn’t overwhelming, and the garlic and oregano mingled in a way that felt both rustic and fresh. Honestly, it reminded me of the kind of pickled treats my grandmother might have tucked away in her pantry — but with a bit more zip and personality. I kept thinking about how these peppers could brighten up everything from a lazy snack to a backyard barbecue spread.
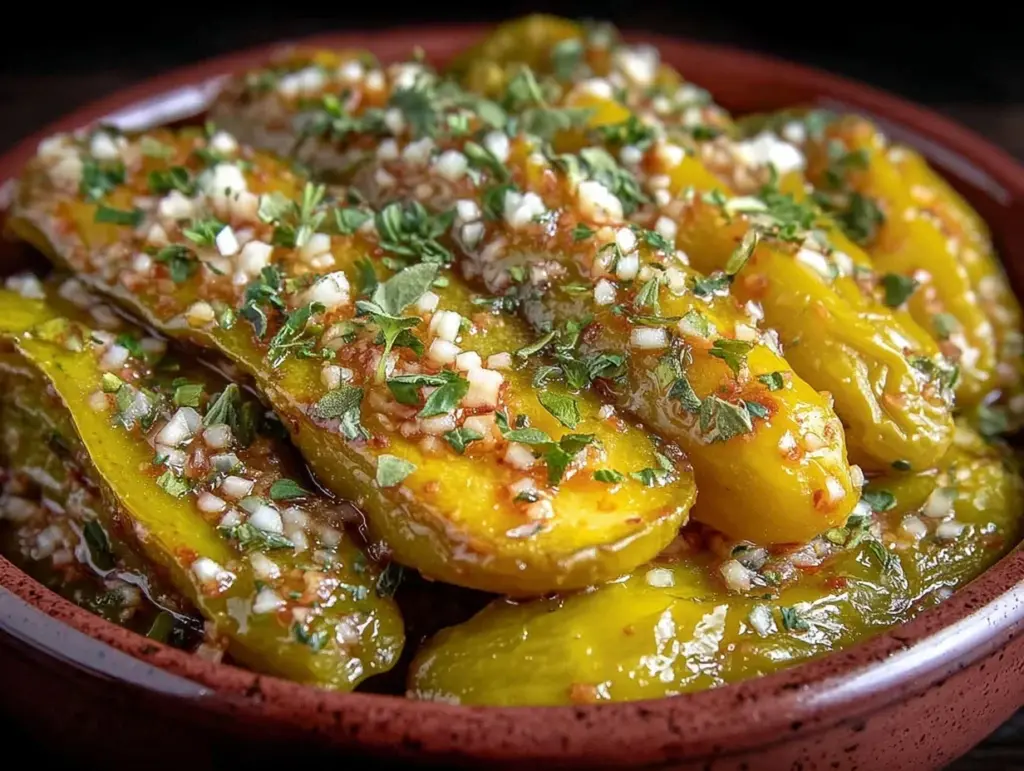
That night, I scribbled down the recipe as best as I could remember, and after a few tweaks, I landed on this easy homemade version of zesty pickled banana peppers with garlic and oregano. They’re tangy, a little spicy, and have this unmistakable herbal punch that makes you pause and appreciate the little things in life — like a perfectly pickled pepper. It’s funny how something so simple can stick in your mind and become a staple in your fridge, ready to add a punch of flavor whenever you need it.
These peppers aren’t just a condiment — they’re a reminder that homemade flavor beats store-bought any day. Plus, knowing exactly what’s inside makes it feel like a small but satisfying kitchen victory. So, if you’re into bright, zesty, and a little garlicky, this recipe might just become your new go-to. I know it did for me.
Why You’ll Love This Recipe
Here’s the thing about this zesty pickled banana peppers recipe — it’s easy, it’s flavorful, and it feels like you’re bringing a bit of sunshine into your kitchen. After testing this recipe multiple times (and yes, sampling way too many peppers), I can say it hits all the right notes for anyone who loves a tangy, garlicky zing.
- Quick & Easy: You can have these peppers ready in about 24 hours, but the prep takes just 15 minutes. Perfect for those moments when you want something tasty without the fuss.
- Simple Ingredients: No scavenger hunts through specialty stores — just banana peppers, garlic, oregano, and pantry staples like vinegar and sugar.
- Perfect for Entertaining: These pickled peppers punch up sandwiches, salads, and even dips like my favorite buffalo chicken dip with blue cheese crumbles for game day snacks.
- Crowd-Pleaser: Kids love the crunch, adults appreciate the tang, and the garlic-oregano mix keeps everyone coming back for more.
- Unbelievably Delicious: The balance of acidity from the vinegar and the herbal depth from oregano creates a flavor combo you won’t forget.
- Unique Twist: Unlike many pickled pepper recipes, this one layers in fresh garlic and dried oregano, giving it a Mediterranean vibe that’s a little unexpected but totally addictive.
This recipe isn’t just another jar on the shelf; it’s the kind of zesty, garlicky, oregano-infused pickled banana peppers that make you want to keep a batch handy all the time. Whether you’re topping off a savory BBQ pulled pork slider or mixing into a fresh Italian pasta salad, these peppers bring a special touch without any stress.
What Ingredients You Will Need
This recipe uses simple, wholesome ingredients to deliver bold flavor and satisfying crunch without any fuss. Most are pantry staples, so you might already have everything on hand. Here’s what you’ll want to gather:
- Banana peppers: About 1 pound (450 grams), fresh and firm. Look for bright yellow, medium-sized peppers with no soft spots.
- Garlic cloves: 4 large cloves, thinly sliced or smashed (the fresh garlic really amps up the flavor).
- Dried oregano: 1 tablespoon. I recommend a Mediterranean oregano brand like McCormick for that authentic herbal aroma.
- White vinegar: 1 cup (240 ml). This gives the peppers their signature tang without overpowering the other flavors.
- Water: 1 cup (240 ml), to balance out the vinegar’s acidity.
- Granulated sugar: 2 tablespoons, to add a touch of sweetness that rounds out the sharpness.
- Salt: 1 tablespoon, preferably kosher salt or pickling salt for a clean taste.
- Whole black peppercorns: 1 teaspoon, for a subtle peppery warmth.
- Bay leaf: 1 dried leaf, optional but recommended for a subtle earthy note.
Substitution tips:
- If you want to keep it gluten-free, double-check your vinegar labels, but most white vinegars are naturally gluten-free.
- For a dairy-free and vegan-friendly version, this recipe is naturally compliant.
- Feel free to swap dried oregano for fresh (about 2 tablespoons chopped), but dried holds up better in pickling.
- If you prefer a spicier kick, add a few red pepper flakes or swap half the banana peppers for pickled jalapeños.
Equipment Needed
- Knife and cutting board: For slicing the banana peppers and garlic.
- Measuring cups and spoons: Accurate measurements are key for the perfect balance of tart and sweet.
- Medium saucepan: To heat the vinegar mixture and dissolve sugar and salt.
- Mason jars or glass jars with lids: For storing the pickled peppers. I prefer wide-mouth jars for easy filling and cleaning.
- Tongs or a slotted spoon: Helpful when transferring the peppers into jars without the hot liquid.
If you don’t have canning jars, any clean glass jar with a tight-fitting lid works just fine. I’ve even used repurposed pasta sauce jars in a pinch. Just make sure they’re thoroughly sterilized by boiling or running through a hot dishwasher cycle.
Preparation Method
- Prepare the peppers: Rinse 1 pound (450 g) of banana peppers thoroughly. Slice them into rings about 1/4-inch (0.6 cm) thick, discarding the stems. If you want less heat, remove seeds; if you like it spicy, leave some seeds intact. Pat dry with a clean towel. (5 minutes)
- Slice the garlic: Peel and thinly slice 4 large garlic cloves. Fresh garlic is key here, so don’t skimp. Set aside. (3 minutes)
- Make the brine: In a medium saucepan, combine 1 cup (240 ml) white vinegar, 1 cup (240 ml) water, 2 tablespoons granulated sugar, and 1 tablespoon kosher salt. Add 1 teaspoon whole black peppercorns and 1 dried bay leaf. Stir over medium heat until sugar and salt dissolve completely and the liquid just starts to simmer — don’t boil. (7 minutes)
- Pack the jars: Place the sliced banana peppers, sliced garlic, and 1 tablespoon dried oregano evenly into sterilized jars. Don’t pack too tightly; leave a bit of room for the liquid to circulate. (5 minutes)
- Pour the brine: Carefully ladle the hot brine over the peppers, covering them completely. Use a clean utensil to push down any floating pieces so they’re submerged. Leave about 1/2-inch (1.3 cm) headspace at the top. (5 minutes)
- Seal and cool: Place lids on jars and let them cool to room temperature. Once cool, refrigerate for at least 24 hours before tasting (this is when the magic happens). The peppers will stay good refrigerated for up to 3 weeks but taste best within the first week. (24 hours to 3 weeks)
- Taste and adjust: After 24 hours, try a pepper! If you want it zestier, leave the jar open in the fridge for a few hours to let some vinegar evaporate. If too sharp, a pinch of sugar stirred in the jar can mellow it out. (Optional)
Pro tip: If you’re making these alongside a batch of my BBQ pulled pork sliders with creamy coleslaw, these peppers add a fresh, tangy crunch that cuts through the richness perfectly.
Cooking Tips & Techniques
Making pickled banana peppers is forgiving, but a few things can make the difference between “meh” and “wow.”
- Freshness is key: Use fresh, firm banana peppers for the best crunch. Older or soft peppers make soggy pickles.
- Don’t boil the brine: Heating until just simmering dissolves the sugar and salt but keeps the vinegar’s bright flavor intact.
- Use clean jars: Sterilize jars and lids in hot water or the dishwasher to prevent any unwanted bacteria or cloudiness.
- Submerge the peppers: Keeping peppers fully submerged in brine prevents mold and helps them pickle evenly.
- Patience pays off: The peppers get better with time — at least 24 hours, but a few days in the fridge lets flavors deepen.
- Try layering flavors: Adding a bay leaf and whole peppercorns gives complexity without overpowering the garlic and oregano.
- Watch the salt and sugar balance: Too much sugar and the peppers become sweet pickle-style; too little, and they’re too sharp. Adjust carefully next time based on your taste.
When I first started, I overcooked the peppers in boiling brine and ended up with mushy slices. Lesson learned: gentle heat and quick packing preserves that coveted crunch. Also, layering fresh garlic with oregano was a game-changer — the aroma in the fridge is intoxicating!
Variations & Adaptations
This recipe is pretty flexible, and I’ve played around with it quite a bit depending on mood and pantry contents.
- Spicy twist: Add 1 sliced jalapeño or 1 teaspoon red pepper flakes to the jar for a hotter bite.
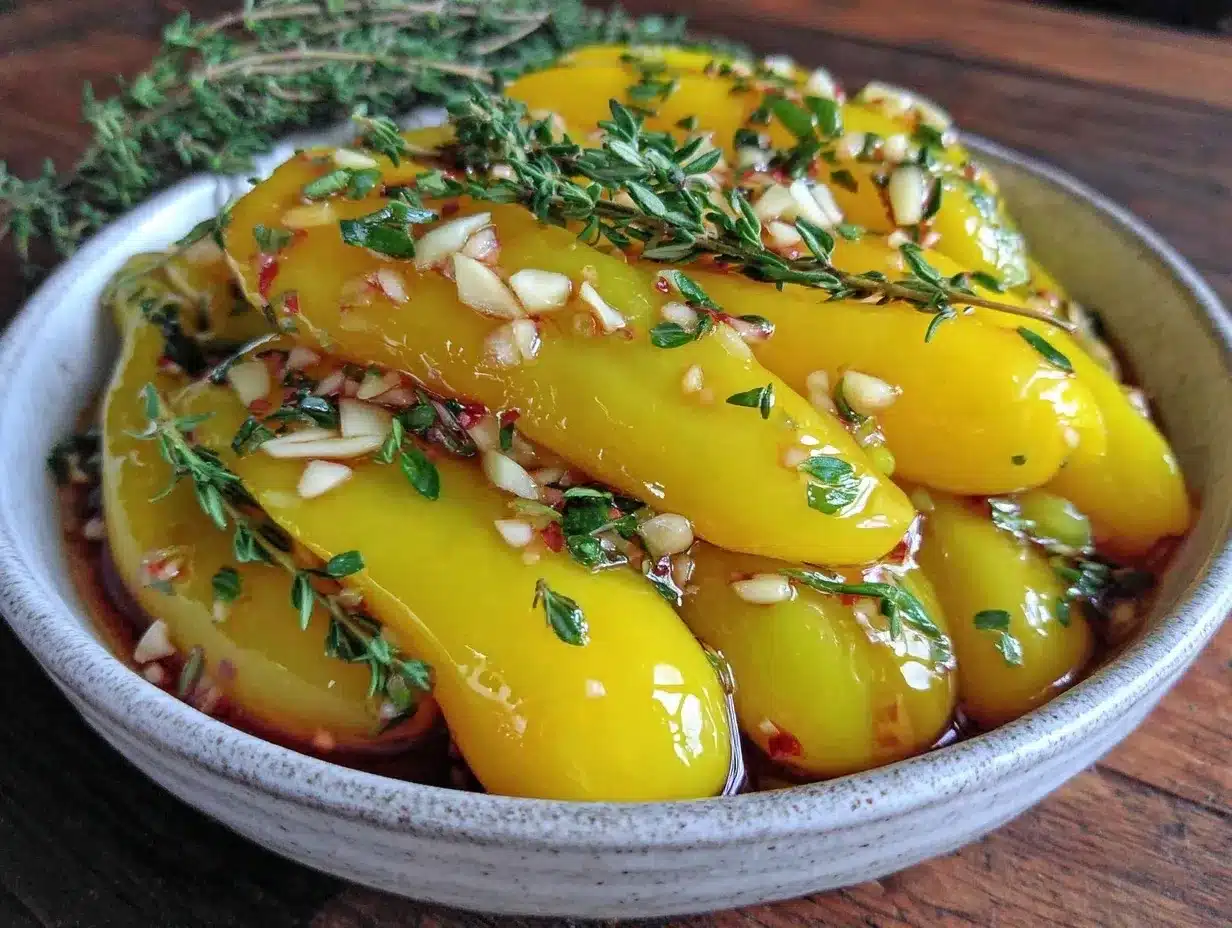
- Herb swap: Try fresh thyme or rosemary instead of oregano for a different herbal note.
- Sweet & spicy: Replace white sugar with honey or maple syrup for a richer sweetness and add a pinch of smoked paprika for warmth.
- Quick pickle: If you’re short on time, slice thinner and let the peppers sit in the brine at room temp for 4 hours before refrigerating.
- Low sodium: Reduce salt to 1/2 tablespoon but increase vinegar slightly to keep preservation balance.
One variation I love is swapping oregano for fresh basil and adding lemon zest for a bright, summery flavor — perfect on my Italian pasta salad with sun-dried tomatoes. It’s a little unexpected but totally fresh.
Serving & Storage Suggestions
These zesty pickled banana peppers are best served cold or at room temperature. They make a fantastic topping for sandwiches, burgers, or salads — and honestly, they’re addictive straight out of the jar.
- Serving ideas: Use them on tacos, mix into creamy dips, or add to cheese and charcuterie boards for a tangy punch.
- Storage: Keep refrigerated in a sealed jar. The peppers will stay fresh for up to 3 weeks, but I recommend enjoying them within 10 days for peak crunch.
- Reheating: Generally, no need to heat. But if you want warm pickled peppers, gently sauté with olive oil until heated through for a softer texture.
- Flavor development: Flavors intensify over time, so the next day usually tastes better than the day you make them.
These peppers have become a staple on my table alongside easy summer meals like the honey balsamic chicken pasta salad. It’s a combo that works every time for casual entertaining or a quick weekday lunch.
Nutritional Information & Benefits
Per serving (about 2 tablespoons): approximately 15 calories, 0.1 g fat, 3 g carbohydrates, 1 g sugar, 0.5 g protein, and 200 mg sodium.
Banana peppers are low in calories and rich in vitamin C, which supports immunity and skin health. Garlic adds antioxidants and antibacterial properties, while oregano offers anti-inflammatory benefits and a dose of antioxidants. Using white vinegar helps with digestion and acts as a natural preservative.
This recipe is naturally gluten-free, vegan, and low carb, making it a great addition to many diets. Just watch the sodium if you’re on a low-salt plan.
Conclusion
This zesty pickled banana peppers recipe is one of those simple, no-fail recipes that quickly becomes a kitchen favorite. It’s got the right balance of tang, crunch, and herbal kick from garlic and oregano that turns everyday meals into something a bit more special.
I love how easy it is to make and how versatile it feels — a homemade touch that’s both comforting and exciting. Whether you add it to a sandwich, toss it into a salad, or eat it straight from the jar, these peppers bring a little spark to your eating routine.
Give it a try, customize it your way, and watch how it transforms your meals. And hey, if you experiment with the recipe or have your own tweaks, I’m all ears — drop a comment below and share your favorites!
FAQs
How long do pickled banana peppers last in the fridge?
They usually keep well for up to 3 weeks refrigerated, but for best crunch and flavor, enjoy within 10 days.
Can I use fresh oregano instead of dried?
Yes! Use about twice as much fresh oregano by volume. Keep in mind the flavor will be milder and fresher.
Are these pickled banana peppers spicy?
Banana peppers have mild heat. If you want more spice, add jalapeños or red pepper flakes when pickling.
Can I can these peppers for shelf-stable storage?
This recipe is designed for refrigerator pickling. For shelf stability, follow proper canning procedures with tested recipes to ensure safety.
What can I serve with zesty pickled banana peppers?
They pair wonderfully with sandwiches, burgers, salads, dips like buffalo chicken dip, and grilled meats like pulled pork sliders.
Pin This Recipe!
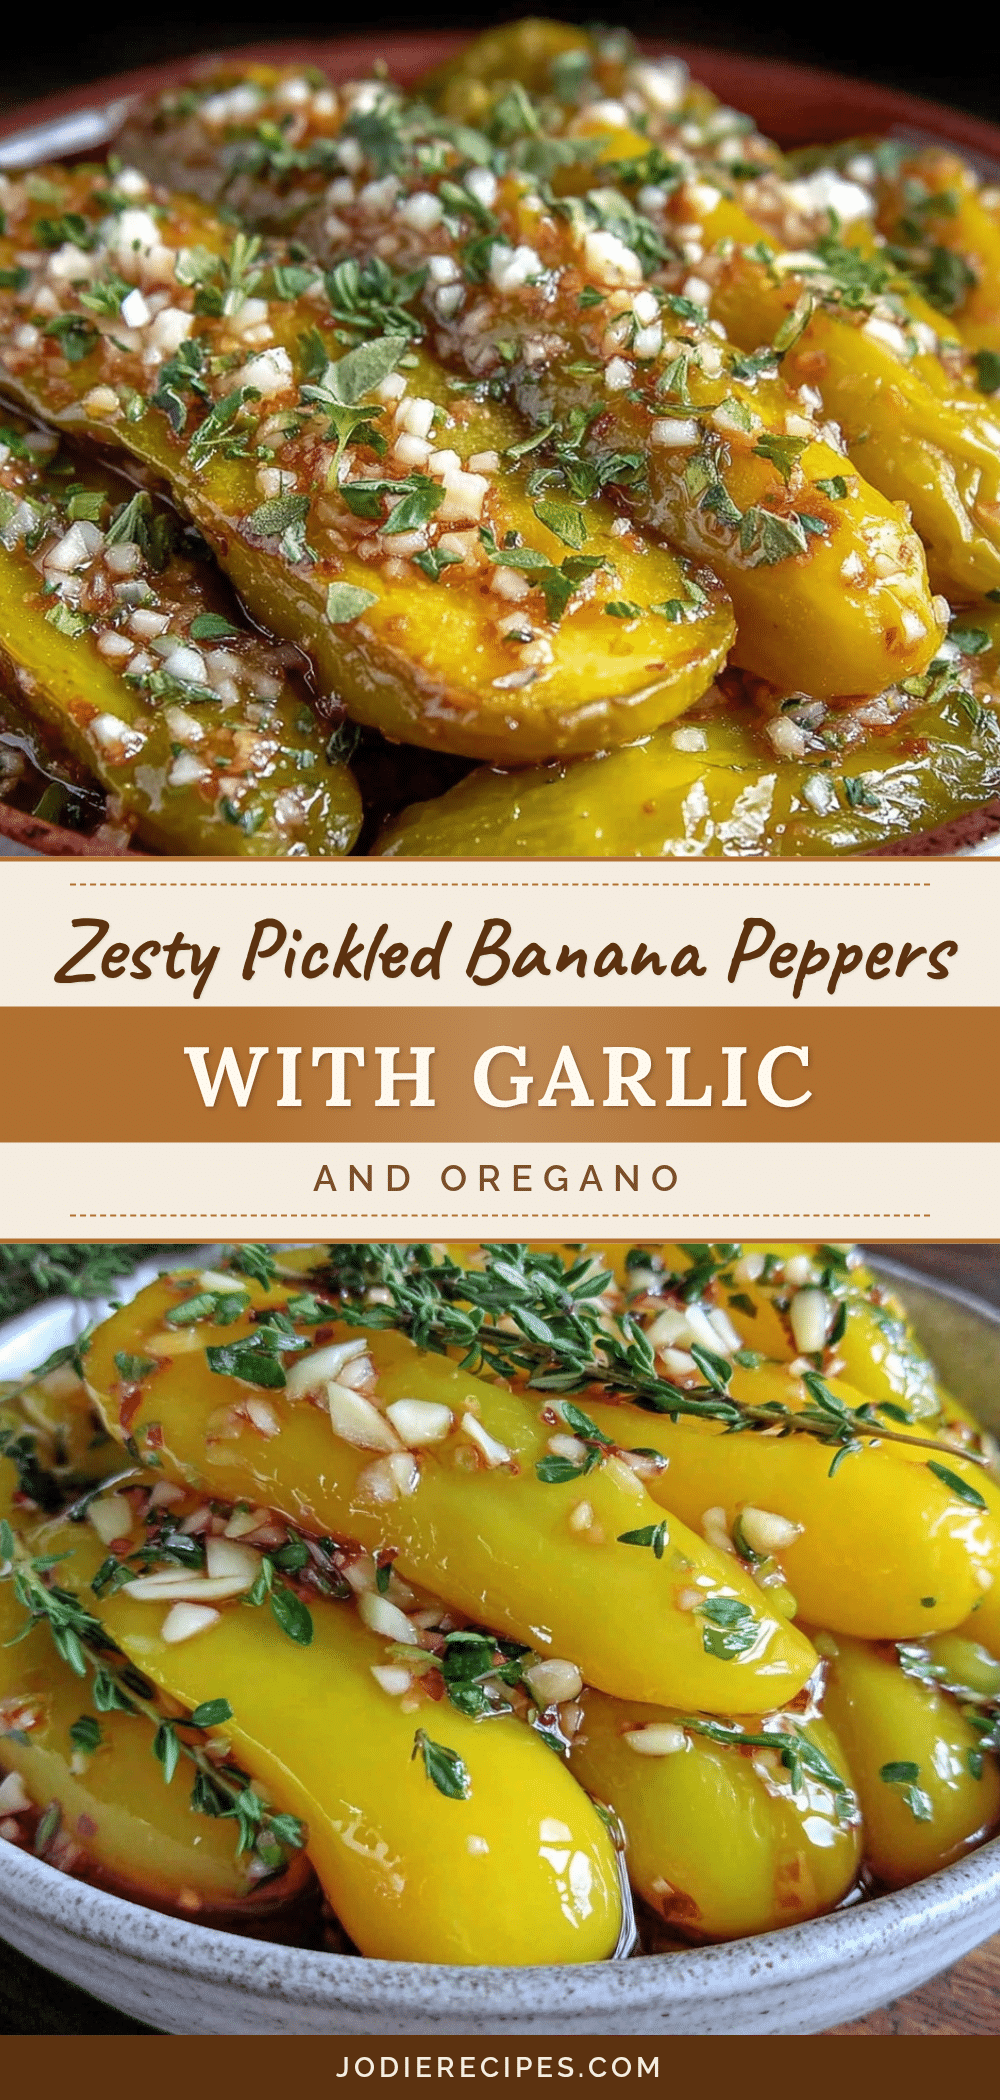
Zesty Pickled Banana Peppers Recipe
A tangy, garlicky, and oregano-infused pickled banana peppers recipe that is quick, easy, and perfect for adding a flavorful crunch to sandwiches, salads, and dips.
- Prep Time: 15 minutes
- Cook Time: 7 minutes
- Total Time: 24 hours and 22 minutes (including refrigeration time)
- Yield: About 4 cups (approximately 8 servings of 2 tablespoons each) 1x
- Category: Condiment
- Cuisine: Mediterranean-inspired
Ingredients
- 1 pound (450 grams) fresh banana peppers, sliced into 1/4-inch rings
- 4 large garlic cloves, thinly sliced or smashed
- 1 tablespoon dried oregano
- 1 cup (240 ml) white vinegar
- 1 cup (240 ml) water
- 2 tablespoons granulated sugar
- 1 tablespoon kosher salt or pickling salt
- 1 teaspoon whole black peppercorns
- 1 dried bay leaf (optional)
Instructions
- Rinse 1 pound (450 g) of banana peppers thoroughly. Slice into 1/4-inch rings, discarding stems. Remove seeds for less heat or leave some for spiciness. Pat dry with a clean towel.
- Peel and thinly slice 4 large garlic cloves. Set aside.
- In a medium saucepan, combine 1 cup white vinegar, 1 cup water, 2 tablespoons sugar, and 1 tablespoon salt. Add 1 teaspoon black peppercorns and 1 dried bay leaf. Stir over medium heat until sugar and salt dissolve and liquid just starts to simmer. Do not boil.
- Place sliced banana peppers, garlic, and 1 tablespoon dried oregano evenly into sterilized jars. Leave room for liquid circulation.
- Ladle hot brine over peppers, covering completely. Use a utensil to push down floating pieces. Leave about 1/2-inch headspace at the top.
- Seal jars with lids and let cool to room temperature. Refrigerate for at least 24 hours before tasting. Peppers stay good refrigerated for up to 3 weeks, best within the first week.
- After 24 hours, taste and adjust. For zestier flavor, leave jar open in fridge for a few hours to let vinegar evaporate. To mellow sharpness, stir in a pinch of sugar.
Notes
Use fresh, firm banana peppers for best crunch. Do not boil the brine to preserve vinegar flavor. Sterilize jars to prevent bacteria. Keep peppers fully submerged in brine to avoid mold. Flavors improve after at least 24 hours refrigerated. Adjust sugar and salt to taste. For spicier peppers, add jalapeños or red pepper flakes.
Nutrition
- Serving Size: 2 tablespoons
- Calories: 15
- Sugar: 1
- Sodium: 200
- Fat: 0.1
- Carbohydrates: 3
- Protein: 0.5
Keywords: pickled banana peppers, garlic, oregano, homemade pickles, easy pickled peppers, tangy peppers, zesty peppers, refrigerator pickles


